Hovel Sweet Hovel contains affiliate links and is a member of the Amazon Services LLC Associates Program, which means I may receive a cute little commission if you purchase through my links, at no extra cost to you. Please read full disclosure for more information.
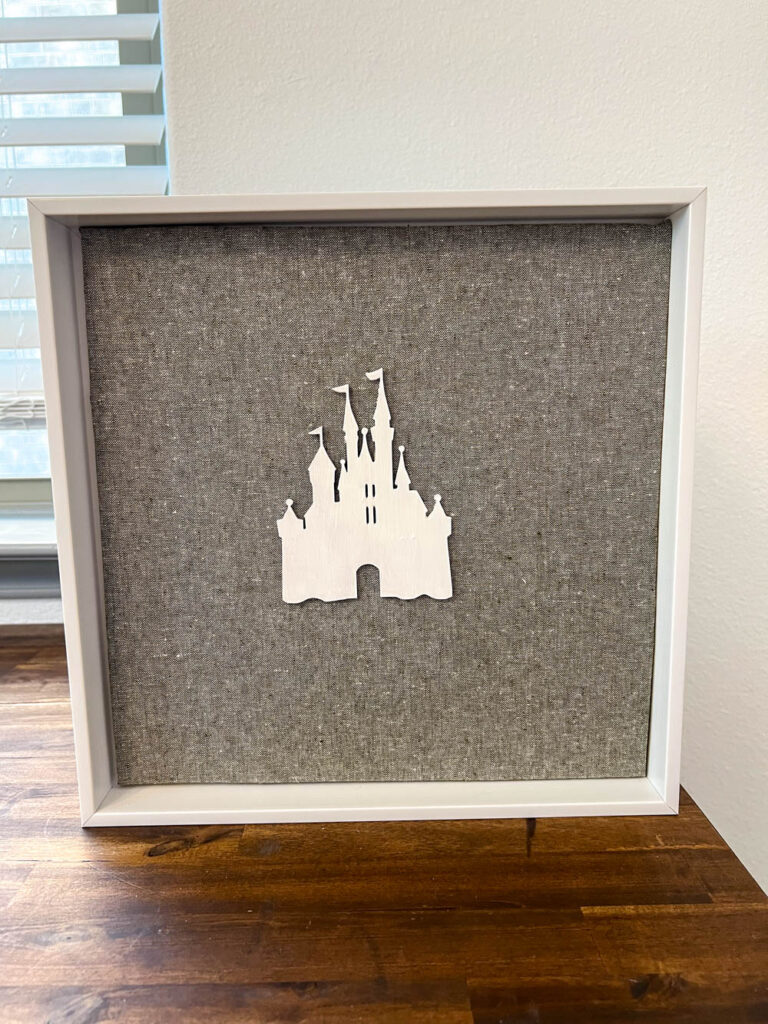
Floating Frame Disney Pin Collection Display Board | DIY
I shared some ideas of how to display your Disney Pin Collection and I finally decided how I am going to display my own!
I love a good shadow box, but I have one for my wedding invitations and it doesn’t “inspire” me to make another one. So I decided to create a pin collection display board!
Pin Collection Display Board DIY
This DIY is great for anyone that has a collection of pins that they’d like to put on display. This display board can easily hang – just like a frame – on any wall in your home.
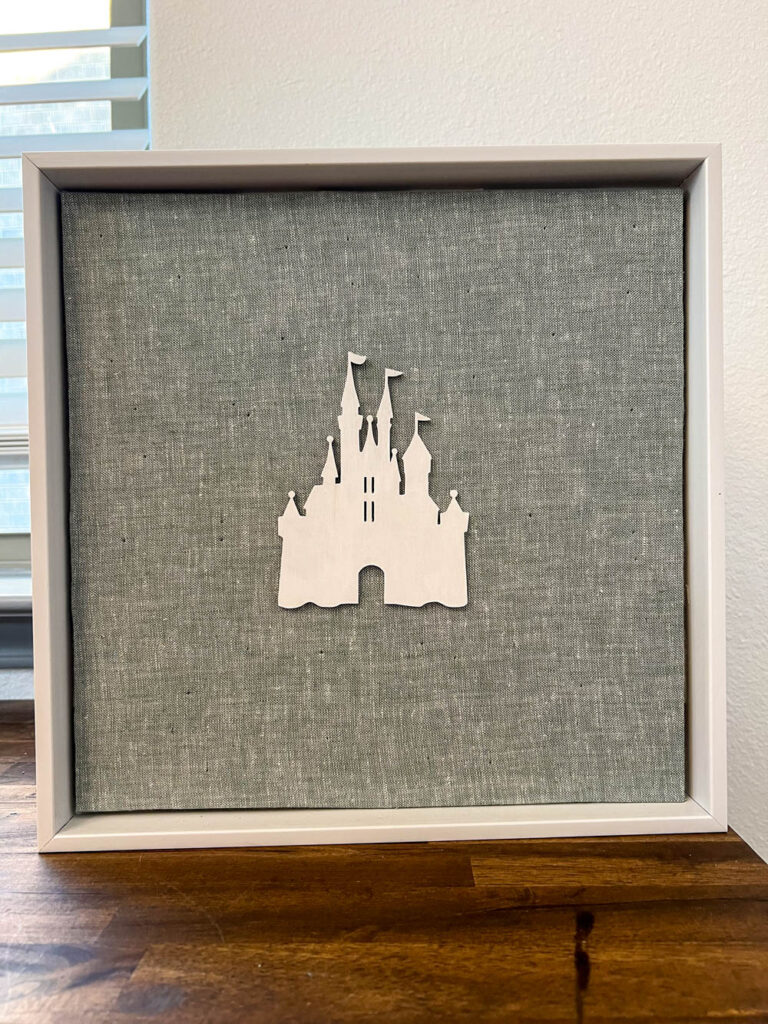
This display board doesn’t have a glass cover. If you’re looking to shield your pins from people touching them, then you’ll want to look into a shadow box to display your pins.
We only have about 20 pins to display, so we chose the 12×12″ size. If you have a lot of pins, then you’ll want to go up in the overall size of your display board. After our trip to Disney, we brought home sooo many pins!
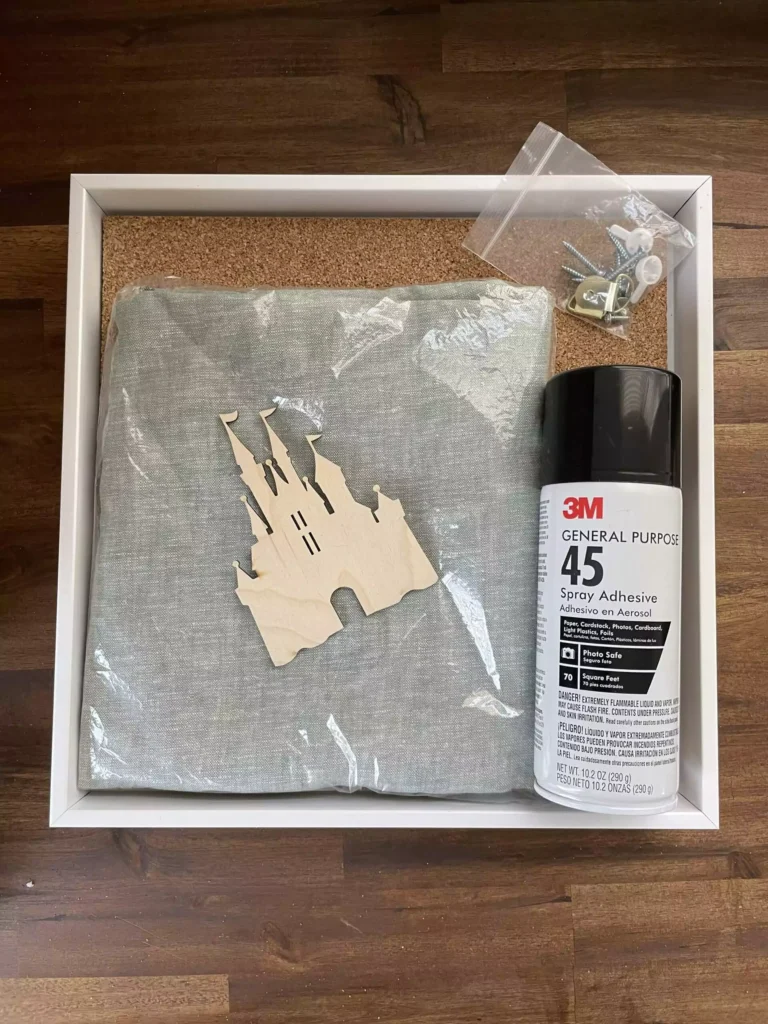
Pin Collection Display Board Shopping List
- 12″x12″ Cork Tile
- 12″x12″ Floating Frame
- Linen Fabric
- Spray Adhesive
- 5″ Magic Kingdom Castle Wooden Cutout
- White Paint
I already had the spray adhesive from a previous DIY, so I didn’t need to buy that again for this project.
Pin Collection Display Board Steps
- Iron our your linen fabric. Then lay it out flat on a working surface.
note* I ordered 1 yard of fabric from Amazon (which was more than necessary) and cut it down to a couple inches larger than the size of my cork tile. - Spray the adhesive on the cork tile. Then place the cork tile (glue side down) onto your linen fabric.
- Flip the tile over so that the linen side faces up. Smooth out any wrinkles so the linen is flat against the cork tile.
- Once the fabric is flat, flip the tile over again. Spray the back of the tile with adhesive, then fold any excess fabric across the back of the tile. Let dry.

On a separate working surface, paint the wooden cutout with white paint. Let dry.
note* I didn’t have spray paint on hand, so I used acrylic-based paint. Spray paint comes out cleaner, so I recommend that if you can.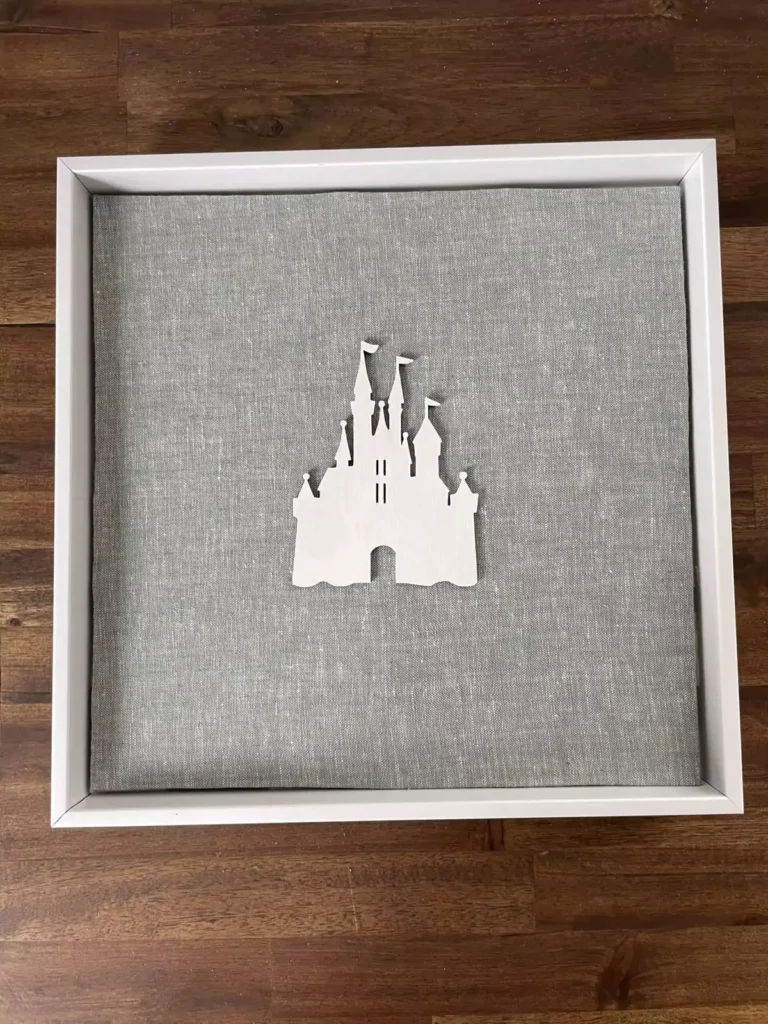
Once the paint in dry, use the spray adhesive on the back of the wooden cutout. Place the wooden cutout onto the front of your linen wrapped cork tile. Let dry.- Adhere the linen wrapped cork tile to your floating frame.
note* the floating frame I purchased came with screws to attach the cork tile to the frame. It also came with foam adhesive to align the cork tile in the center of the frame. If your frame doesn’t come with these pieces, then you will need to find alternatives to attach your cork tile to your frame. 
Add you pins!
Like this DIY on Instagram!
Did you follow this DIY? Let me know in the comments below!
Katie