Hovel Sweet Hovel contains affiliate links and is a member of the Amazon Services LLC Associates Program, which means I may receive a cute little commission if you purchase through my links, at no extra cost to you. Please read full disclosure for more information.
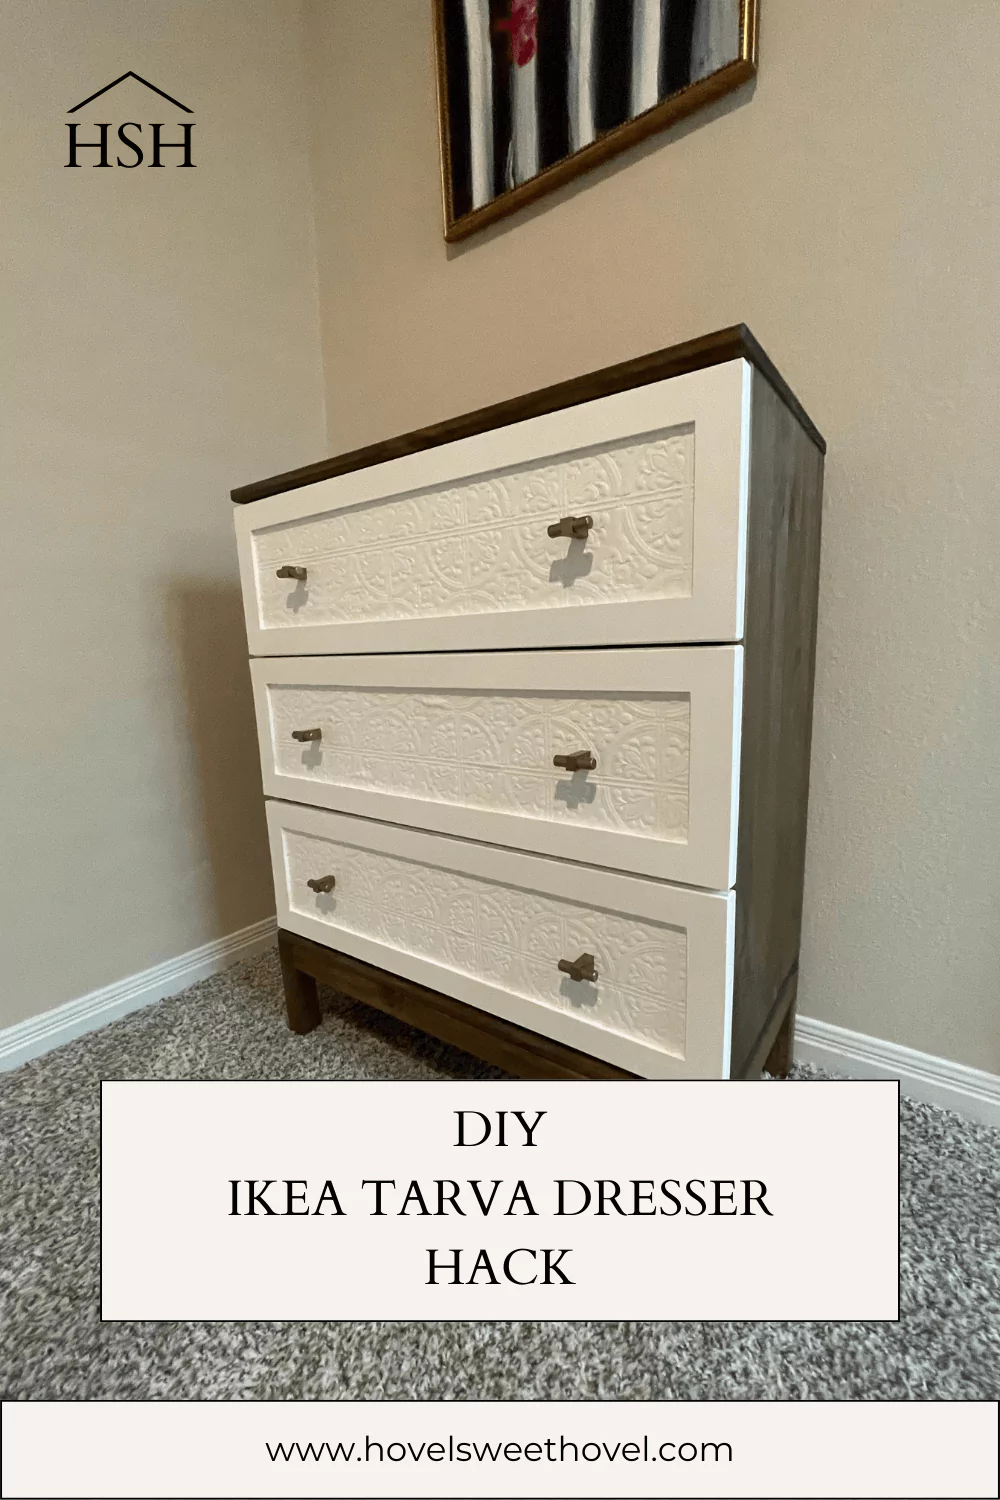
Ikea Tarva Dresser Hack | DIY
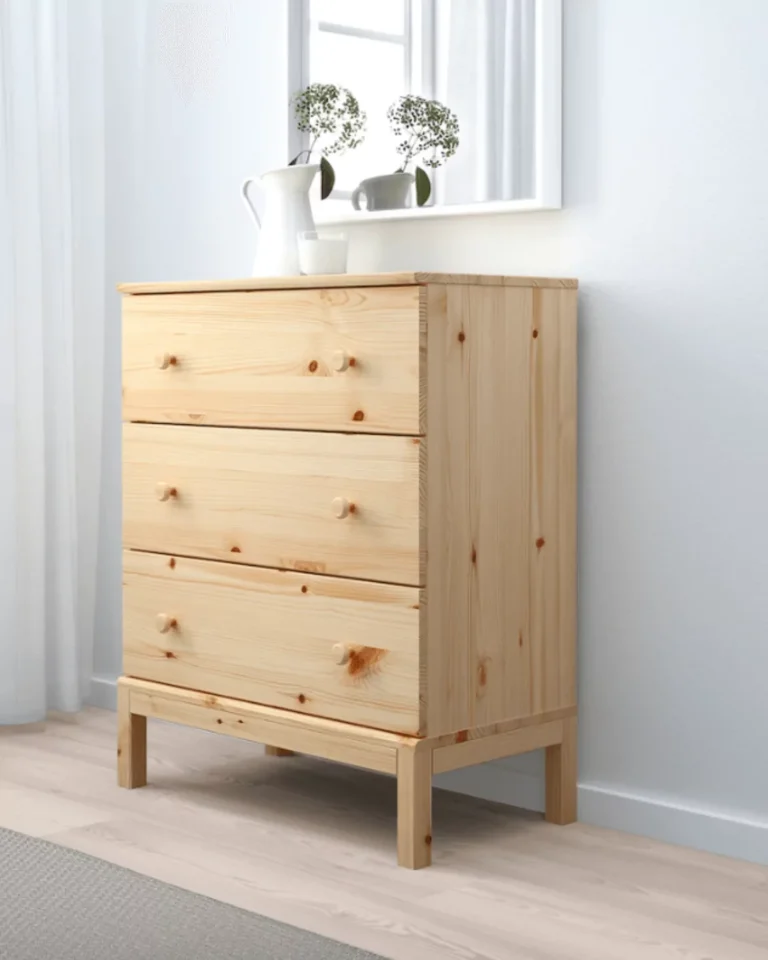
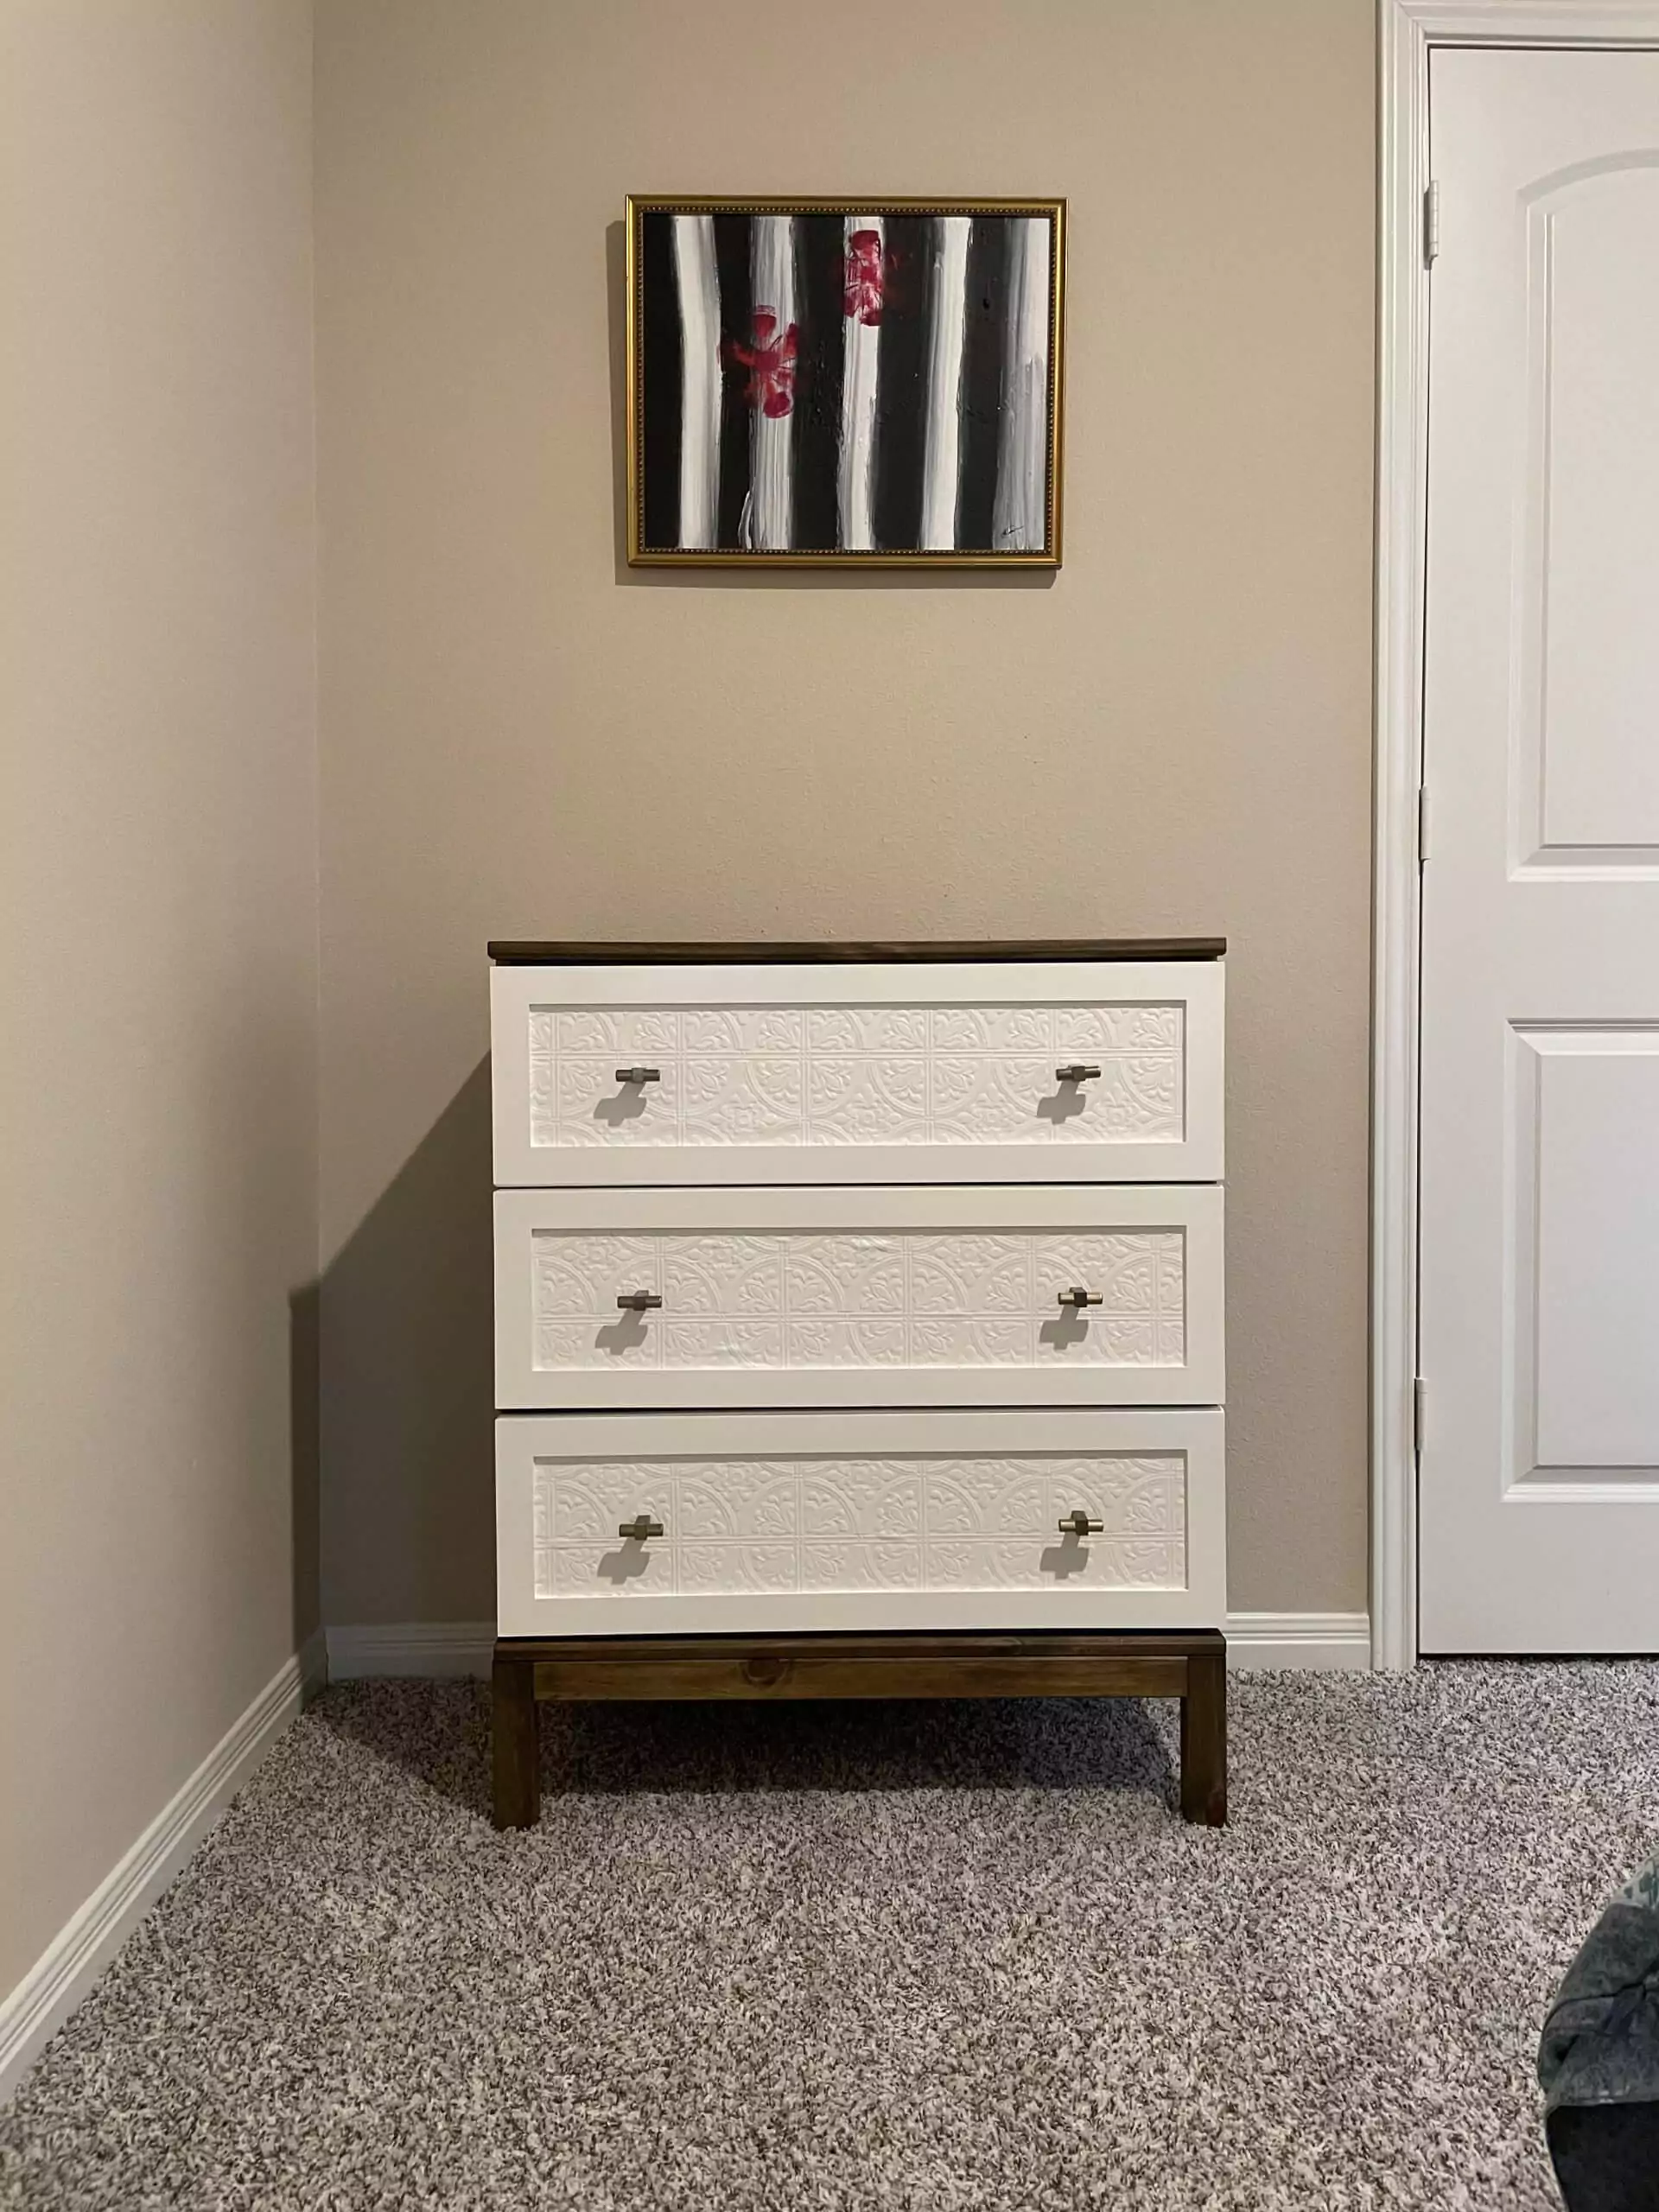
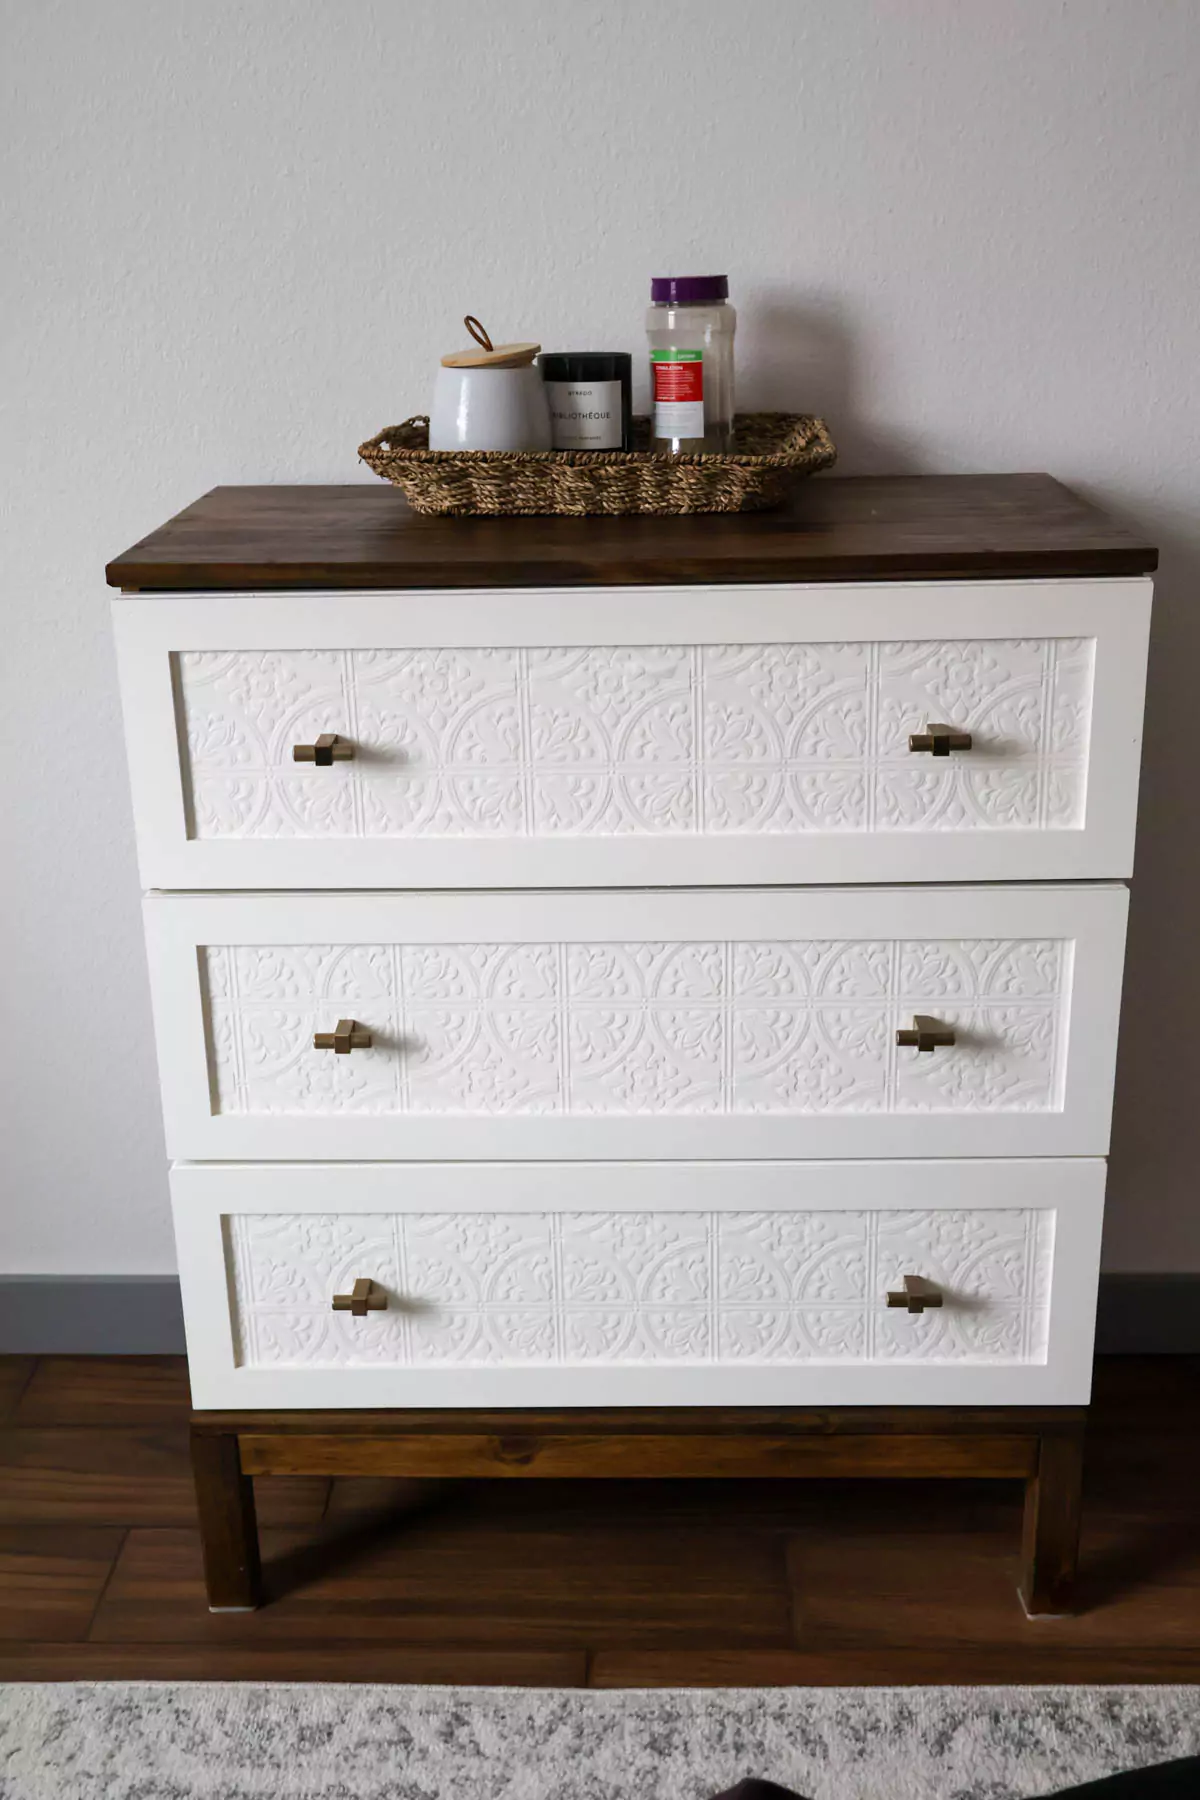
This IKEA Tarva dresser hack features 3 solid pine chest of drawers and is the perfect starting piece to hack!
Back in January I made it a goal of mine to complete 12 DIYs for 2022. I’ve had the Ikea Tarva Dresser sitting in our guest bedroom for many months untouched. I knew that I wanted to give it a little facelift with a DIY.
In the beginning of February I finally moved it into the garage to begin work on it. I ordered all the pieces and already made a trip to Home Depot for the other supplies.
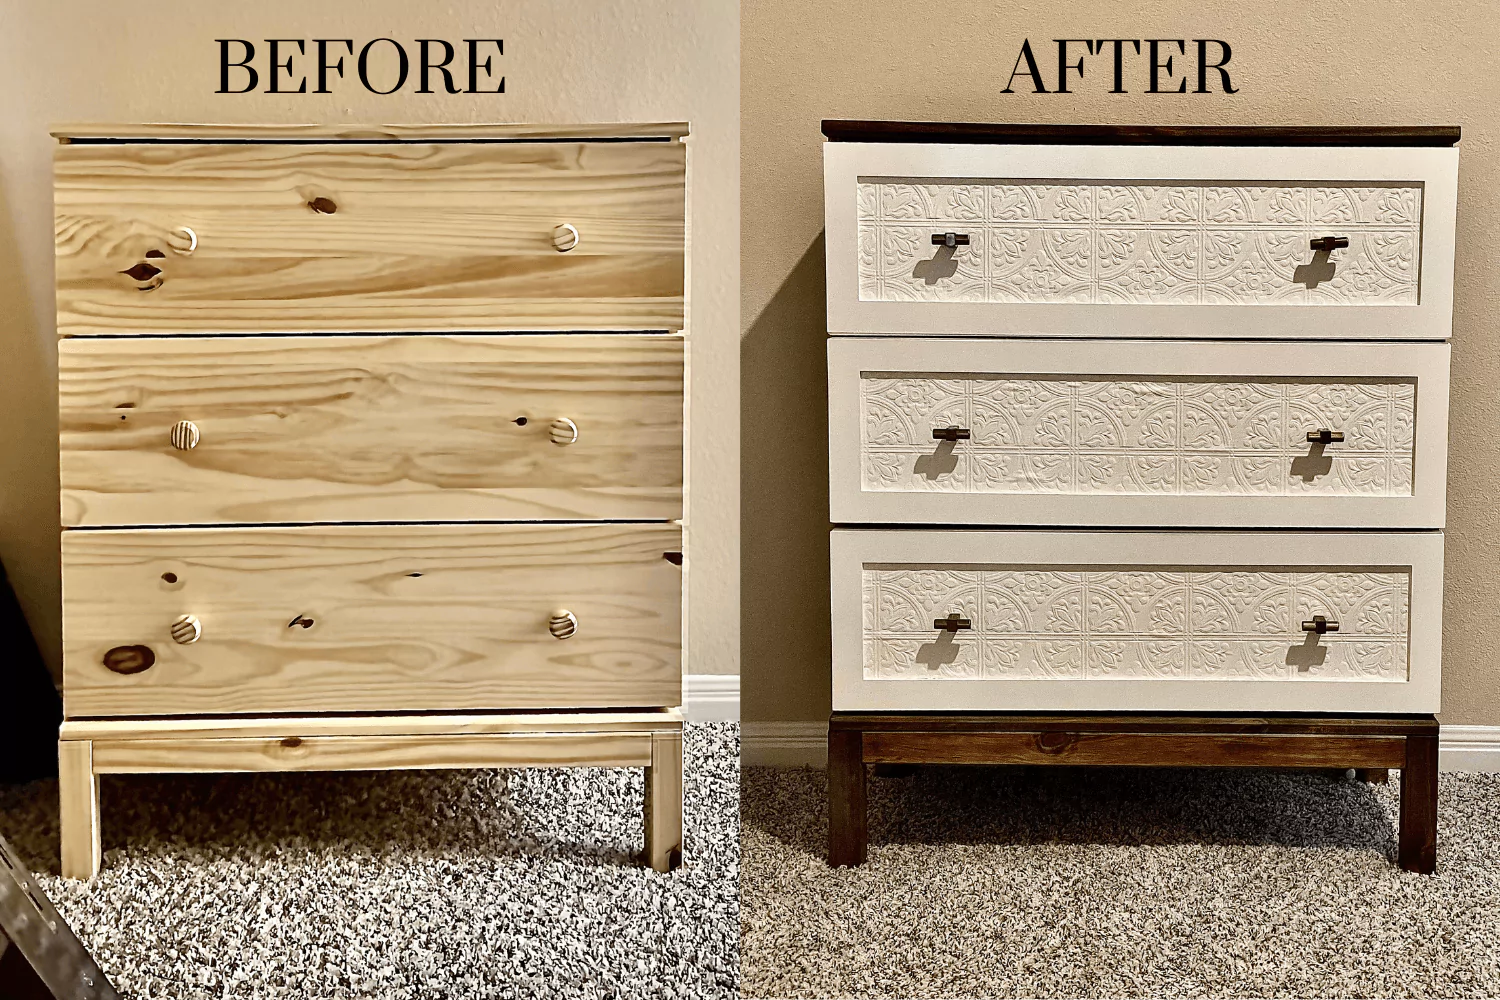
Before and After: Ikea Tarva Dresser Hack
Supplies
- Ikea Tarva Dresser
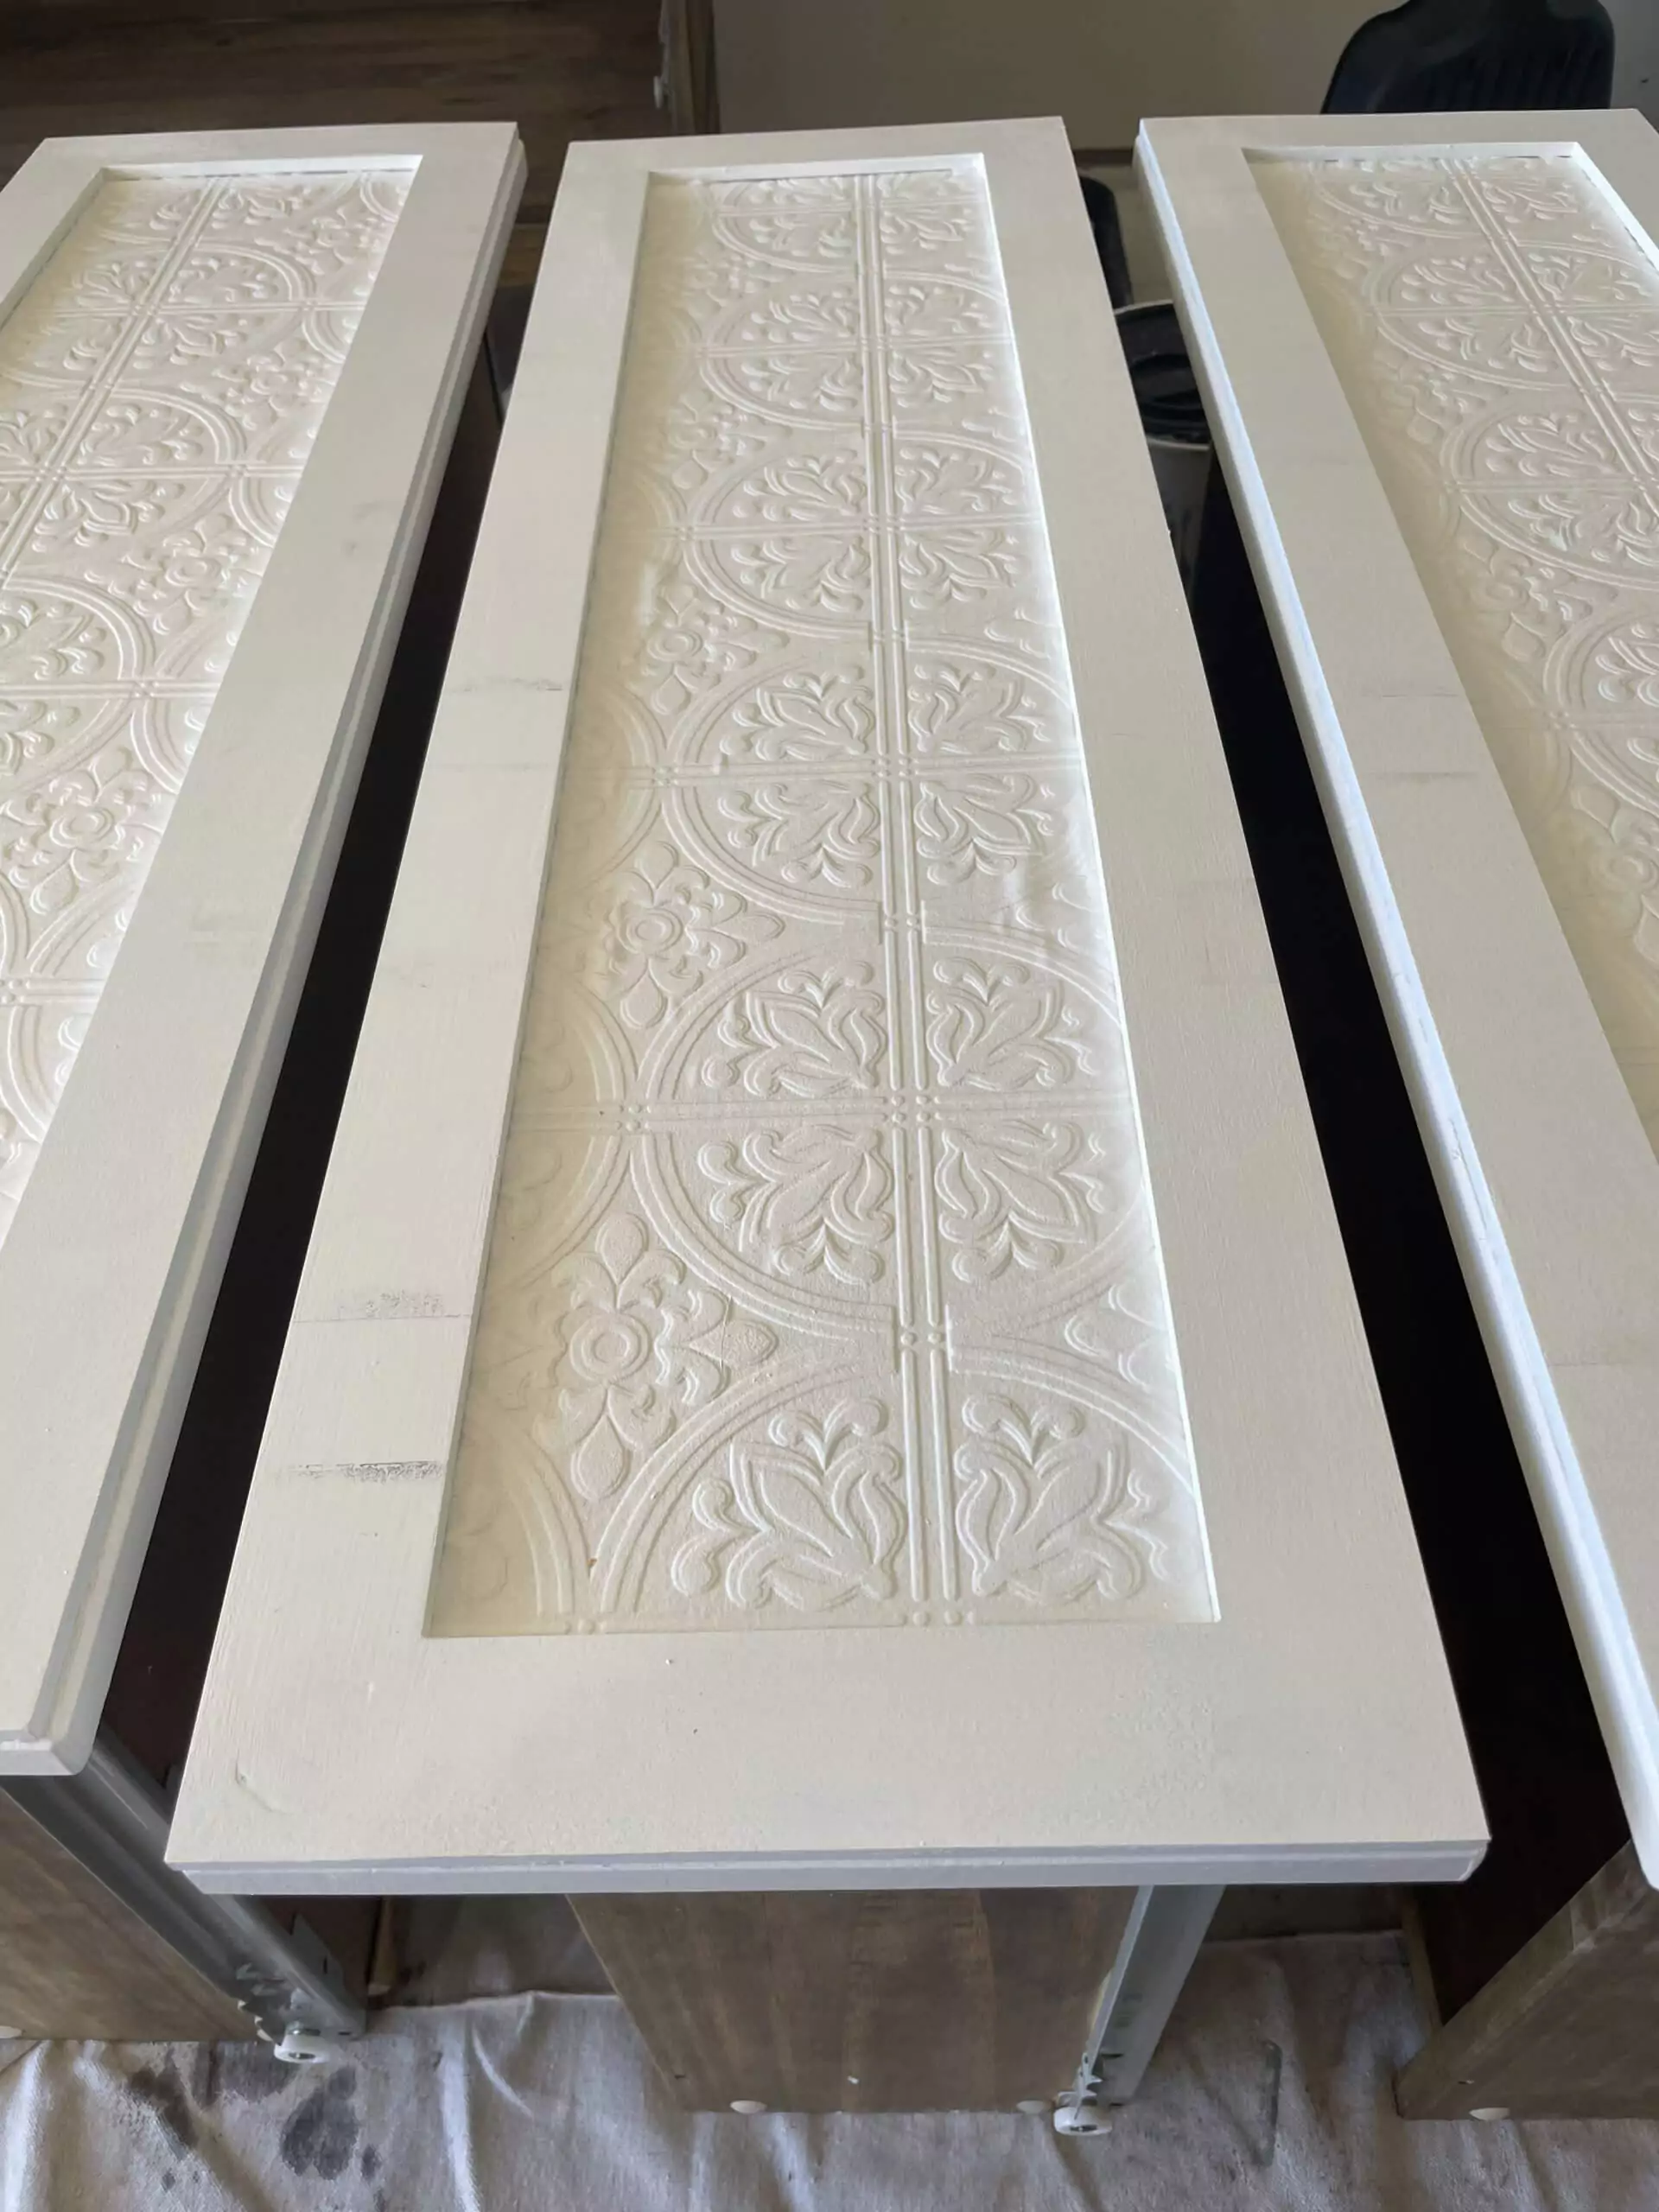
- Textured Wallpaper
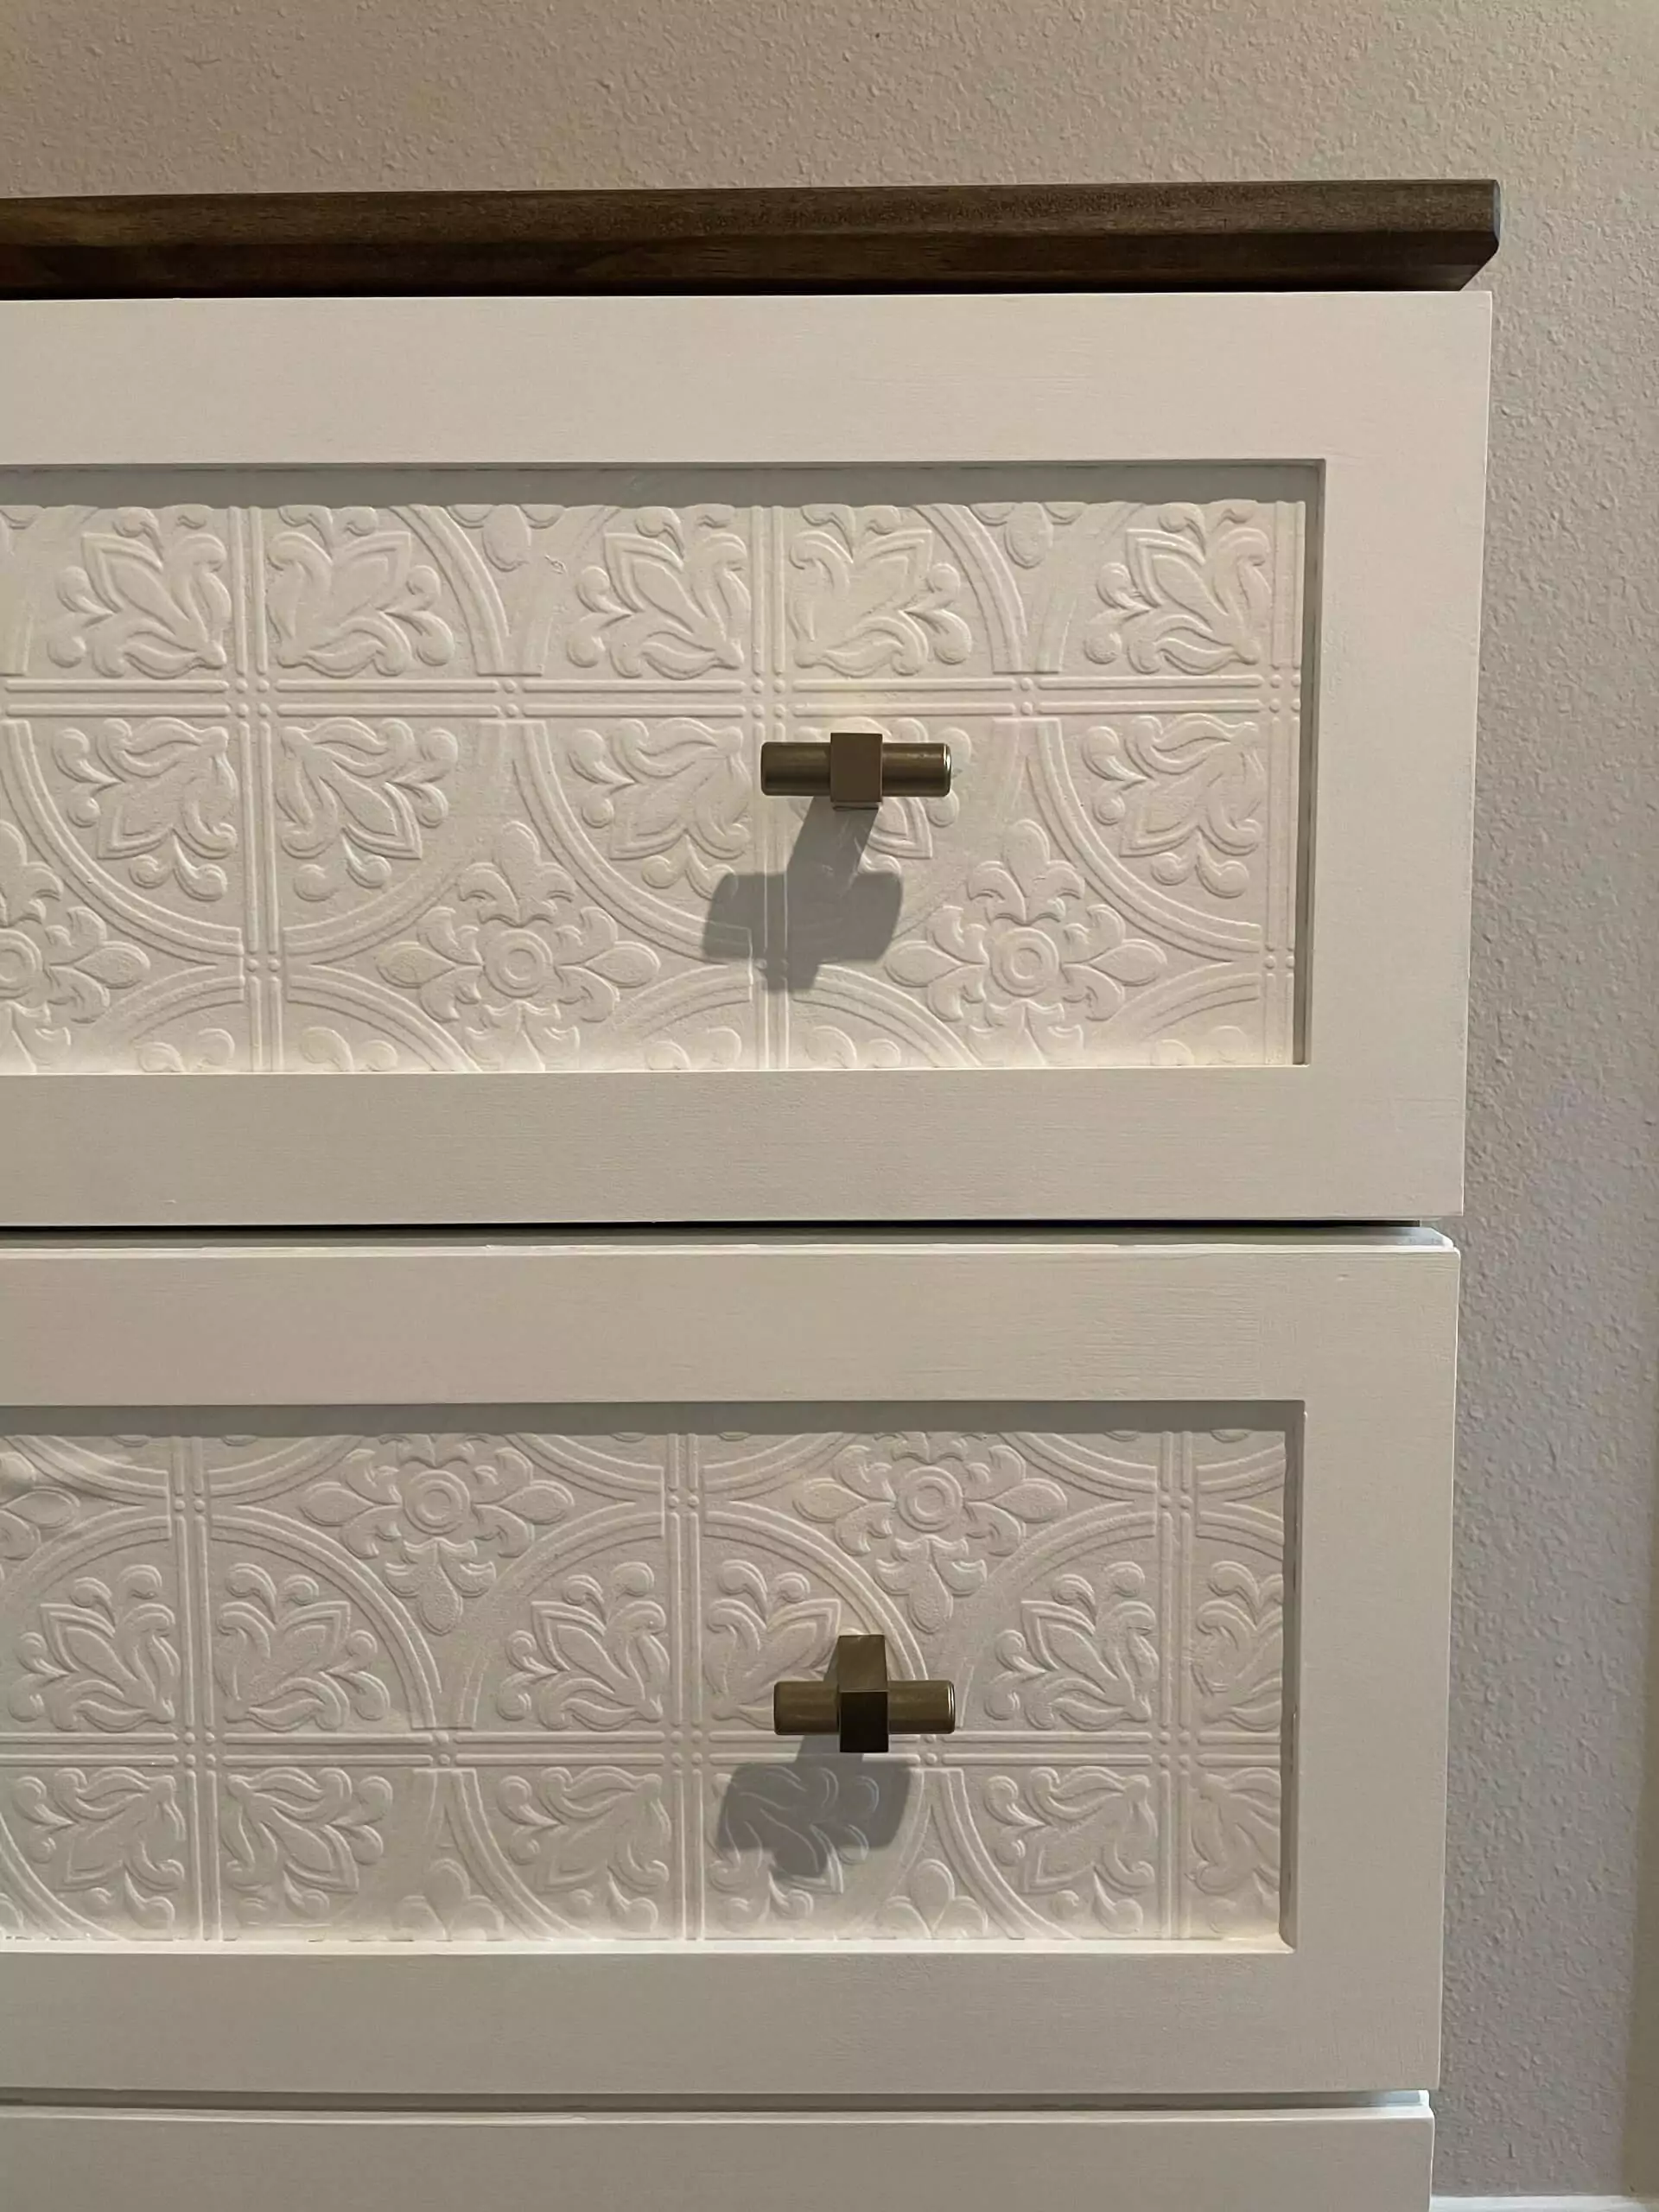
- Drawer Knobs
- Ikea White Paint
- Sandpaper
- Stain Walnut
- O’verlays
Ikea White Paint
According to One Little Project, the closest Behr match is Clear Moon (PWN-30). This is the paint color that we used throughout our pantry remodel and we had some left over. I didn’t have to buy any for this DIY, but, depending on how much you’re going to use, you shouldn’t need a whole gallon of paint.
O’verlays
O’verlays are decorative fretwork overlay panels that come in several patterns and sizes. They are light weight, paint-able and easily attach to furniture, doors, walls and glass.
I ordered the 1/8th Rex Thick Kit for my Ikea Tarva 3 Drawer Chest. Production took a full 3 weeks before it shipped. So plan ahead if you want to order these for your DIY.

Paintable Wallpaper
I absolutely loved the paintable wallpaper that Annie from Champagne Chaos used in her Ikea Tarva Dresser Hack. It looks gorgeous painted the same color as her dresses and gives a bit of flair with the texture.
Instructions for the Ikea Tarva Dresser Hack
- Feel the wood for any rough spots. If you find some, then sand it smooth.
- Wipe down the dresses with a rung out towel to remove the dust or dirt particles before staining. Let dry.
- Remove drawers and place to the side.
- Apply the stain with a rag. Be sure to wipe off any excess stain. Let dry.
- Apply a second coat if you want a darker color.
- Remove the knobs from the drawers.
- Paint the drawer fronts white.
- Cut the textured wall paper to the size of the drawers.
- Follow the instructions to adhere the wallpaper. Let dry.
- Paint the wallpaper. Let dry.
- Paint the O’verlays. Let dry.
- Adhere the O’verlays. We used loctite glue to adhere and clamped it for a tight fit.
- Add the drawer pulls, but be careful when puncturing a hole through the wallpaper.
- Put drawers back into dresser base.


Tips for the Ikea Tarva Dresser Hack
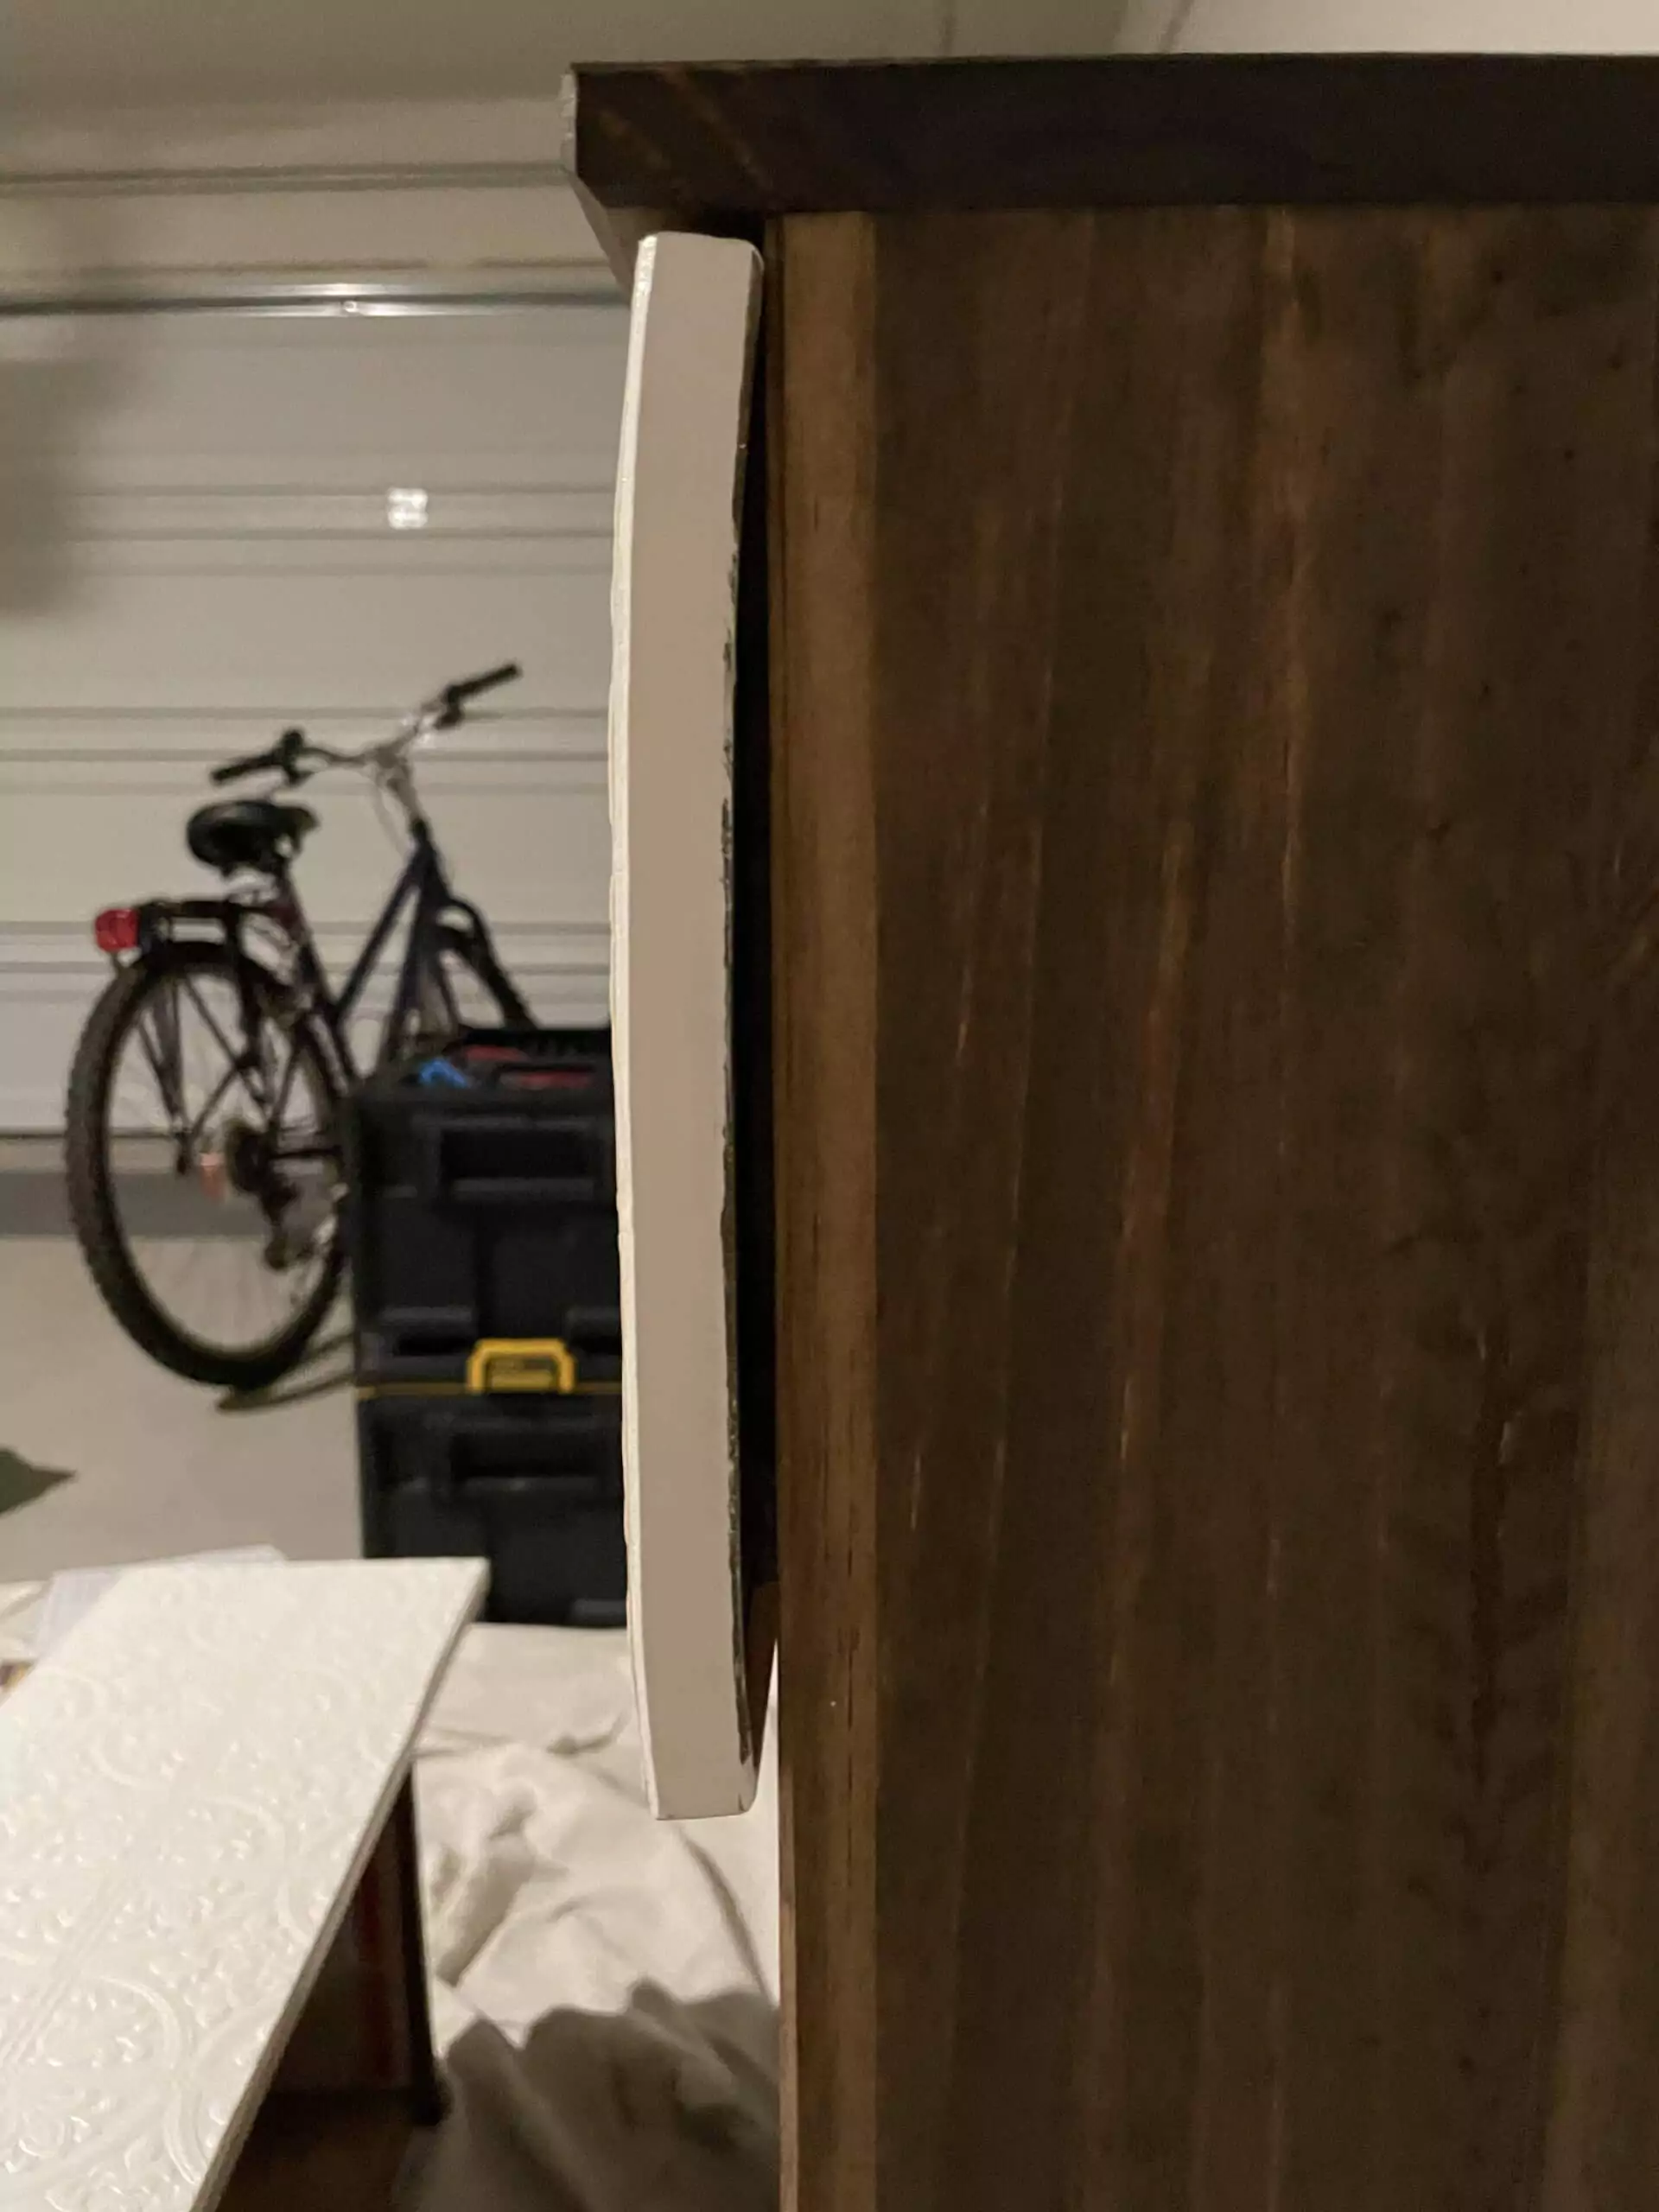
Tip #1 – Don’t Assemble Your Dresser First: I assembled it when I first moved into our new house because I wanted the dresser available for storage and for guests.
I recommend to stain and paint every piece before you assemble. Especially if you want to add wallpaper! I had issues with the wood bowing from being “wet” (see photo below). I used weights to force it back straight, but if it was unassembled I wouldn’t have had this issue.
Tip #2 – Let the Stain Dry: Even if the stain is dry to the touch, let the stain sit outside or in the garage for a couple of days to air out. I brought it inside the house a day after staining and I had a headache from the fumes. Save yourself from the fumes!
Shop this Ikea Tarva Dresser Hack

Do you like how it turned out? Let me know in the comments below!
Cheers,
Katie
For more projects and inspiration, follow me on Instagram and Pinterest…I’m always working on something new!
Check out the transformation on Pinterest!
Like this post? Pin it for later!