Hovel Sweet Hovel contains affiliate links and is a member of the Amazon Services LLC Associates Program, which means I may receive a cute little commission if you purchase through my links, at no extra cost to you. Please read full disclosure for more information.
How to Strip the Paint From an Antique Couch | DIY
First Round of Stripping the Paint
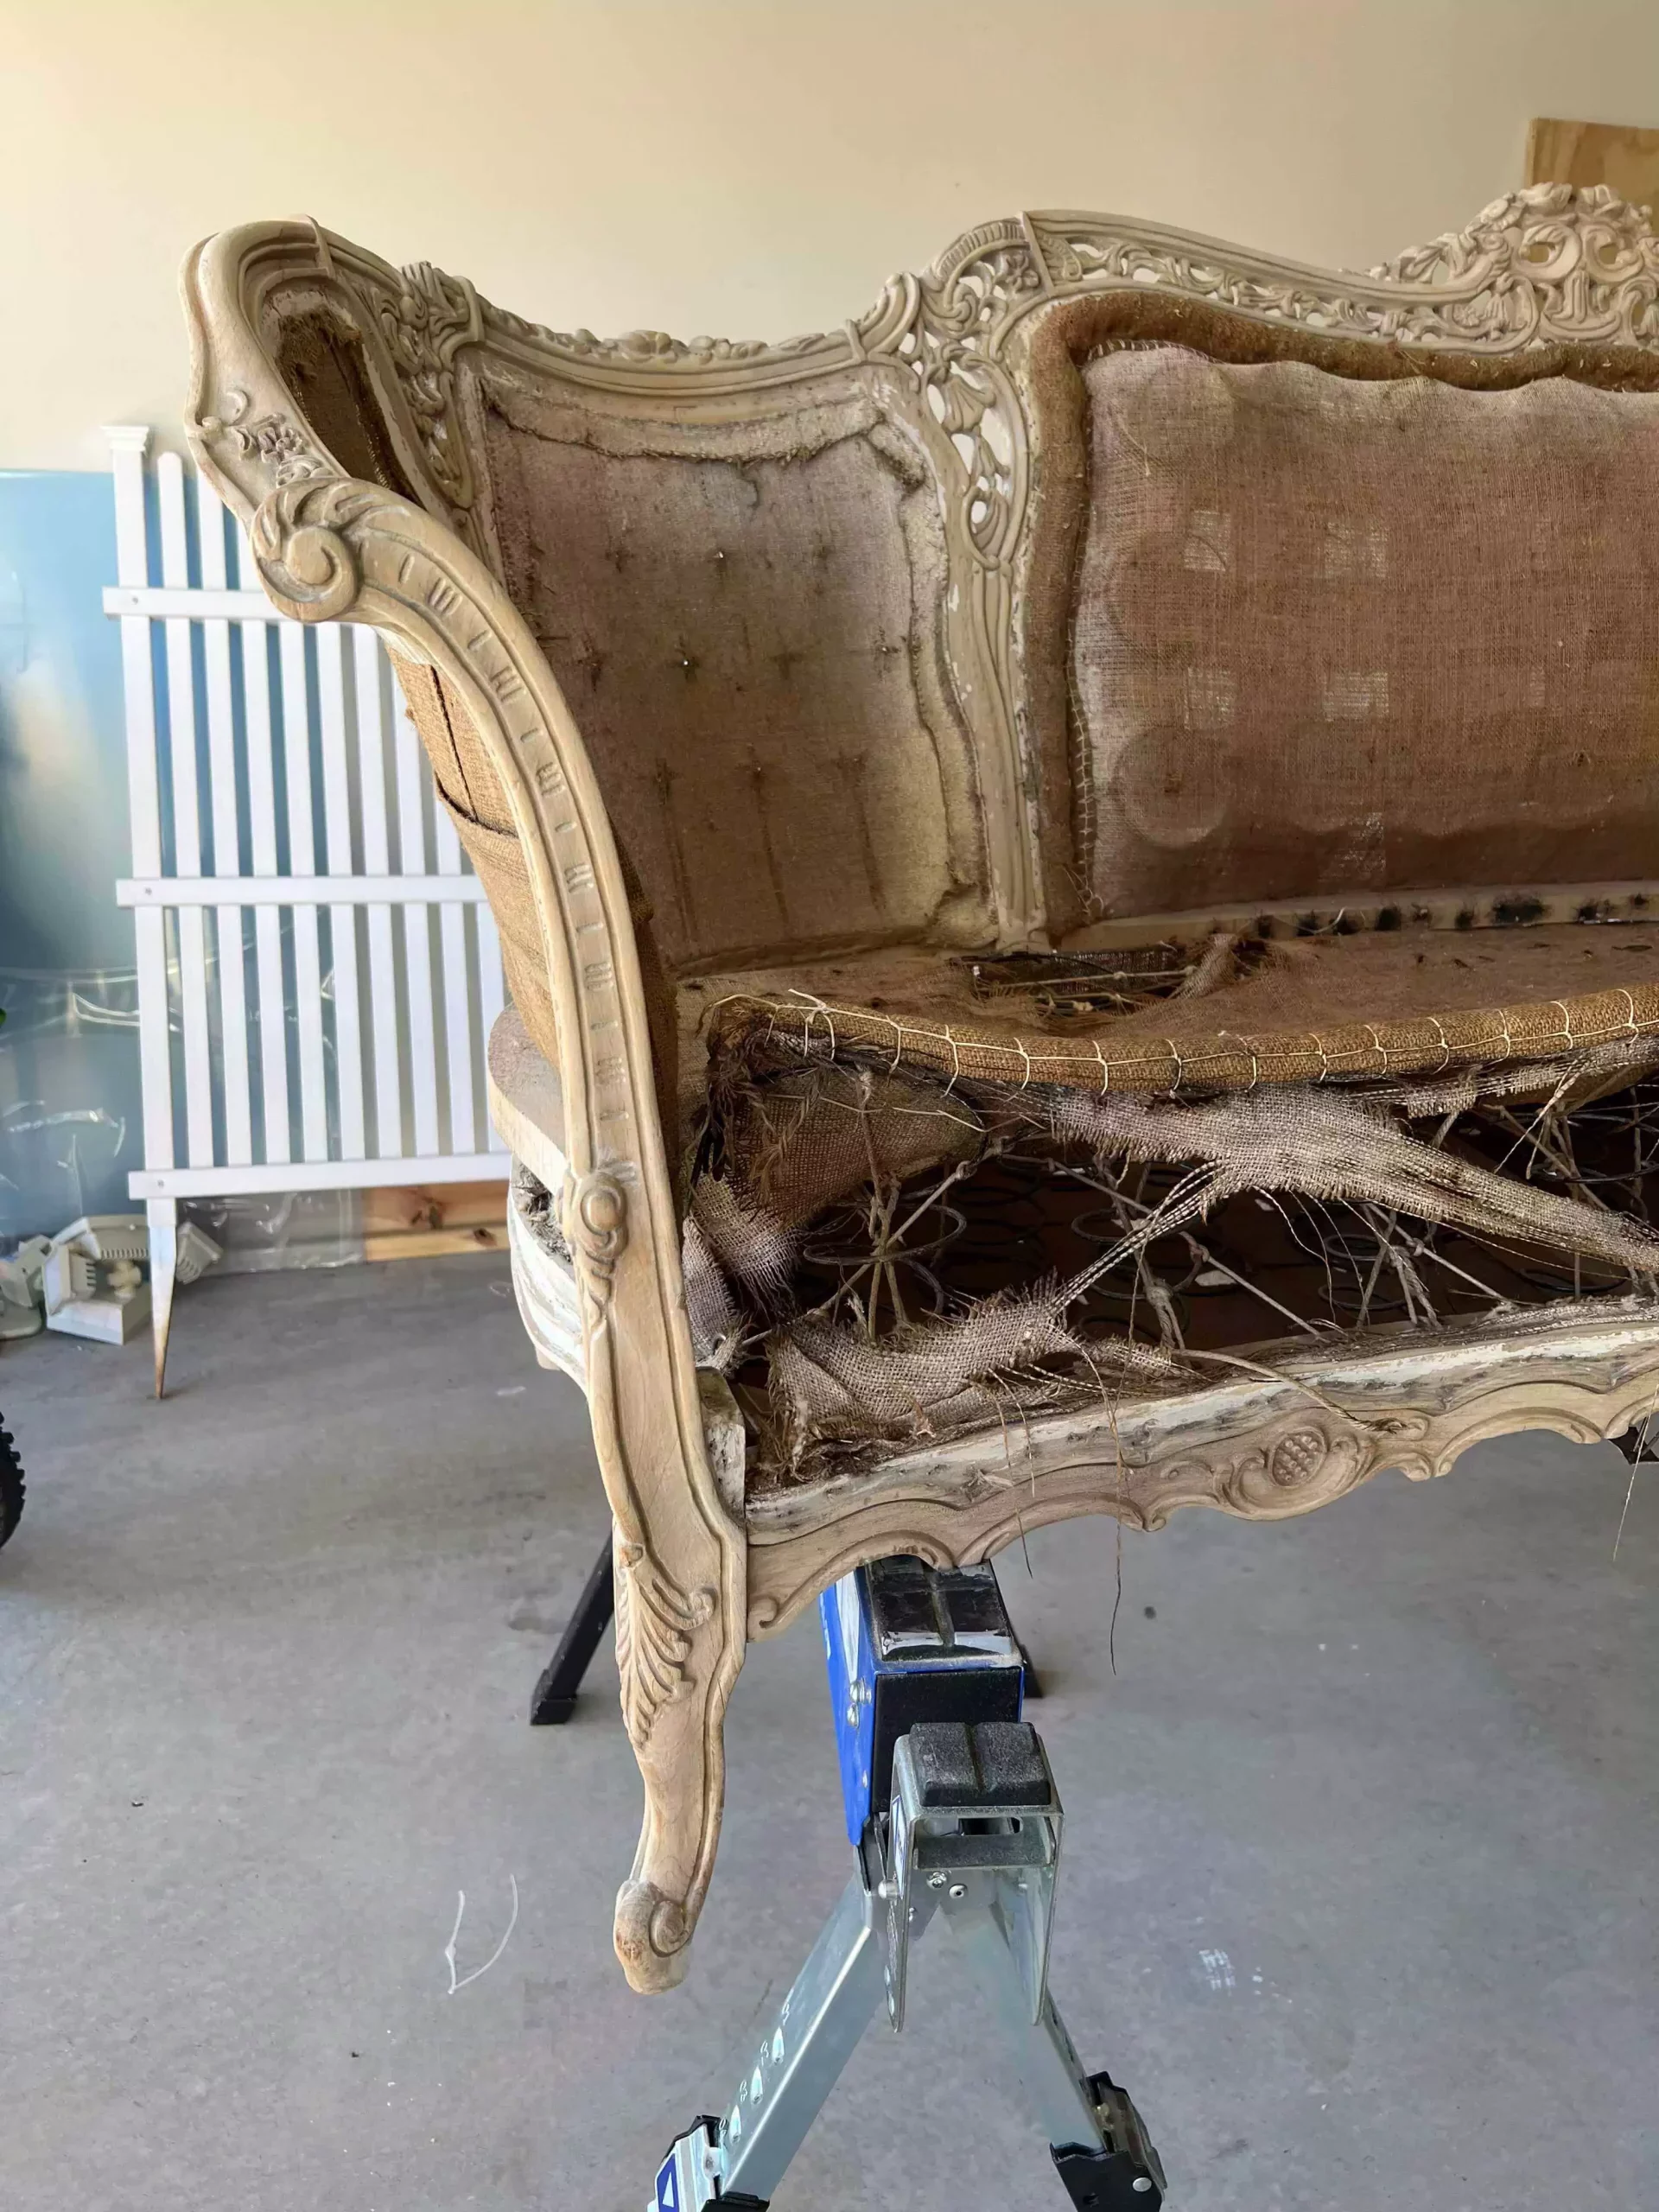
I first began the deconstructing and the stripping in September, but I wasn’t sure what I was doing. So I sent the couch away to get quoted and it was gone for about a month and a half. Since the only quote I received came back too expensive, I began looking for other companies with no luck. This first section is about my first round of stripping results.
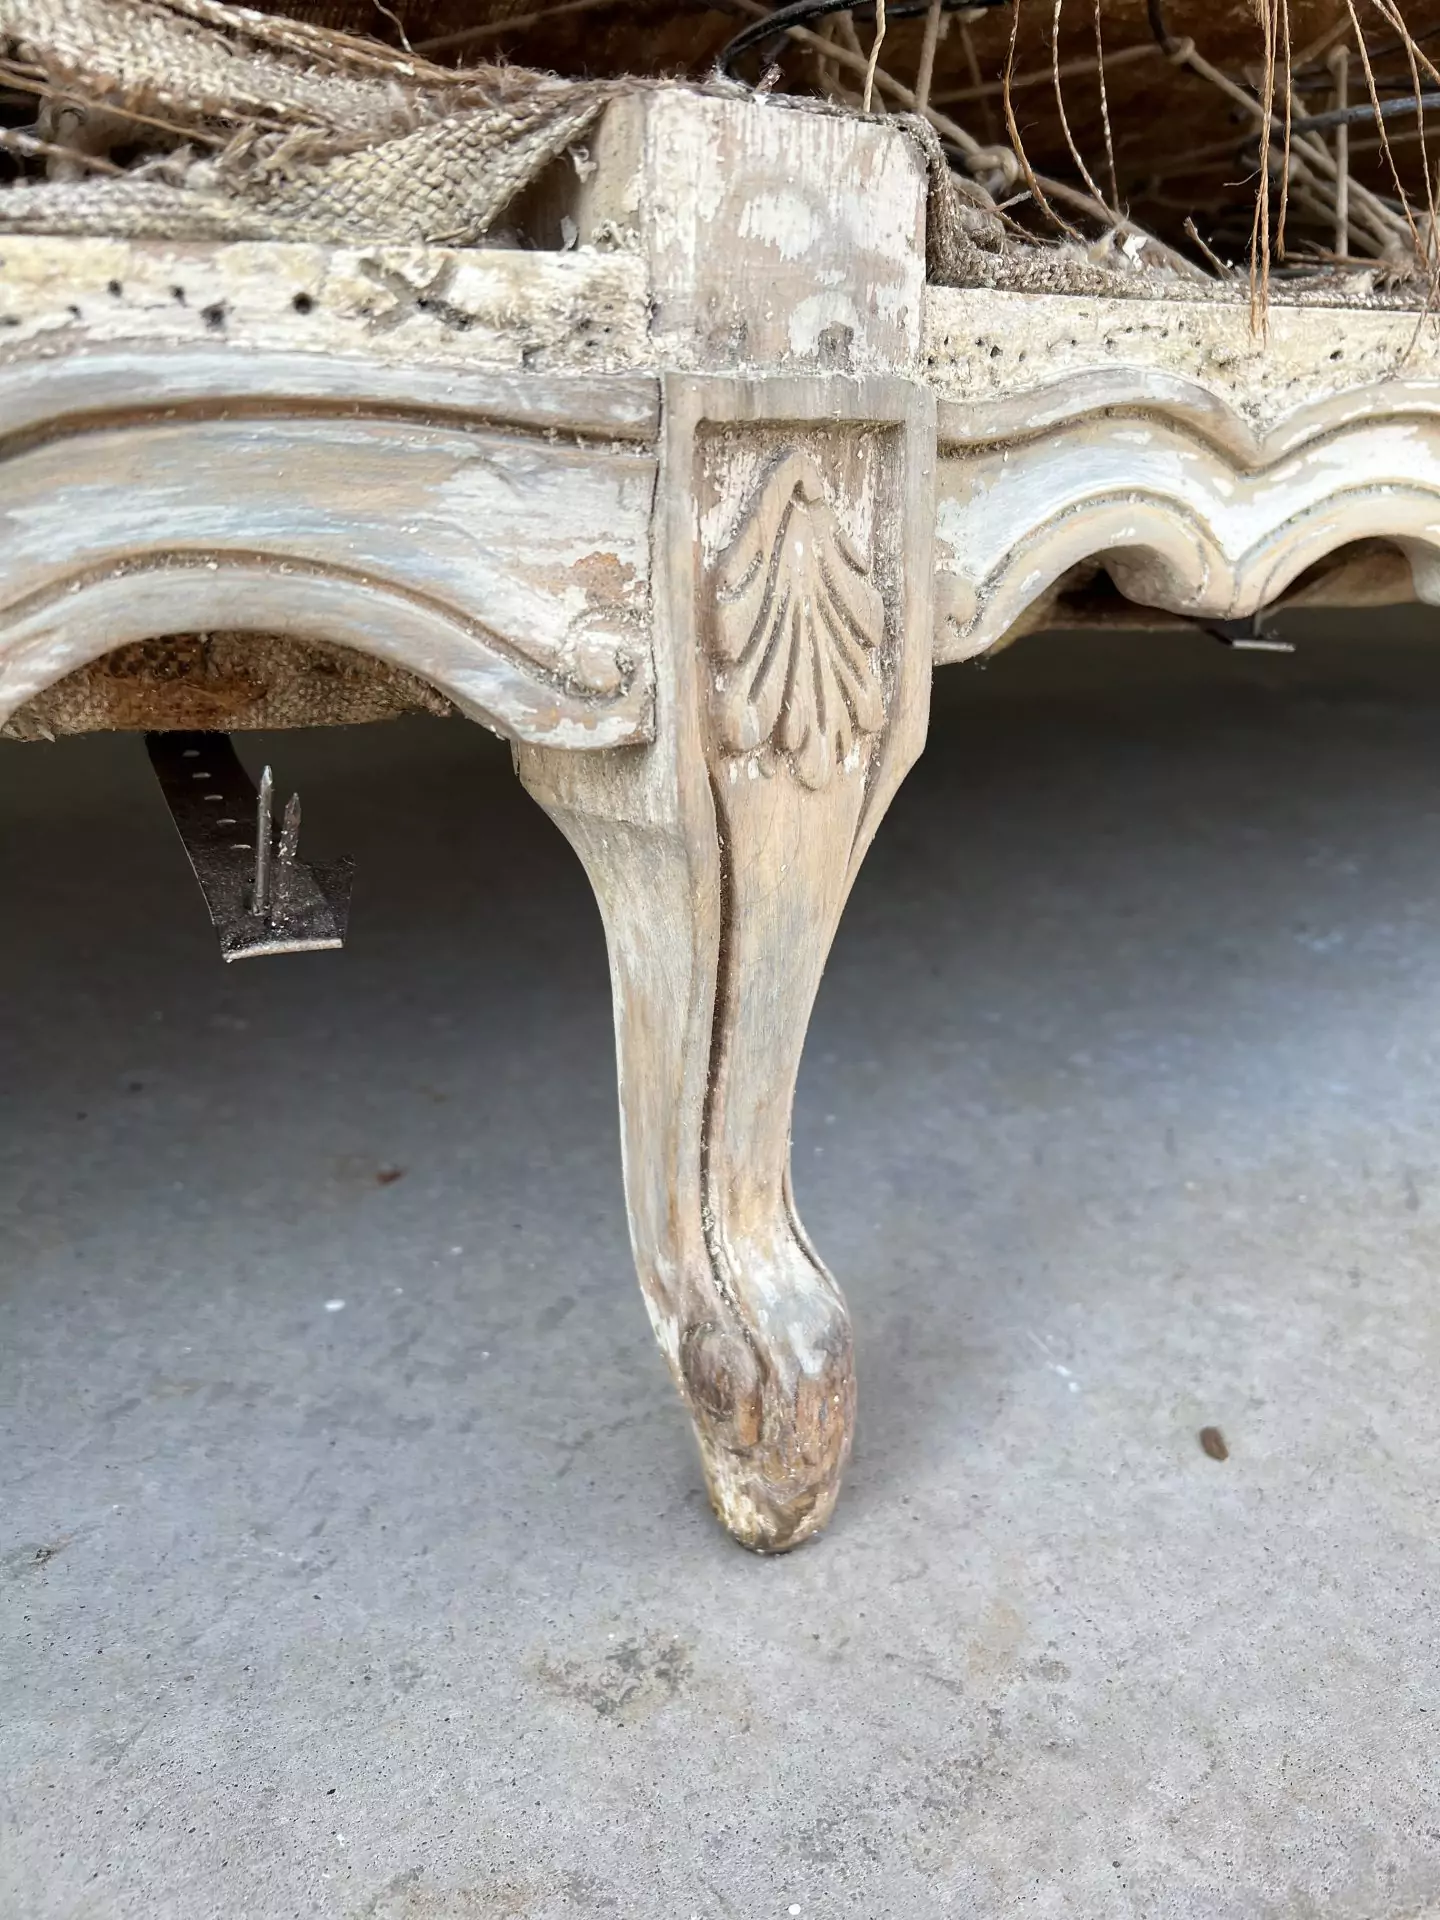
This step took a couple days for me. I didn’t realize that it had a layer of polyurethane – or some other type of lacquer – over the paint.
As soon as I put on the paint stripper, the lacquer would turn brown but the paint didn’t react. You can see the foot behind the stripper in the photo above how the color changes from a darker yellow to a lighter yellow. The darker color is the lacquer reacting with the stripper.
I was ruining several mini steel brushes because the lacquer and stripper mixed together would “gum” up and it made it really messy. I was trying to scrub the lacquer away.
I spent one day working on one section, but it was taking too long that way. It was so messy! The wood was turning grey because I was smearing the lacquer. Even the mineral spirits wasn’t helping remove it all. You can see all the tiny gunk starting to pile up. It ended up hardening because I couldn’t get it off the wood.
Then I cleaned up and did a bit of research. I found a helpful tip that says to put the paint stripper on the lacquer, wait a couple minutes, then wipe off with a paper towel. I repeated this process until the paint finally reacted to the thinner. The process was so much easier after that on the larger flat areas!
Second Round of Stripping the Paint
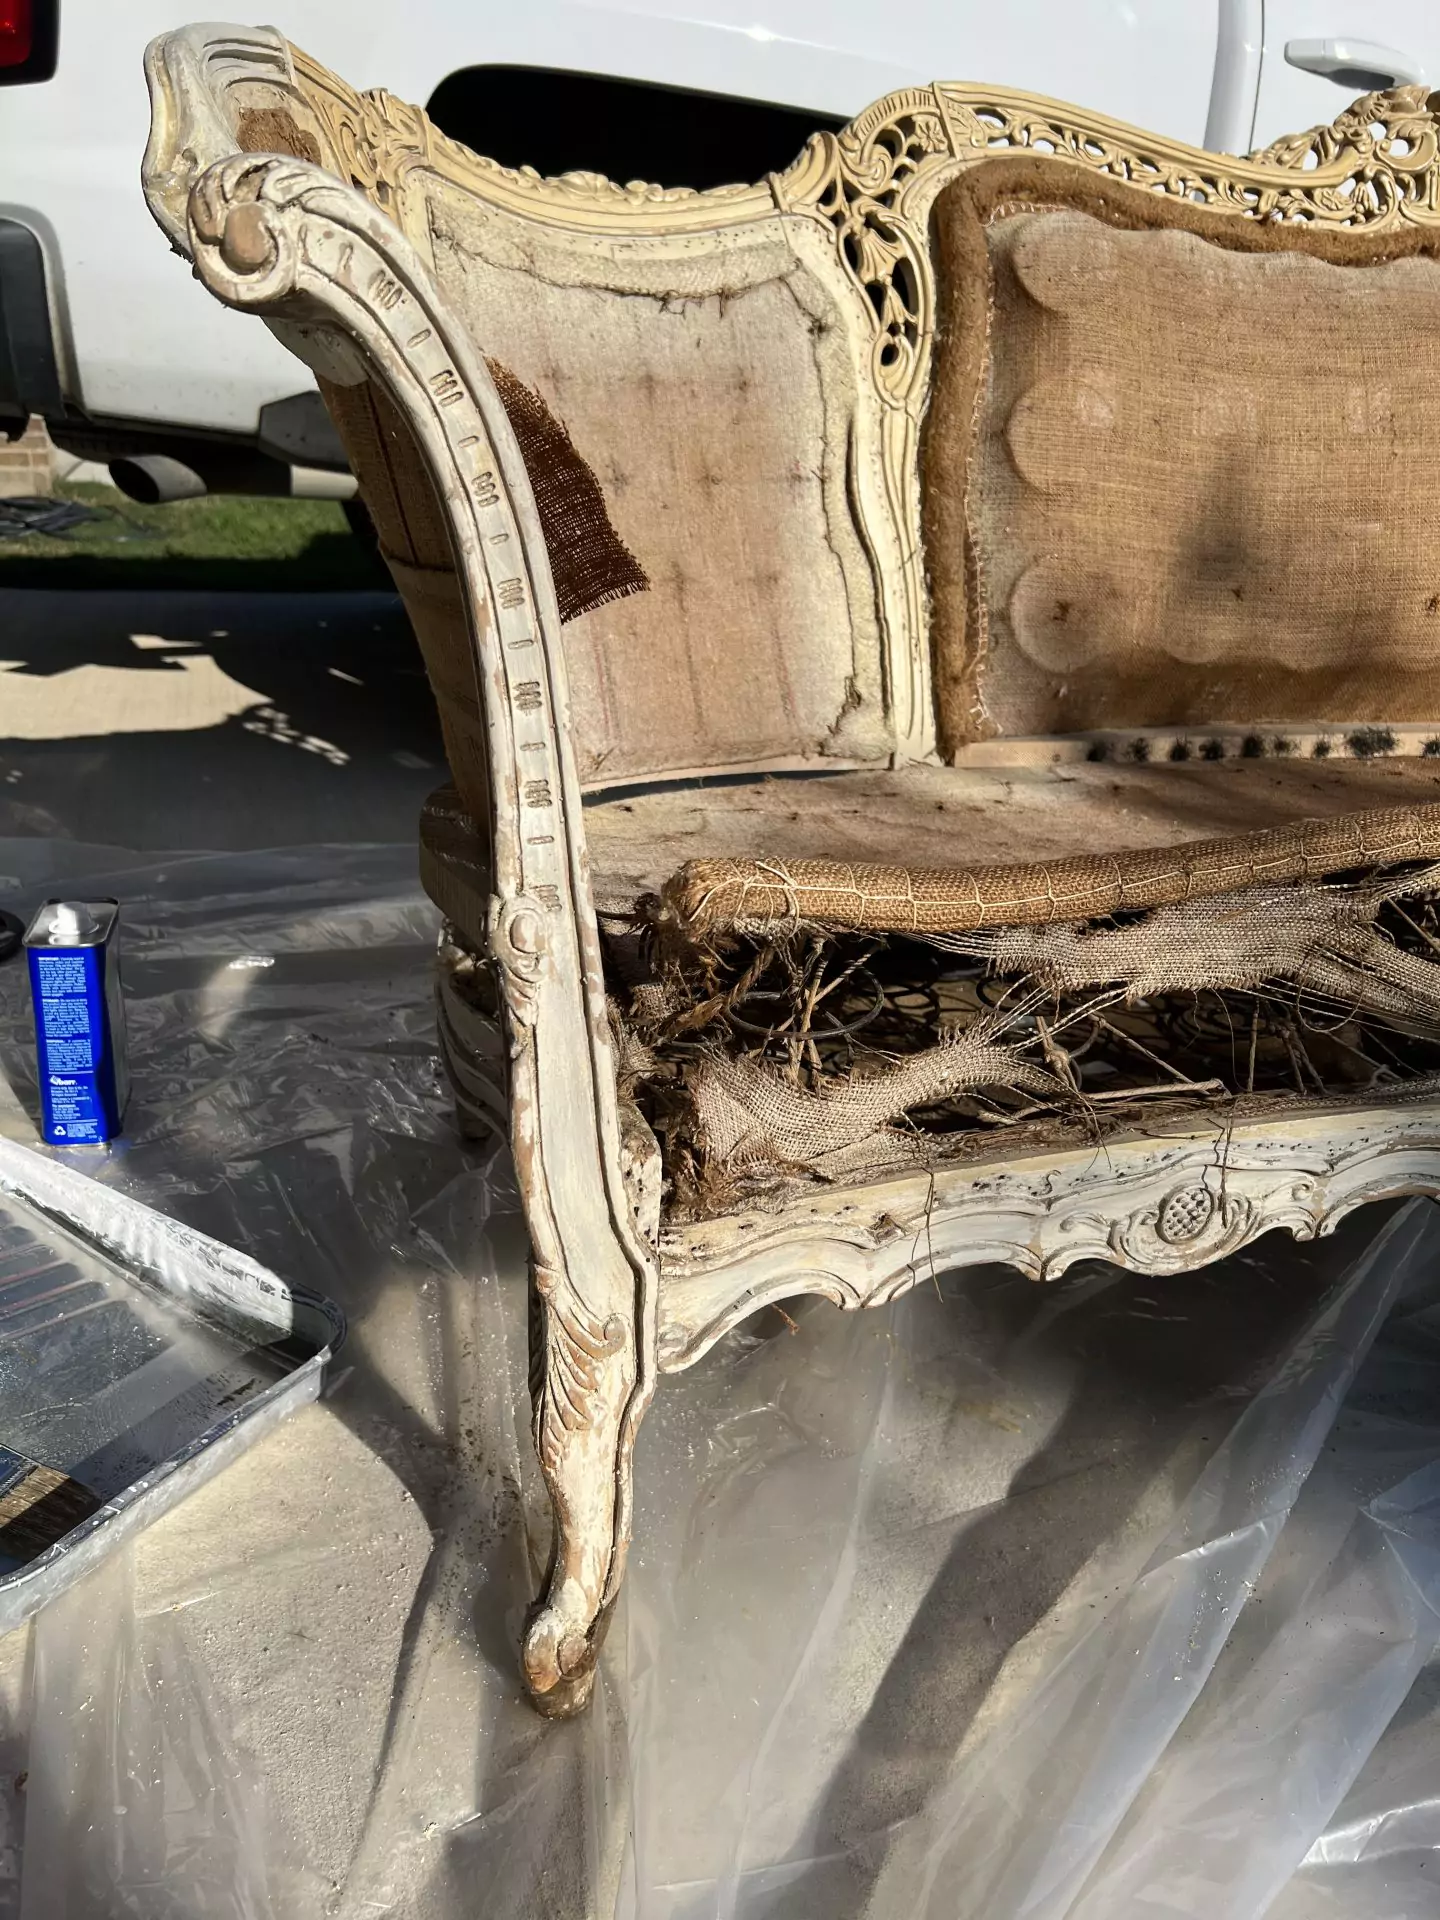
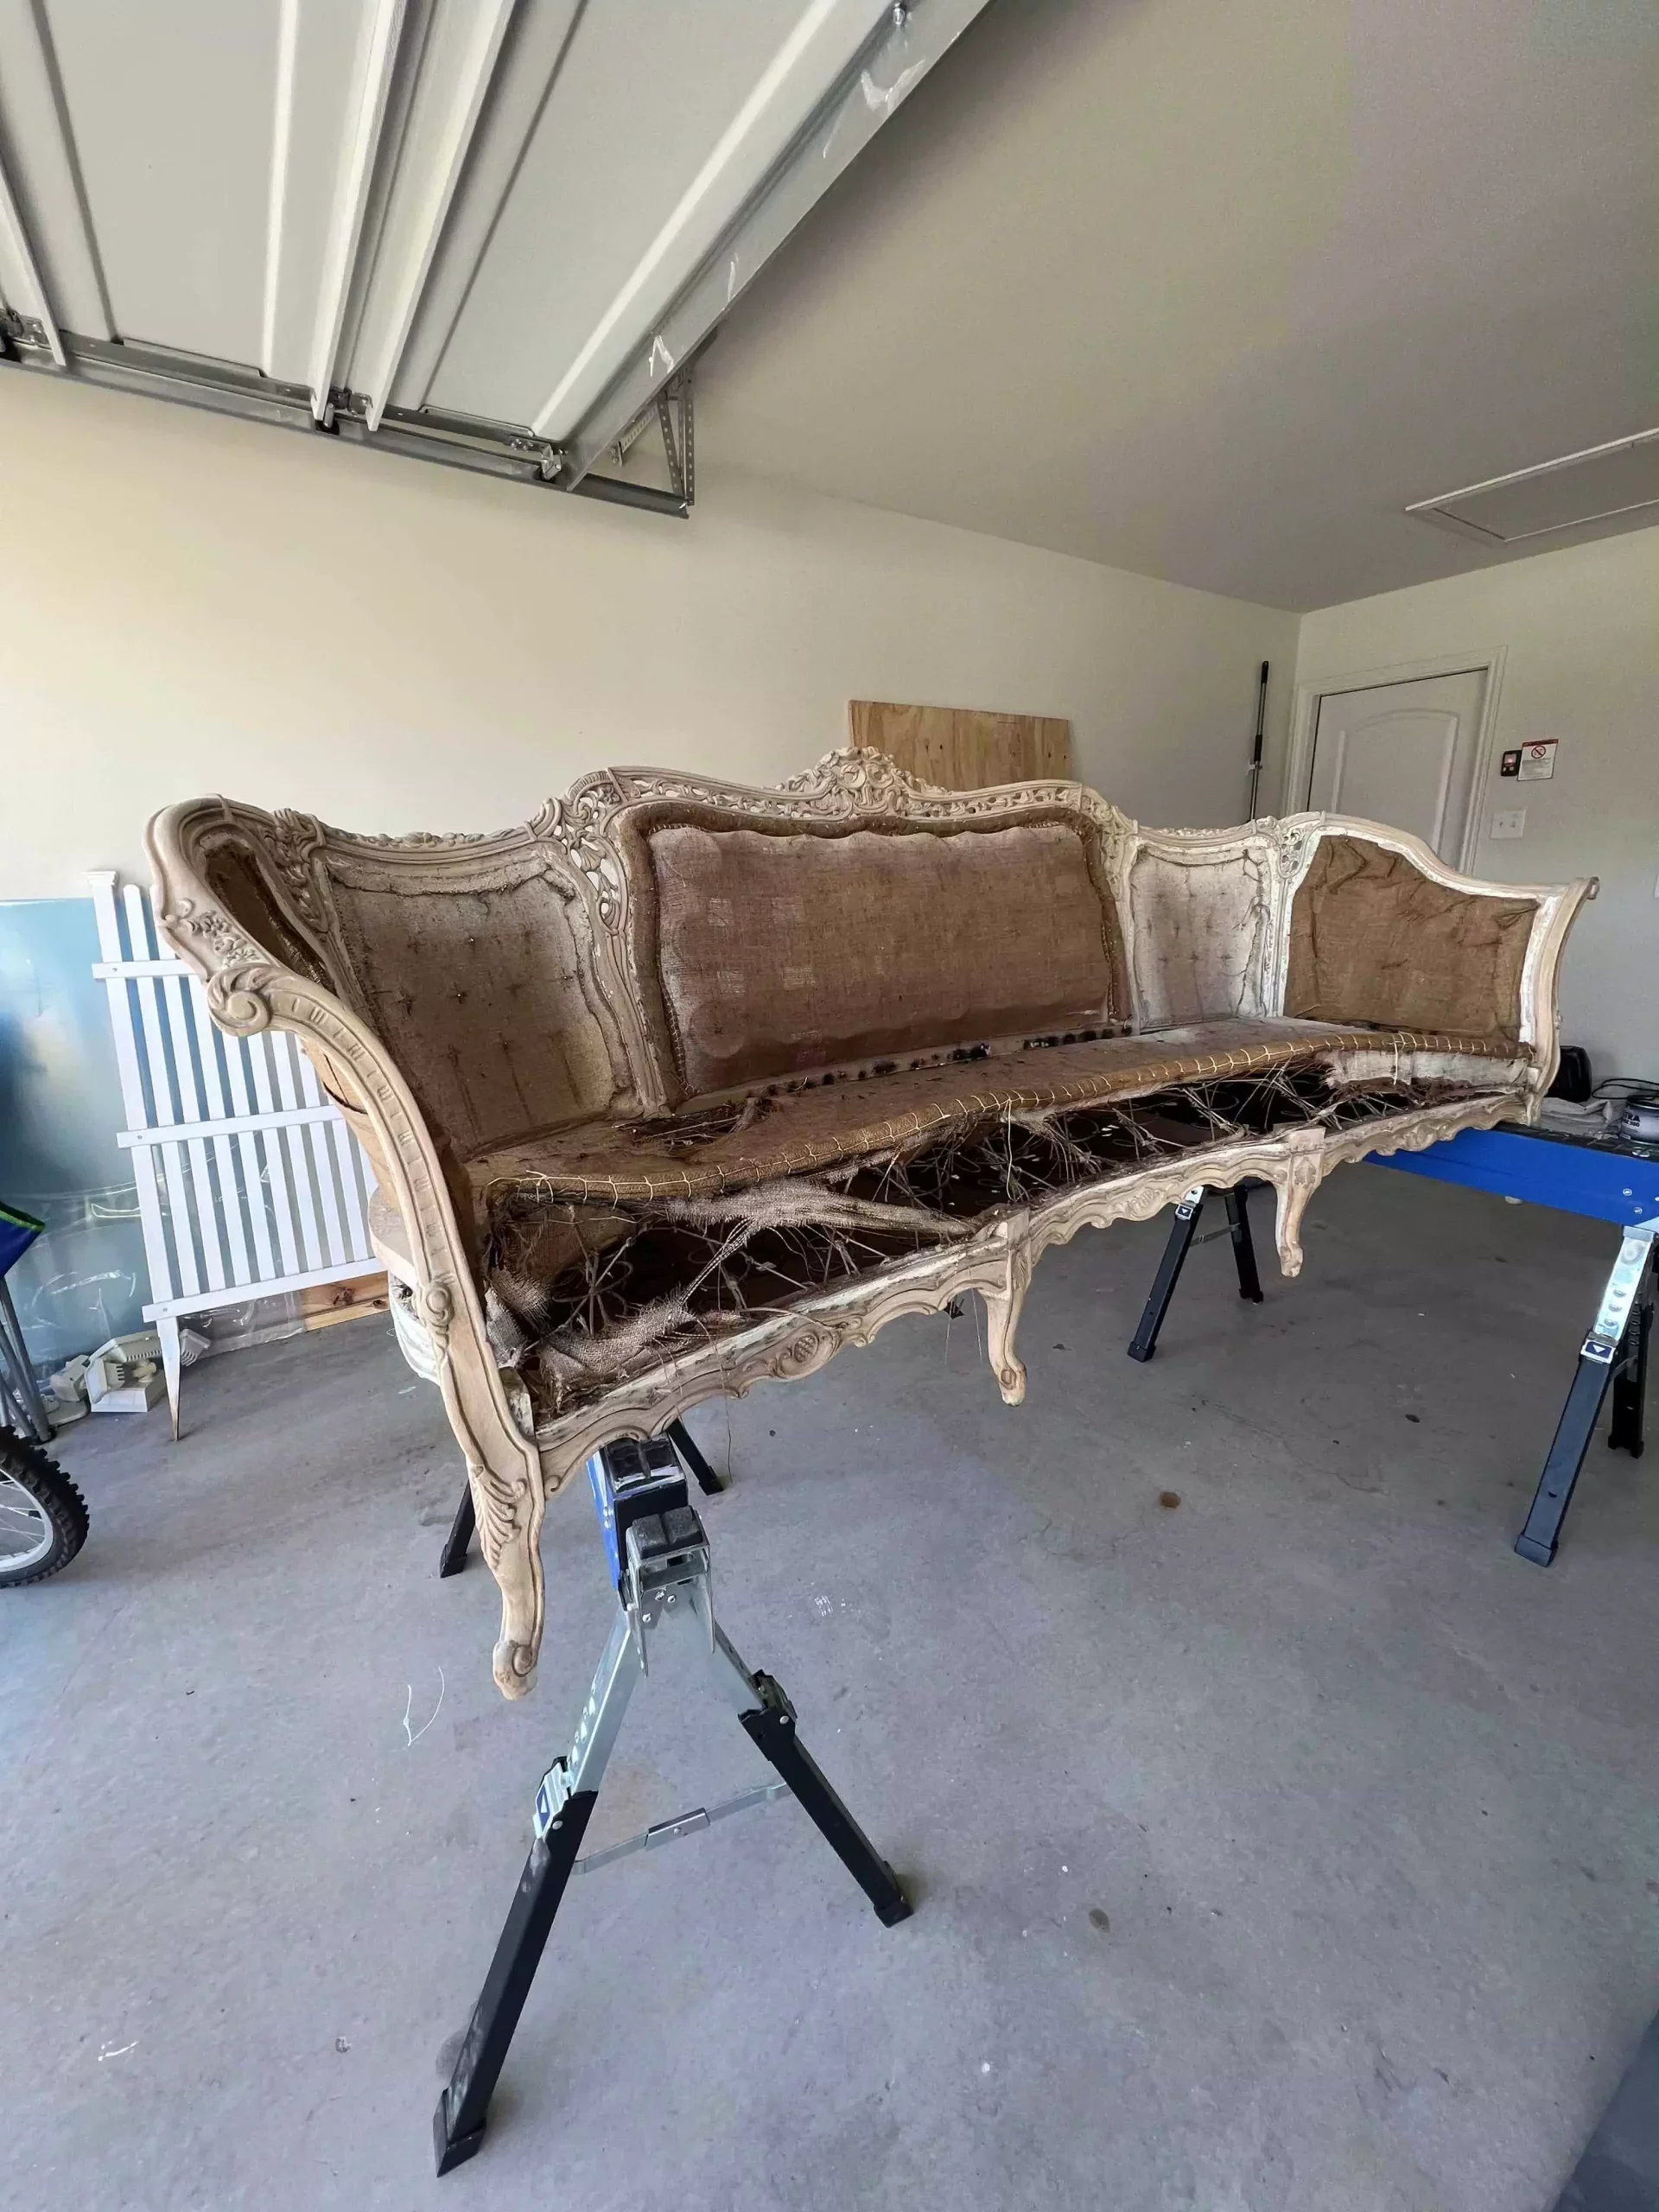
The couch has been back in my garage since December and I’m finally taking it into my own hands again to finish this project. I’ve already found someone who can upholster it, but the wood needs to be finished because I can drop it off. I purchased the fabric, so now it’s time for the elbow work.
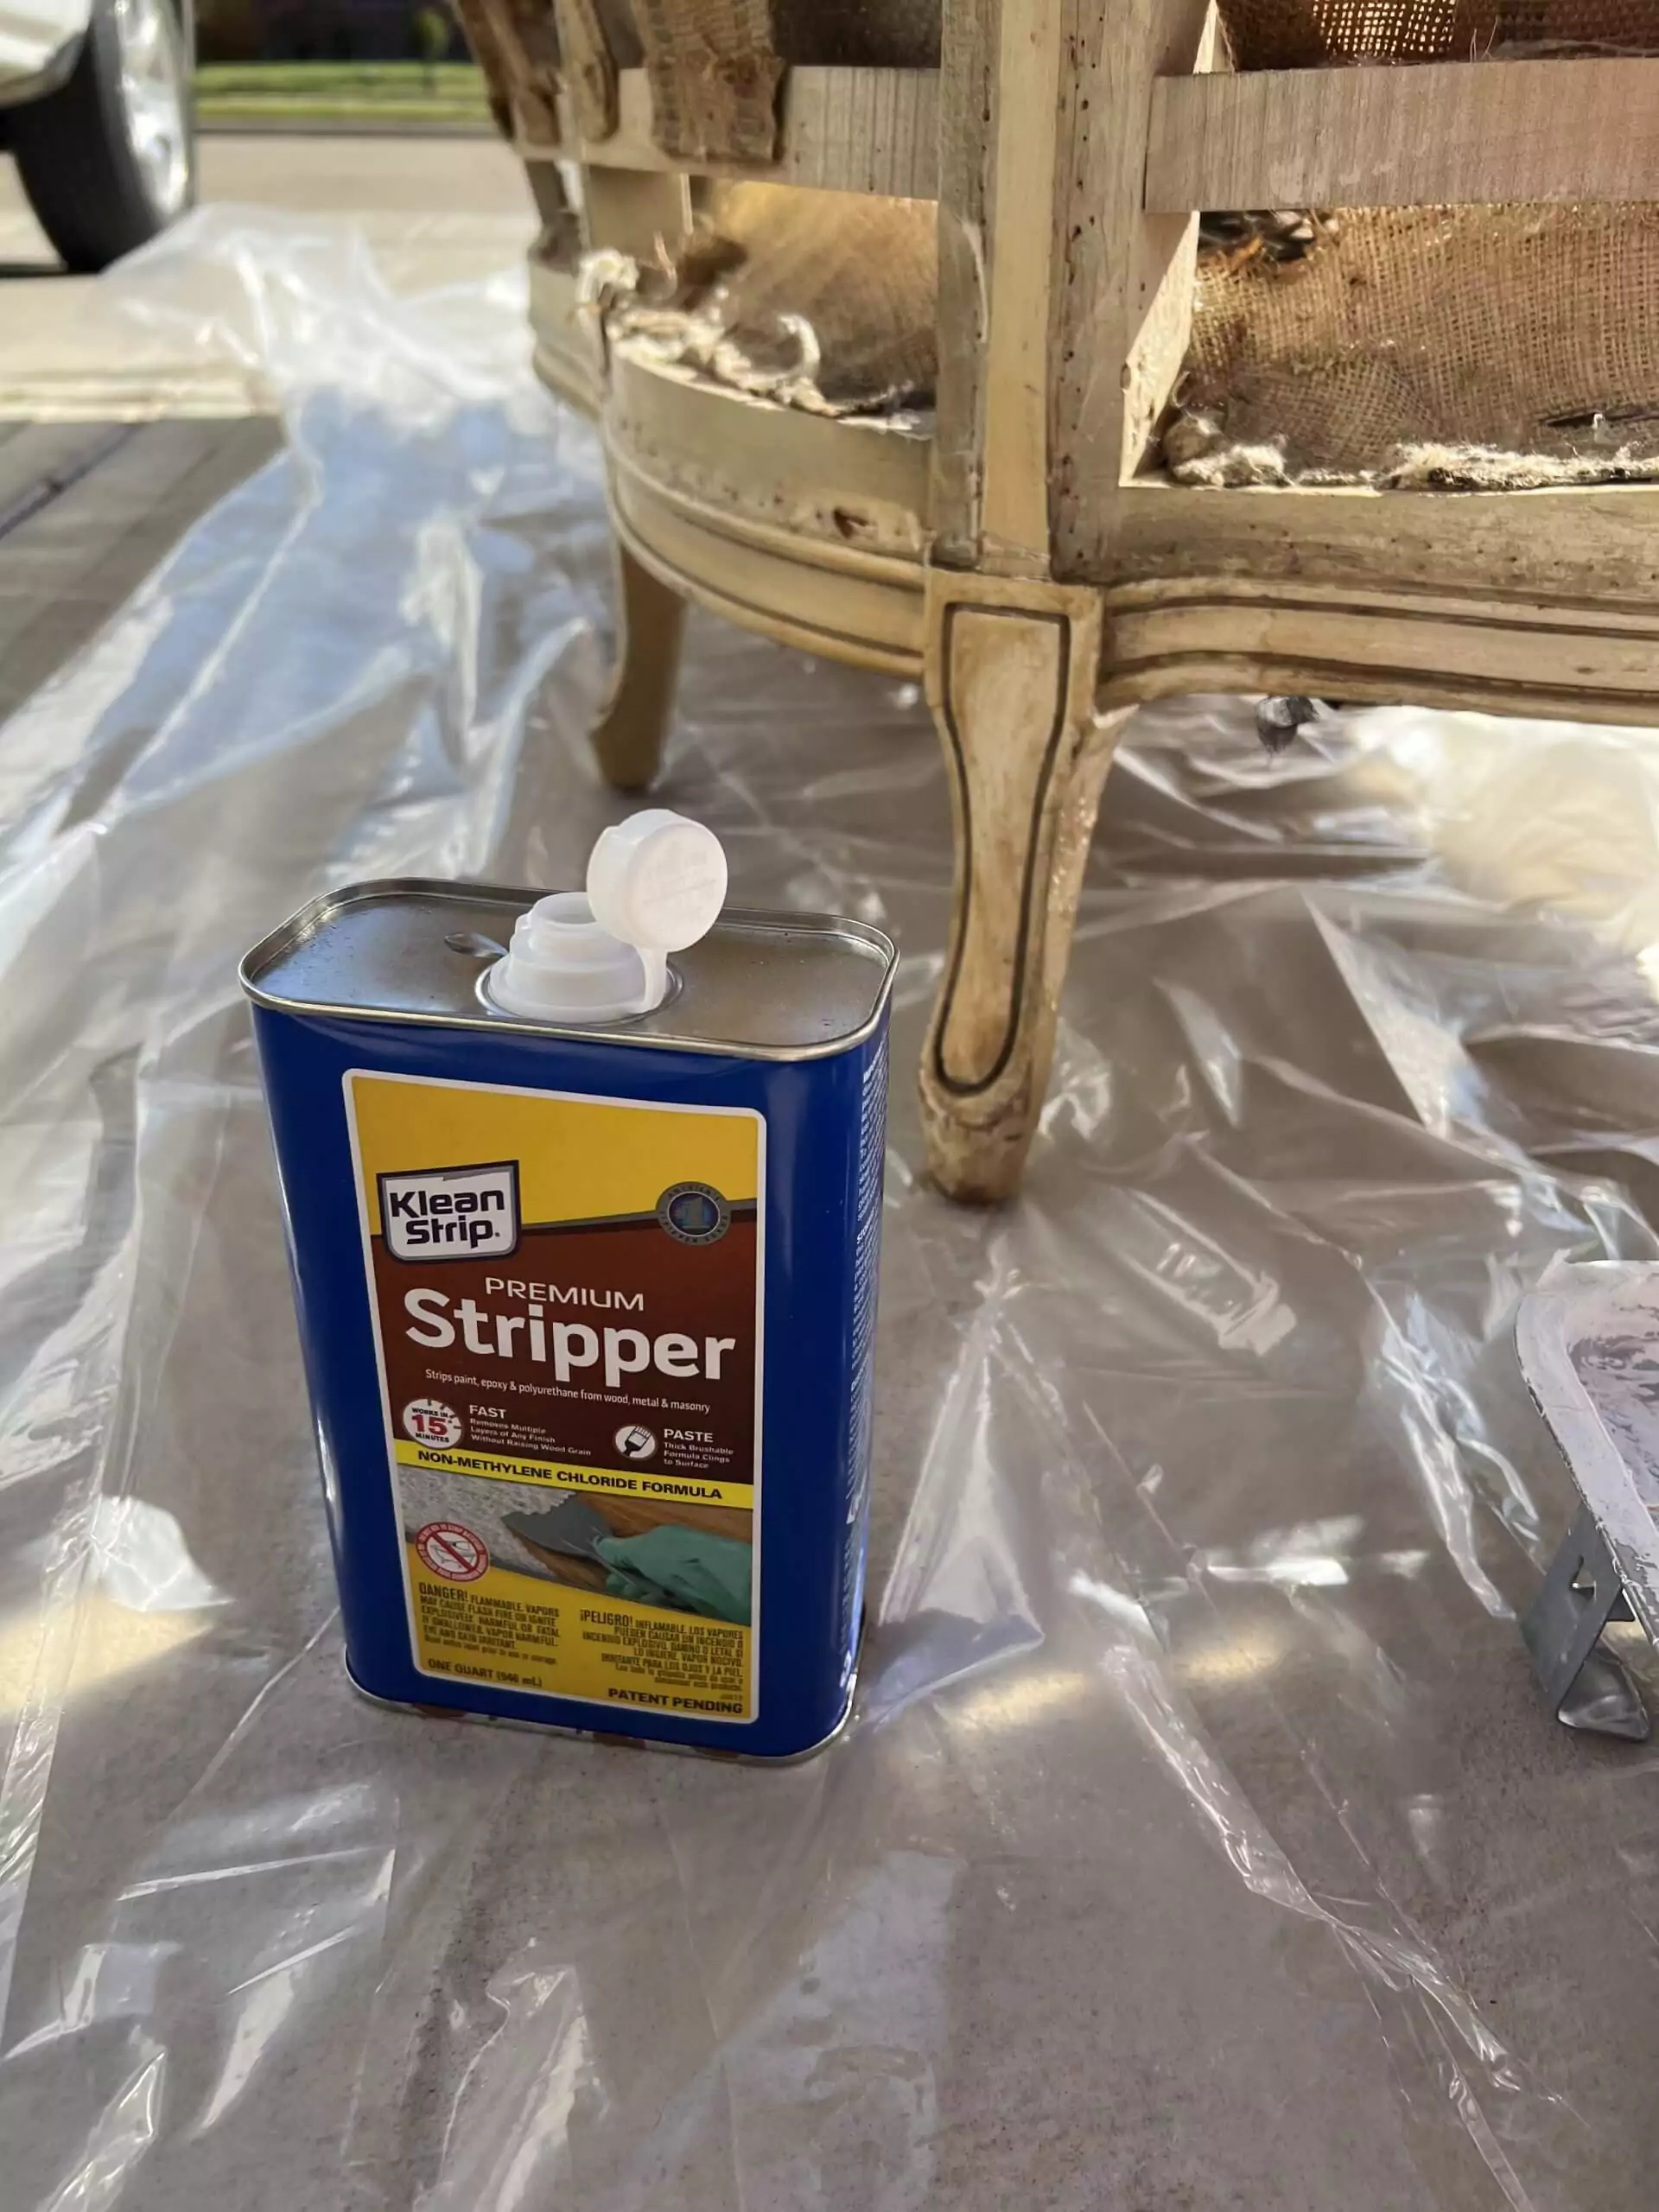
Paint Stripping Supplies:
- Citristrip
- Plastic Blade Scrapers
- Klean Strip Premium Stripper
- Toothpicks (with flat edge)
- Paper Towels
- Mineral Spirits
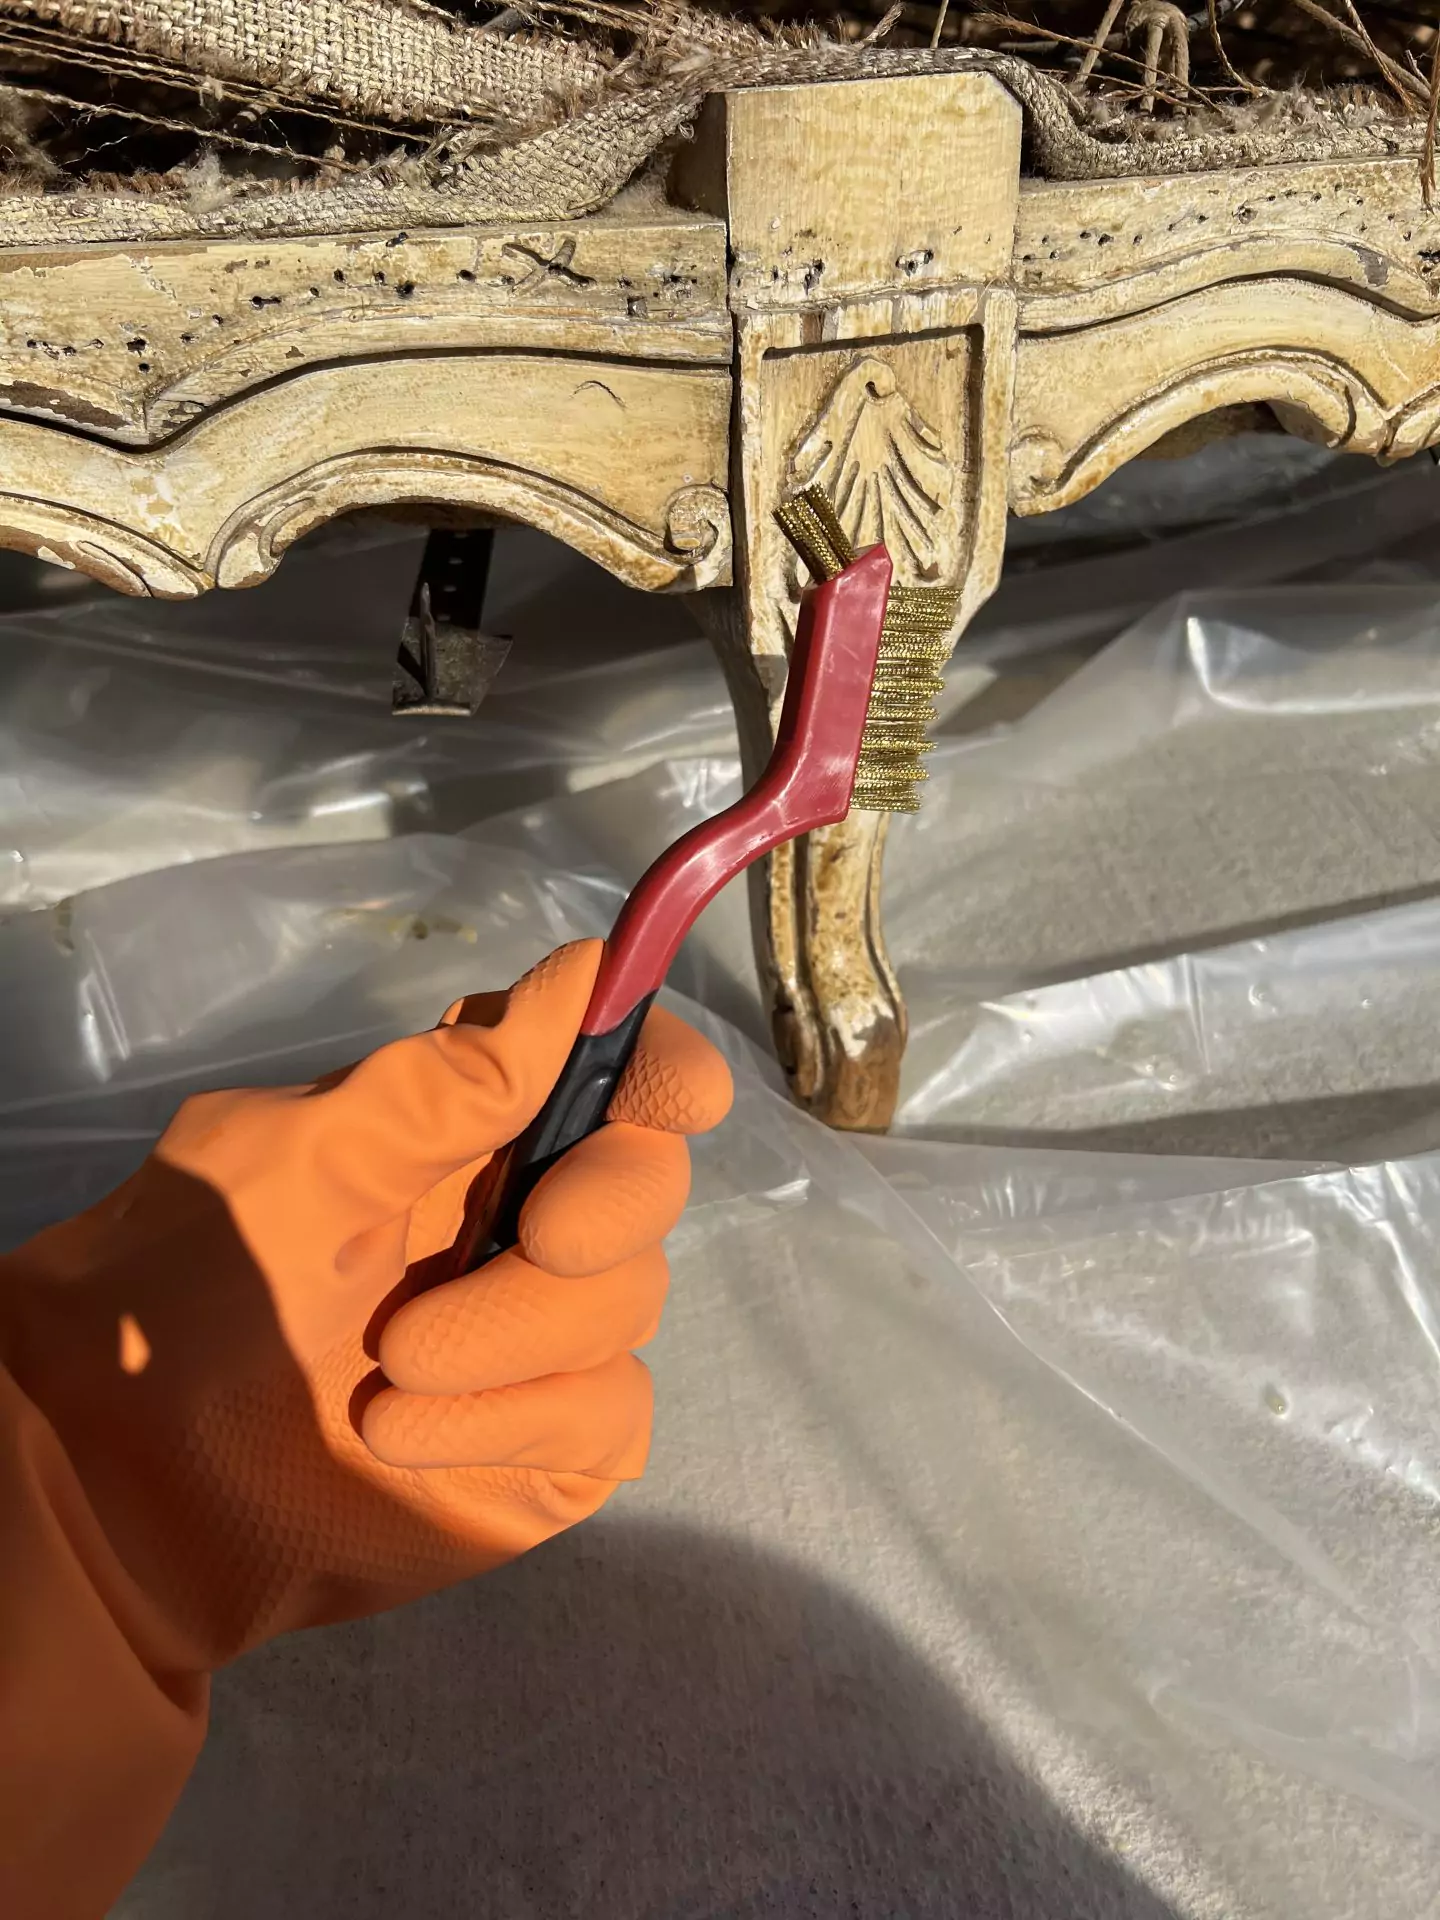
- steel wire brushes
- acetone
- rubber gloves
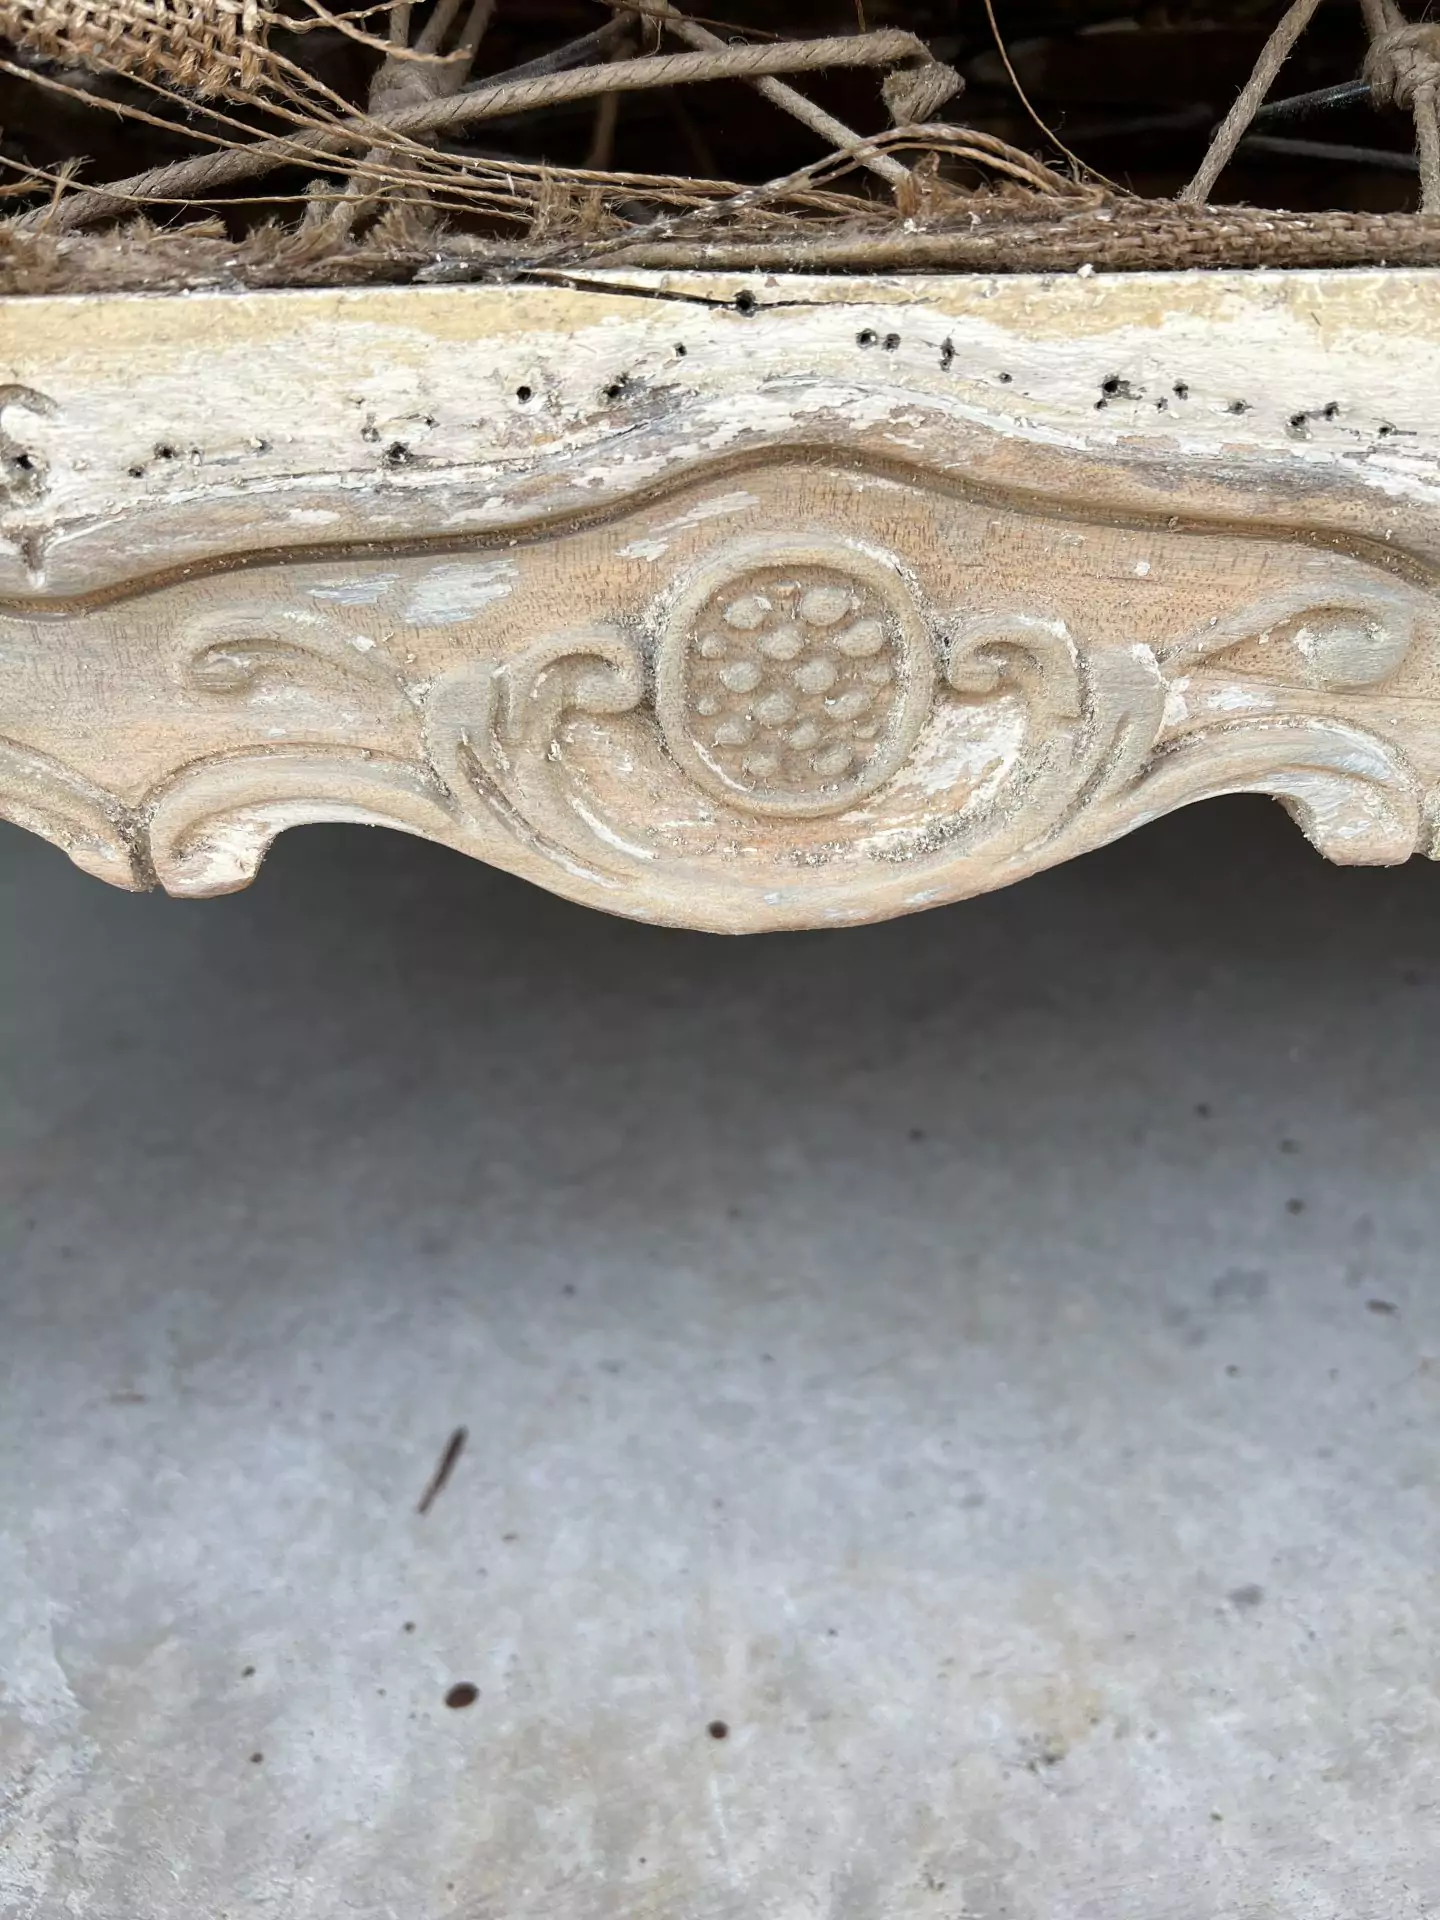
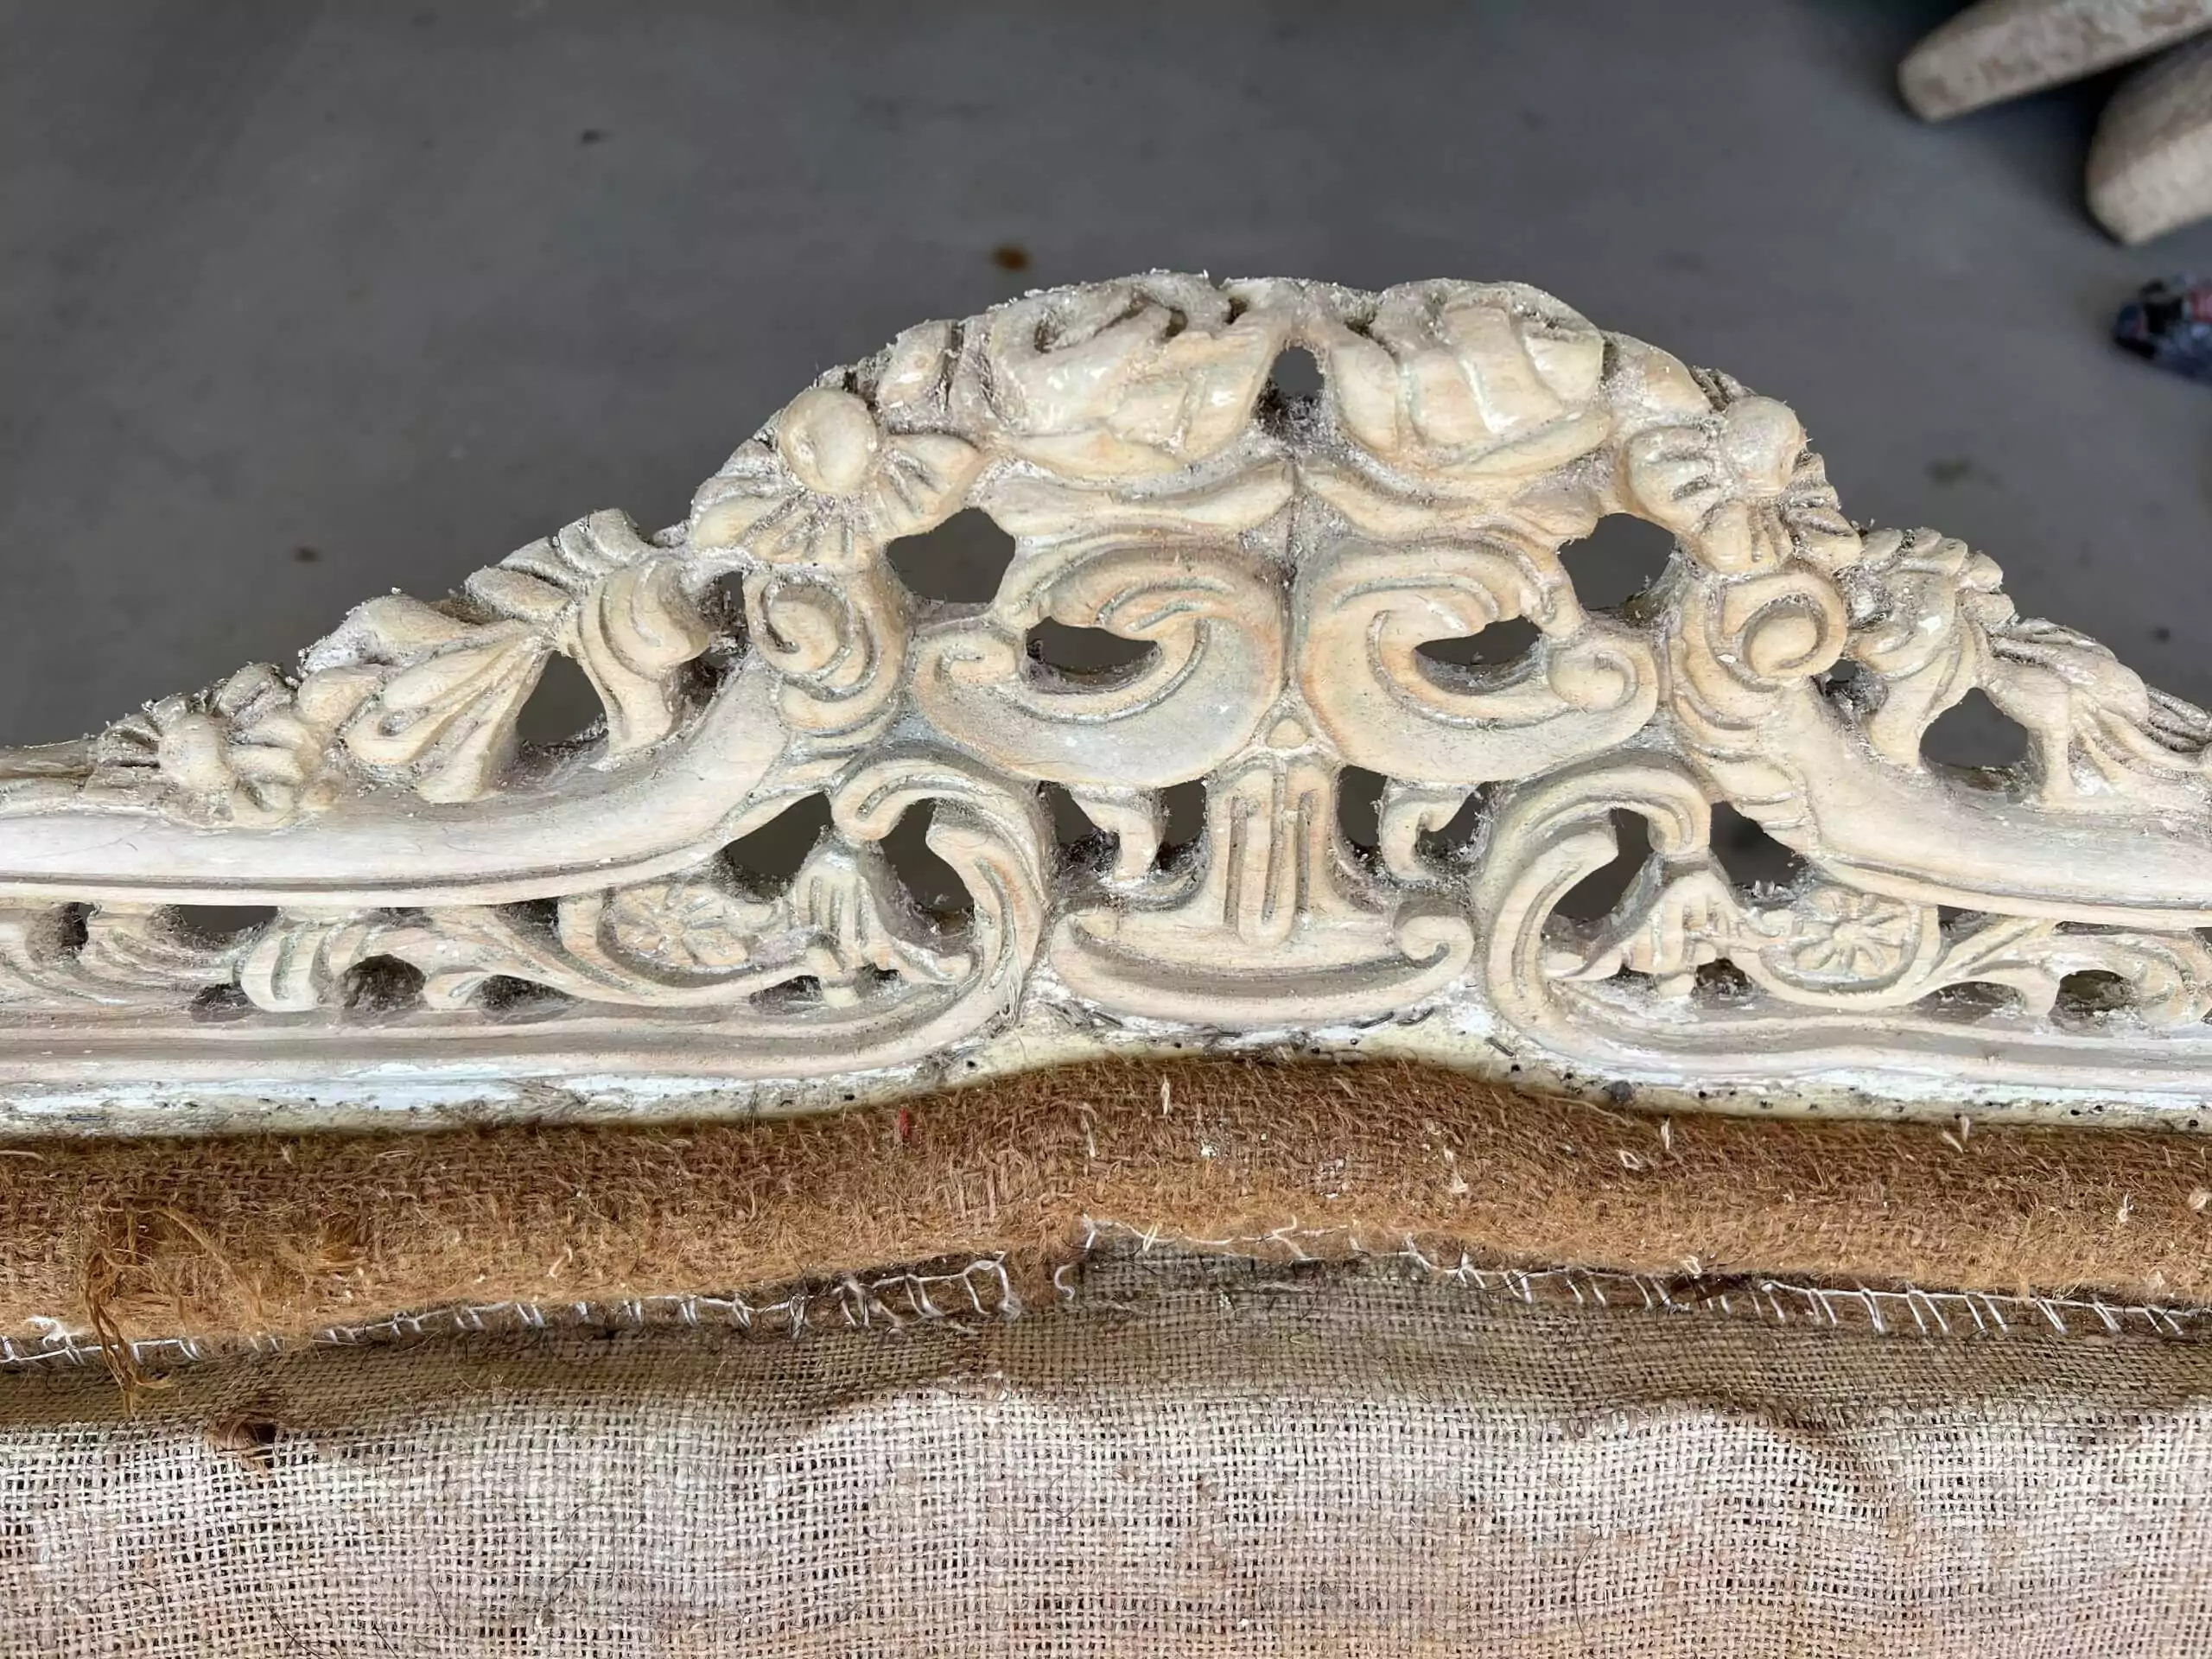
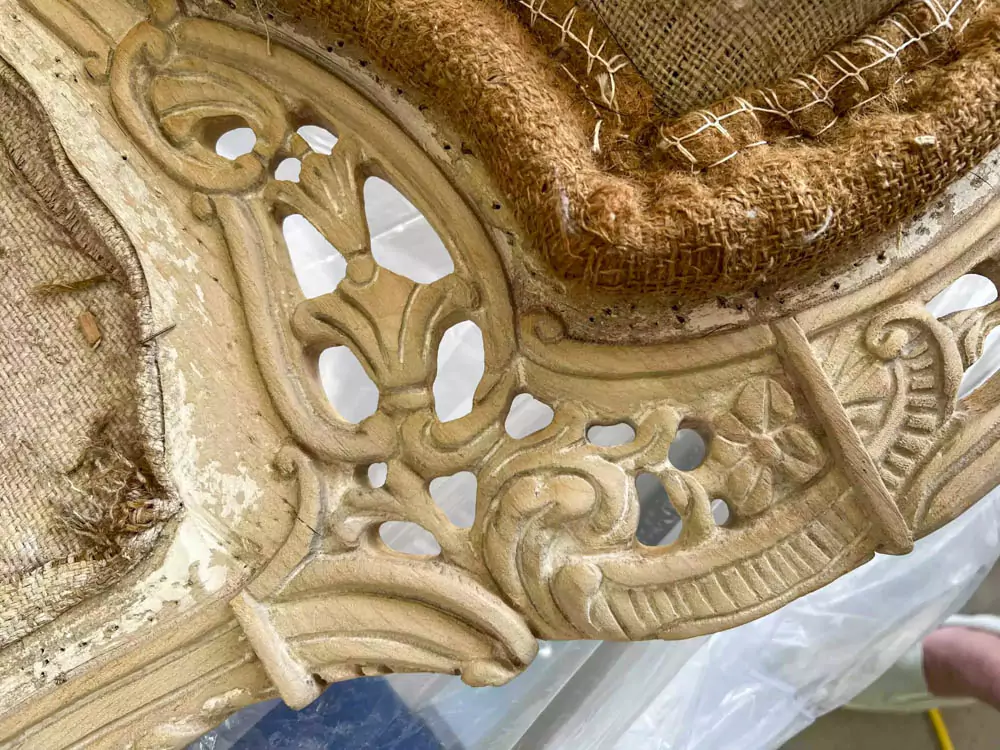
I’ve been working on stripping the paint from the couch periodically, but the wood is very intricate. The layer of polyurethane has been very difficult to remove and ends up leaving clumps of hardened paint remover on all the details. You can see the gunk build-up inside the tiny little crevices in the pictures above.
I only tried to wipe off the excess, but I didn’t know how to get the gunk out of the crevices. I created a bigger problem for myself because I tried to do too much at once. I now have to work through a dried layer of the stripping product and the original layers.
On the areas that I did manage to get the paint removed, I went over the wood with pure acetone and mineral spirits to clean up the rest of the gunk.
Tip: Learn from my mistake – don’t do a large area at once with the stripping product. Because of the polyurethane layer, I was using too much stripping product and it was drying before I could even go back to the area to wipe off.
Sanding through the Lacquer
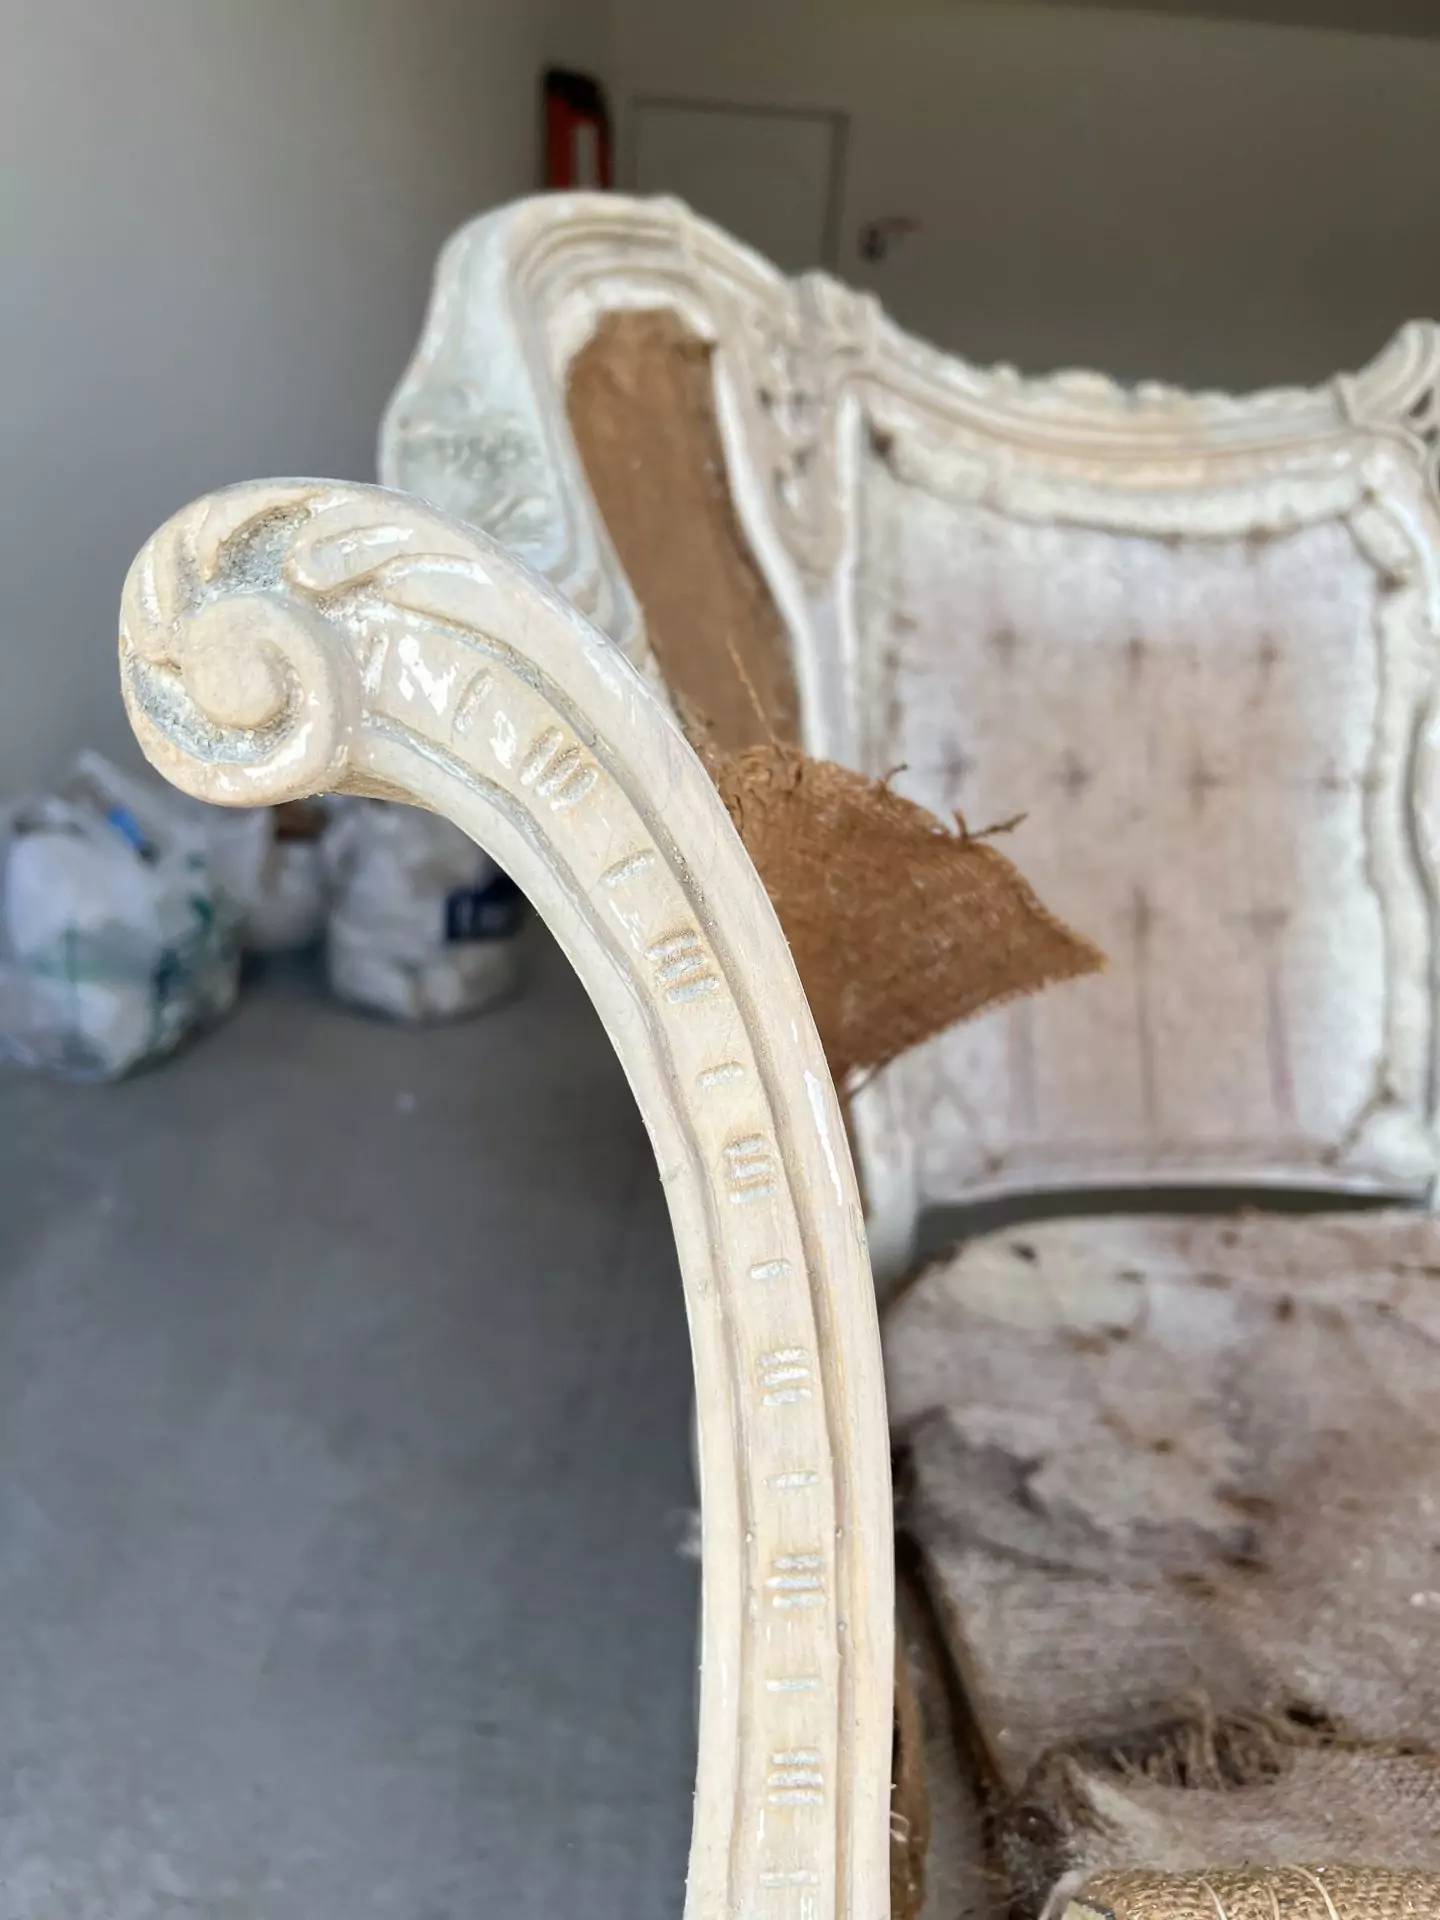
On the larger flatter areas, I used regular 60-grit sand paper to get most of the lacquer and paint off by hand, but I could get into the corners or in any of the details.
I finally voiced that I need something tiny to get just “scrape” off the lacquer layer so I can finally get the paint remover to the paint itself. Zack introduced me to the Dremel tool and, just like that, I found all the tools I needed to work on the details.
Zack found the grinding stone in stock at Home Depot, and he picked it up for me Saturday morning. I spent about an hour working with it. I used it fairly aggressively on some areas, but it was also too large to get into the crevices. The shape also made it difficult to go into the tiny lines without grinding down the wood.
I searched the Dremel website to see some other options to use. The grinding stone looked to be the smallest size available. We stopped at Home Depot to see what they had in stock and if there was something else that would work better for me. They had it in stock and it was the perfect size to get into all the tiny areas.
I spent about 6 hours working on grinding the lacquer layer, and then I started applying the paint remover.
What worked best for me to remove the paint was working on very small areas. This helped with the stripper not drying out – which is why I ended up with all the bits that needed to be ground off.
I tried to use some small picking tools, but toothpicks were the most helpful. It’s been a long and tedious process, but I’m finally making progress of removing the paint. I ended up finding this set of plastic blade scrapers to help with all the lines.
Once I finish getting all the gunk and paint off, then I’ll be sanding the wood down to prepare for stain.

You can see the final diy couch results here.
Cheers,
Katie


