Hovel Sweet Hovel contains affiliate links and is a member of the Amazon Services LLC Associates Program, which means I may receive a cute little commission if you purchase through my links, at no extra cost to you. Please read full disclosure for more information.
Our DIY Ikea PAX Built-in Closet Makeover
Welcome to our Ikea PAX built-in closet DIY!
Having an organized and functional closet is a game-changer when it comes to managing your daily routine and keeping your space clutter-free. If you’ve been dreaming of a stylish and efficient wardrobe but don’t want to break the bank, enter the IKEA PAX wardrobe system.
With its versatile and customizable features, the IKEA PAX allows you to design a semi-custom closet that perfectly fits your needs and style.
In this post I will go over everything we used to create our semi-custom diy master closet makeover. If you have any questions, feel free to drop them in the comments below. Otherwise, happy reading!
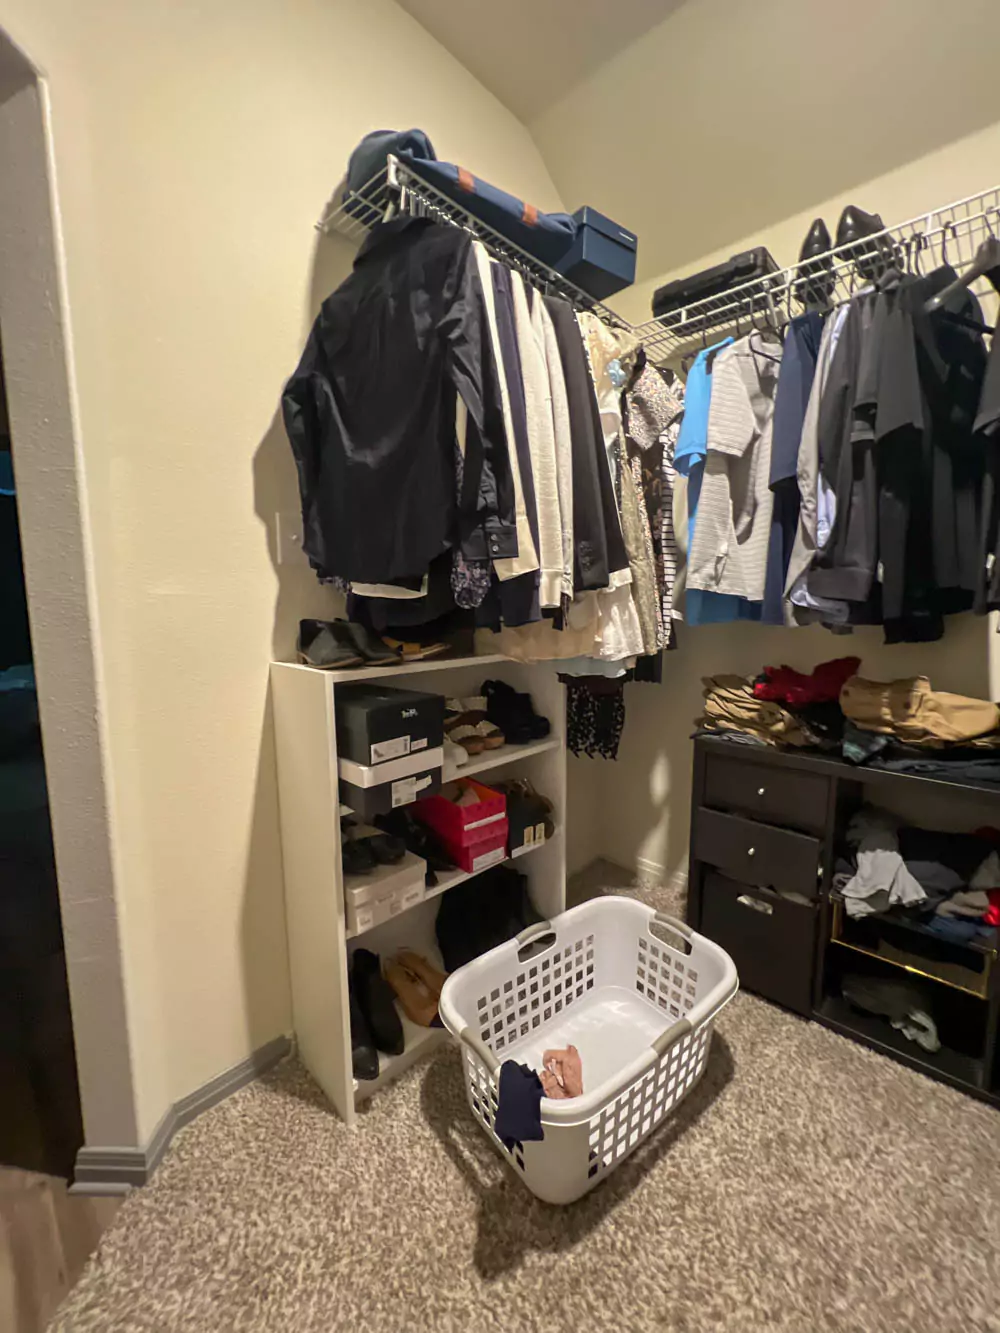
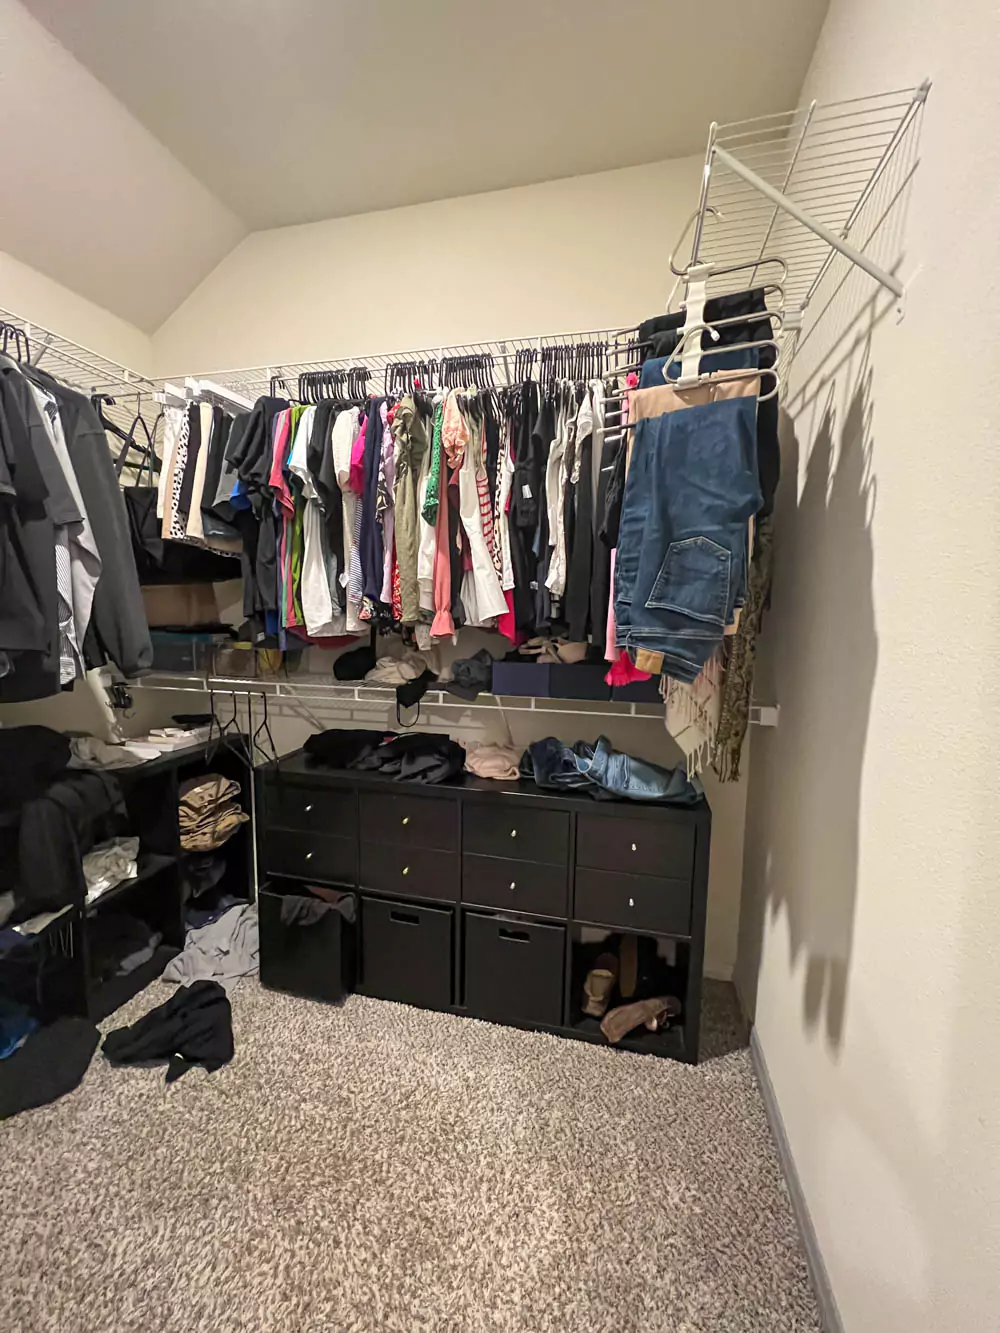
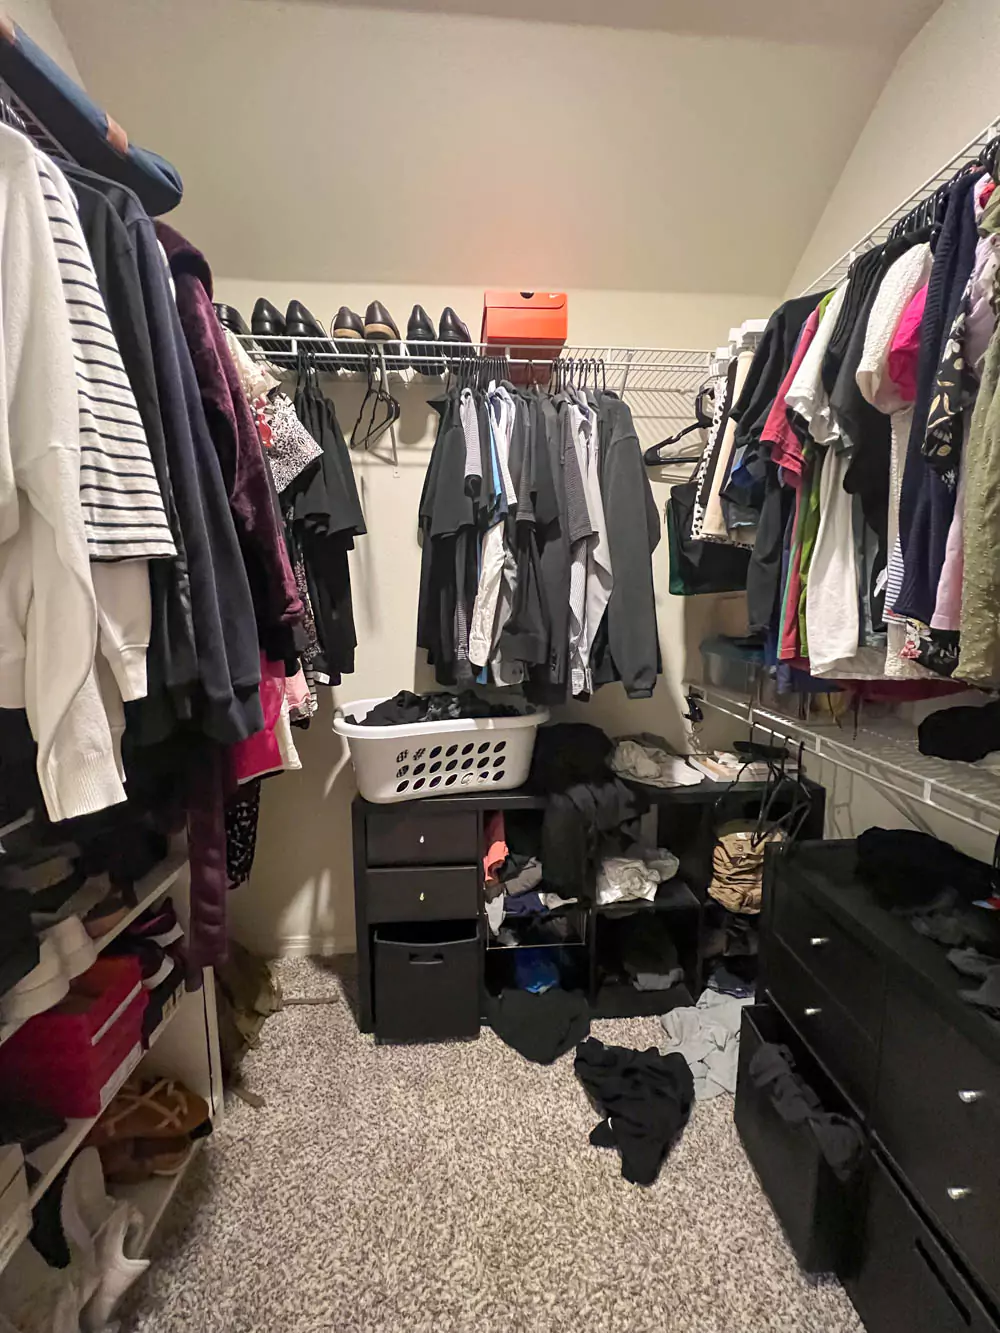
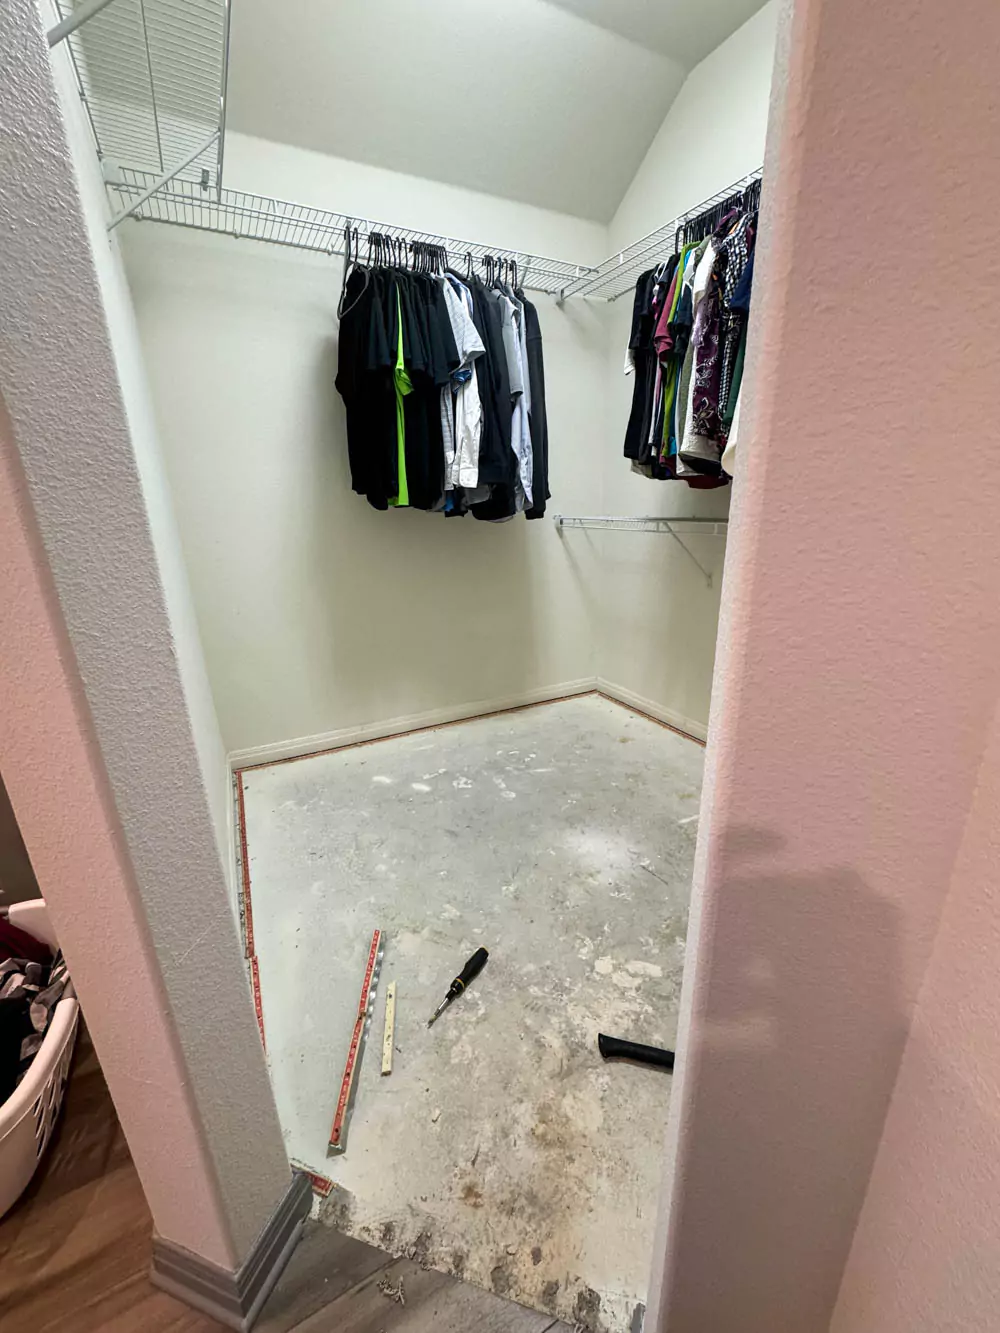
Closet Before
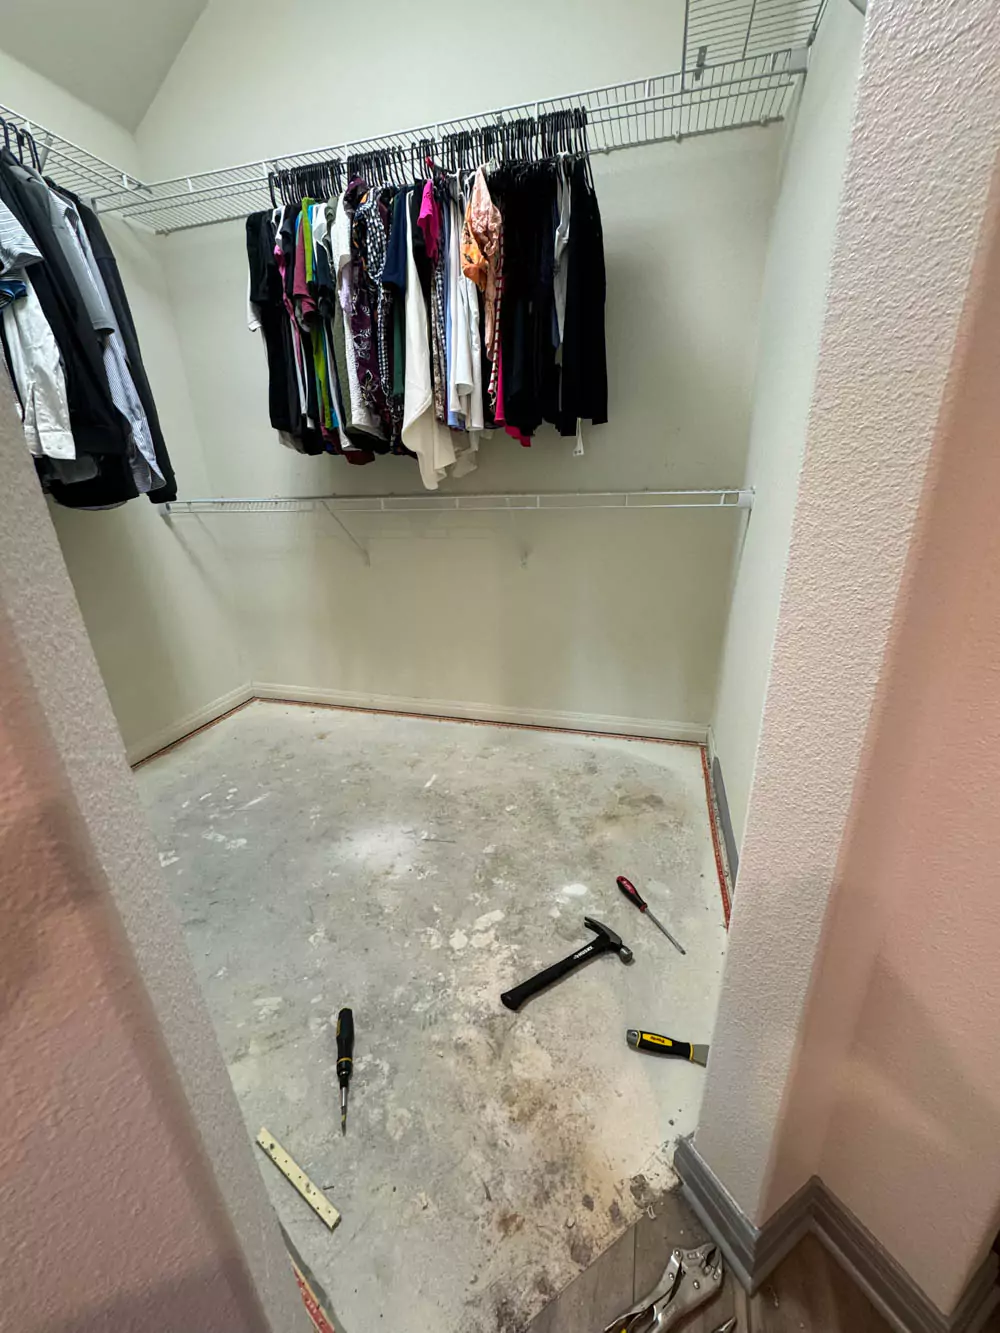
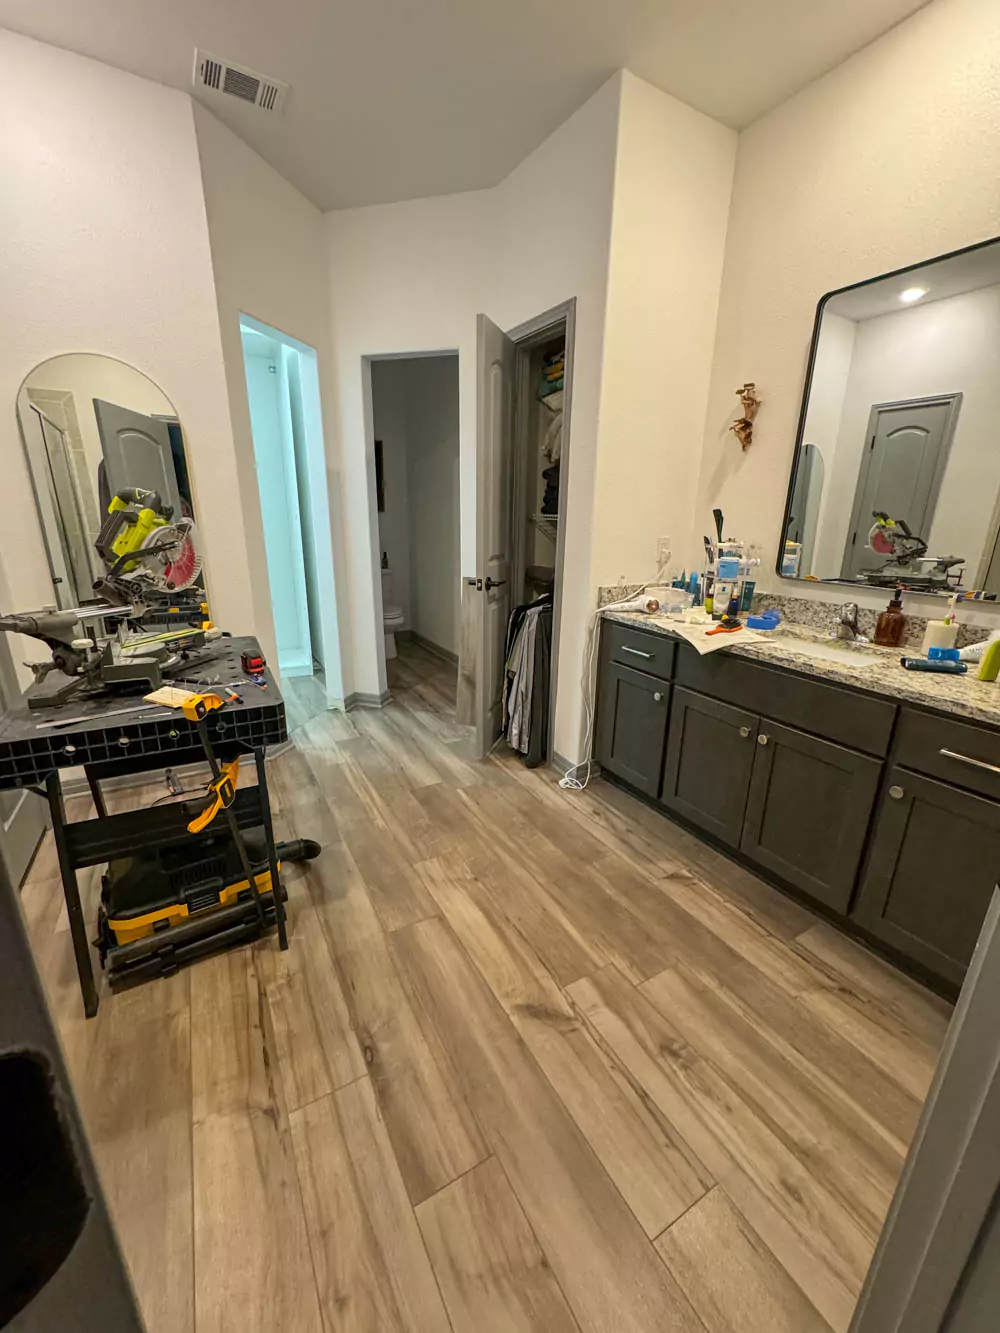
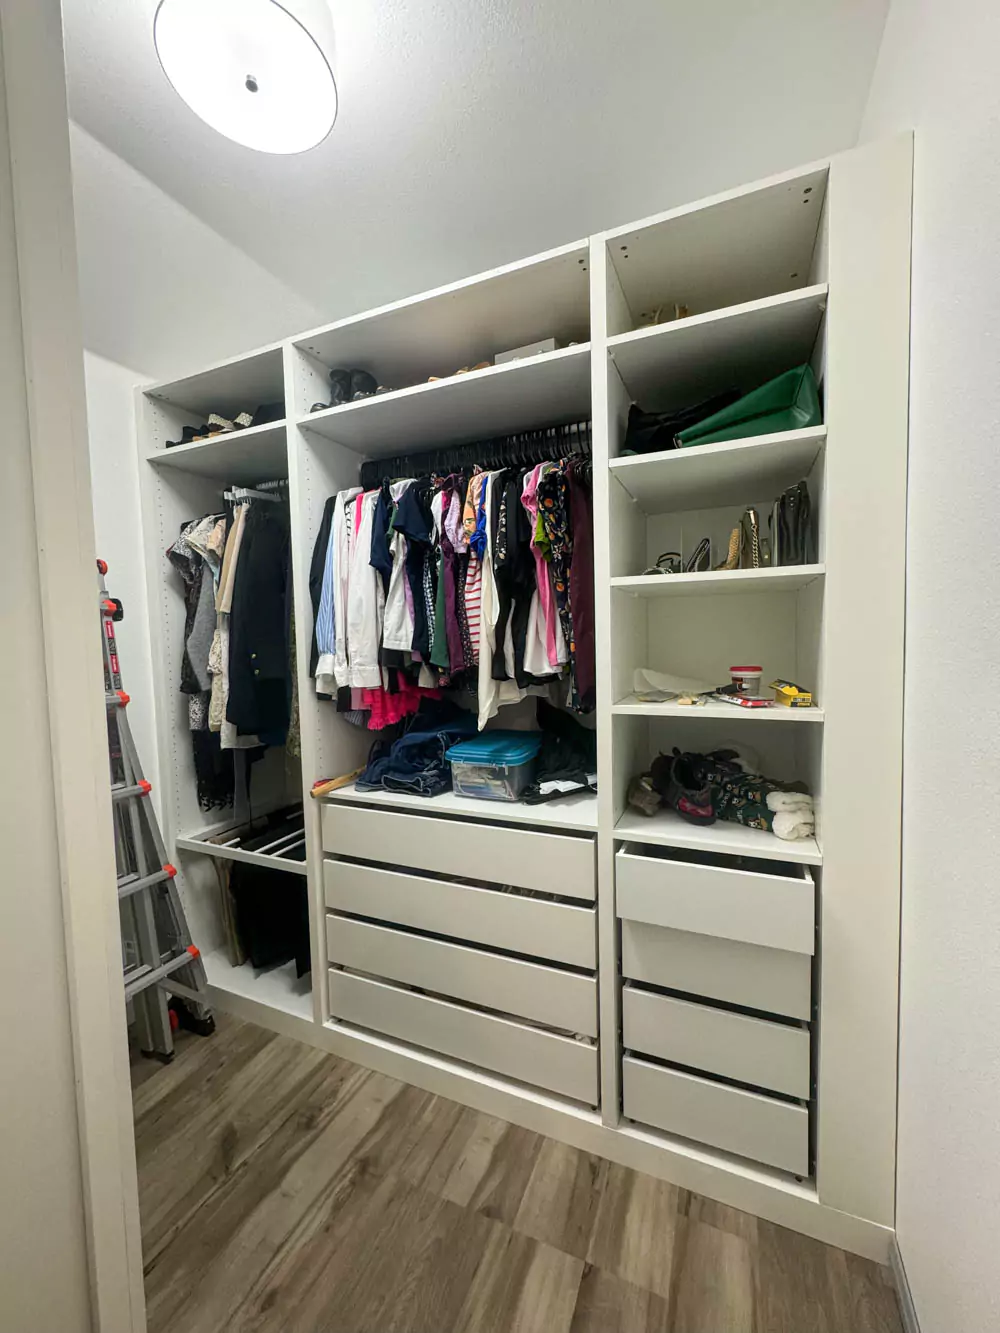
Our closet was very basic. We had one wrap around Closet Maid track that extended around the four walls, then only one lower shelf on one wall.
It wasn’t enough storage for us, so we used two Ikea Kallax Shelving units to use as our dressers. I also had one Ikea Billy Bookcase that I used to store shoes.
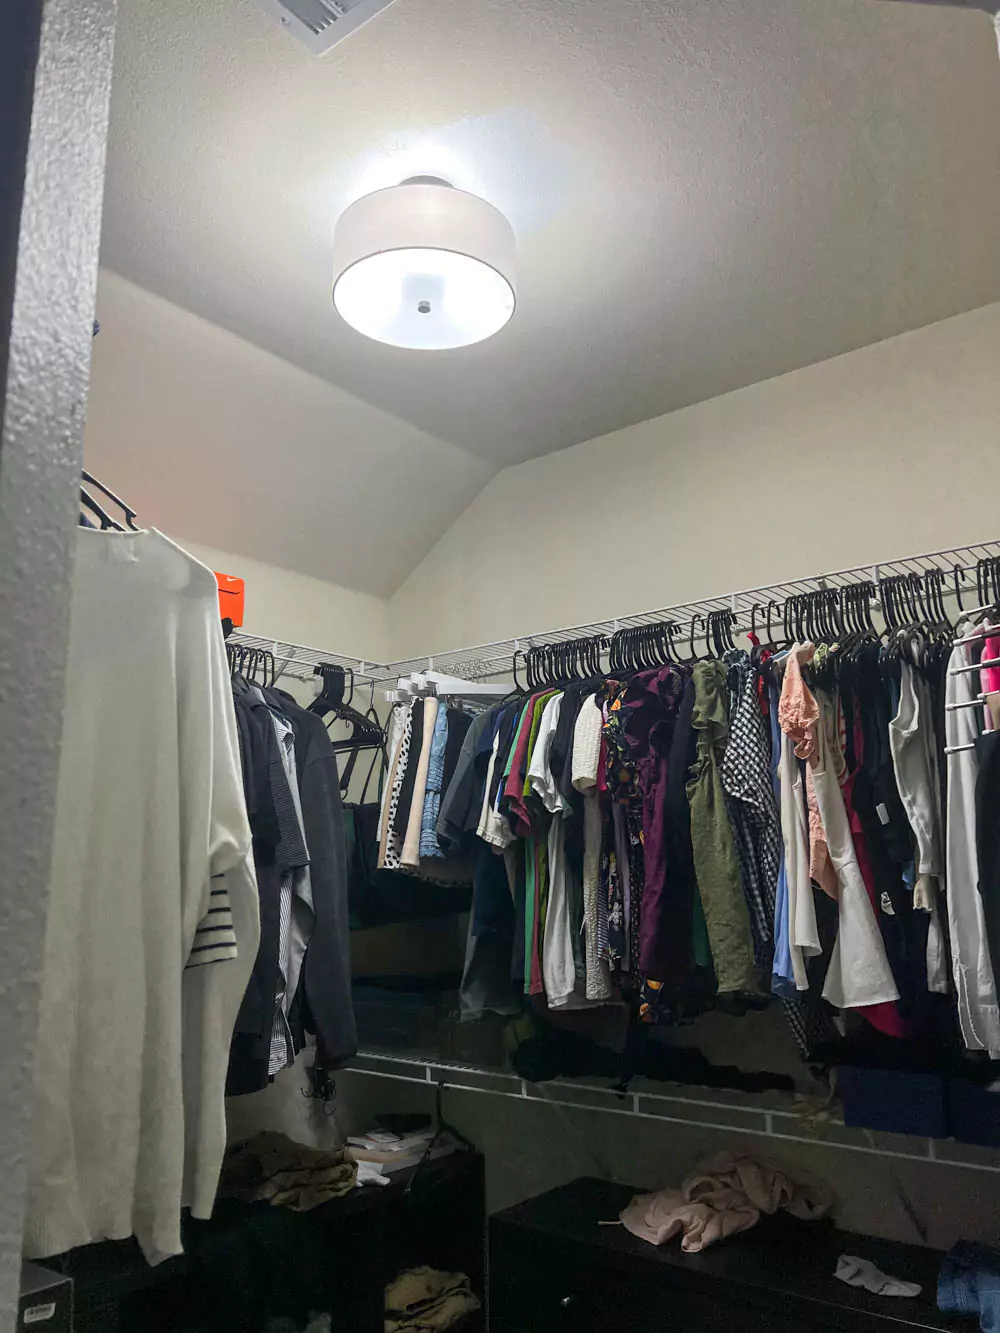
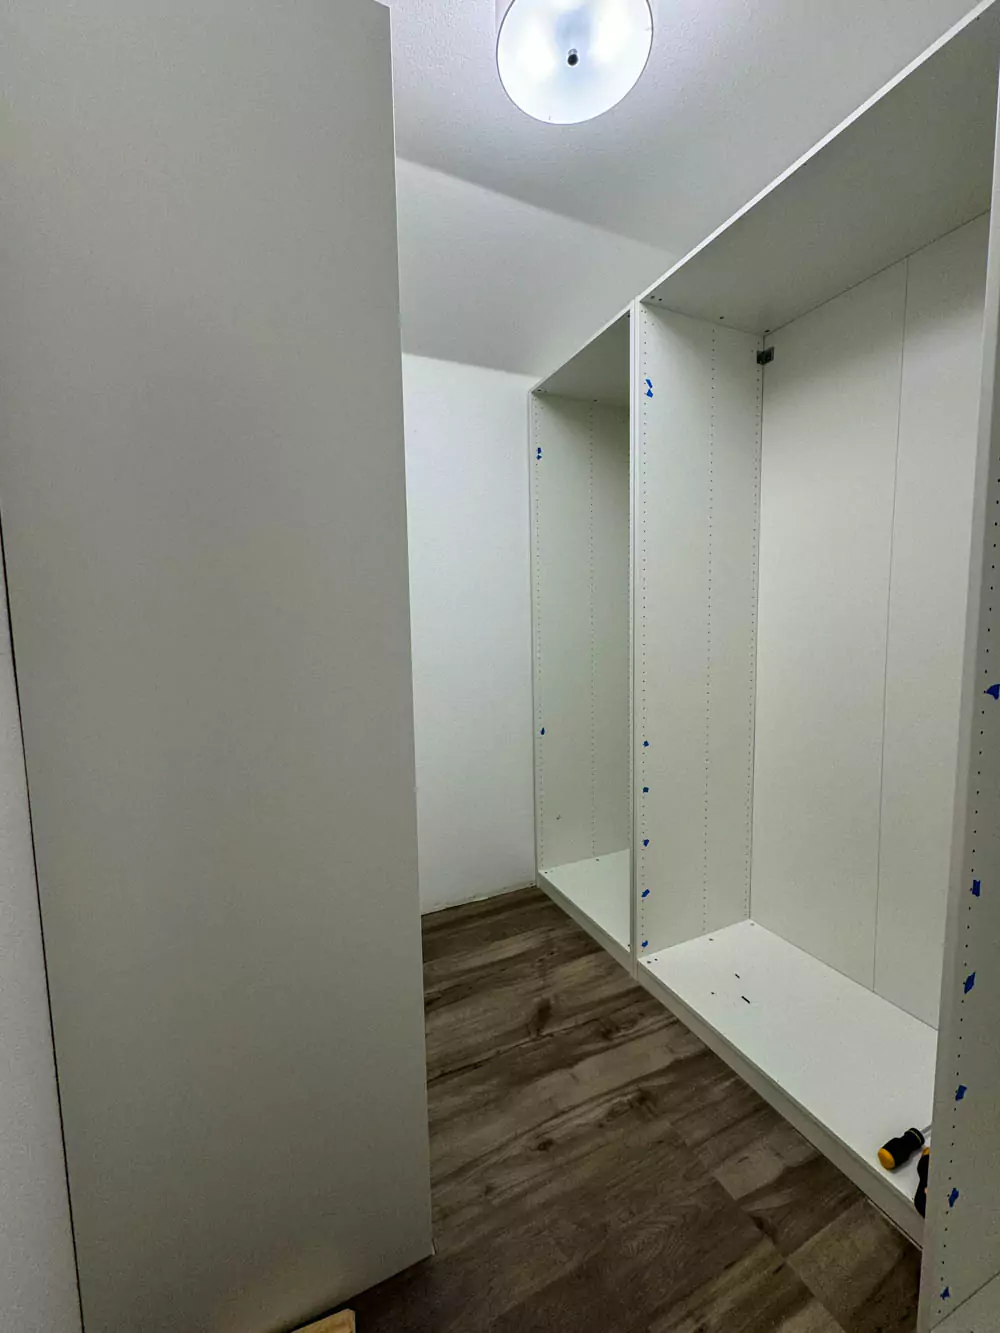
Closet Lighting
Before we even planned anything else, I purchased the light fixture that matches our entryway. Our house if full of recessed lights that have not been good to us. The electrician never removed the coating on the most of the wires so they end up flickering and sometimes even falling out of the ceilings.
It is the Ludil 3-Light Semi Flush Mount Ceiling Light Fixture from Amazon. We also picked a daylight lightbulb and it’s been an amazing change in lighting.
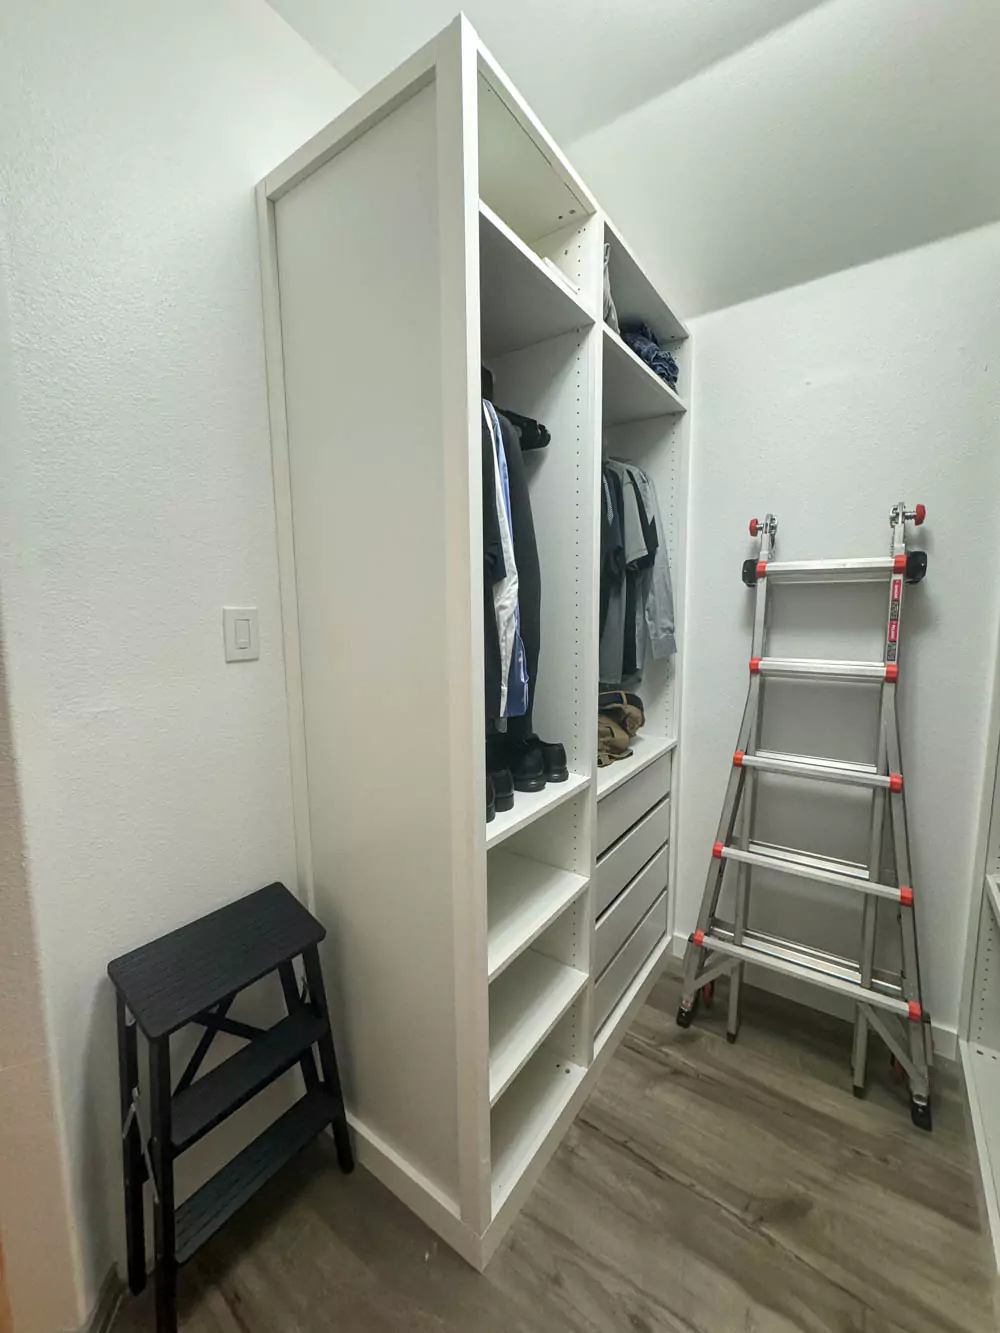
We also had a motion sensor installed so we don’t leave the closet light switch on when we walk out of the bathroom. This proved to be very annoying while installing the closet because the motion is blocked when you’re actually in the back portion. We were on ladders and then the lights would go out, haha.
Ikea PAX Planner
The first step in creating your semi-custom closet is to assess your storage needs and available space. Take a careful inventory of your clothing, shoes, accessories, and other items to determine the ideal storage requirements. Consider your daily routine and how you’d like your closet to function. Measure the dimensions of your closet space to ensure you select the right IKEA Pax components.
Luckily for us, Ikea has a PAX Planner. This user-friendly tool allows you to visualize different configurations, including various shelving options, drawers, hanging rods, and accessories. Experiment with different layouts until you find the one that optimizes your storage space.
The beauty of the IKEA PAX system lies in its modular design, allowing you to mix and match components to create a truly customized closet. Select from a wide range of shelves, drawers, dividers, and organizers to fit your specific storage needs. Additionally, explore the variety of stylish doors available to match your closet’s aesthetic.
You can enhance the functionality of your semi-custom closet by incorporating interior organizers. They have a selection of inserts like jewelry trays, shoe racks, pull-out baskets, and clothing dividers to keep your belongings neatly arranged and easily accessible. These organizers make the most of your space and help you stay organized.
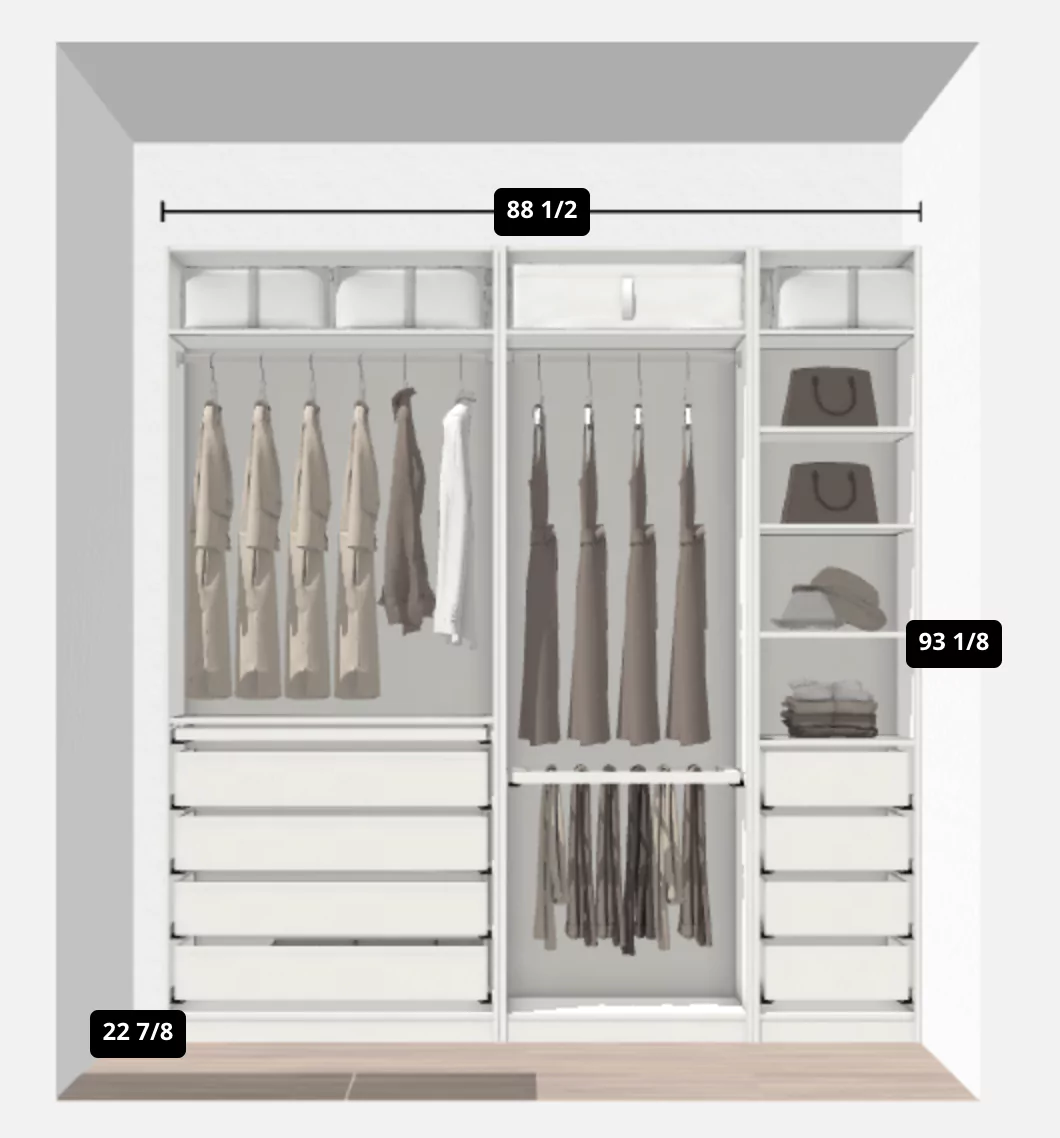
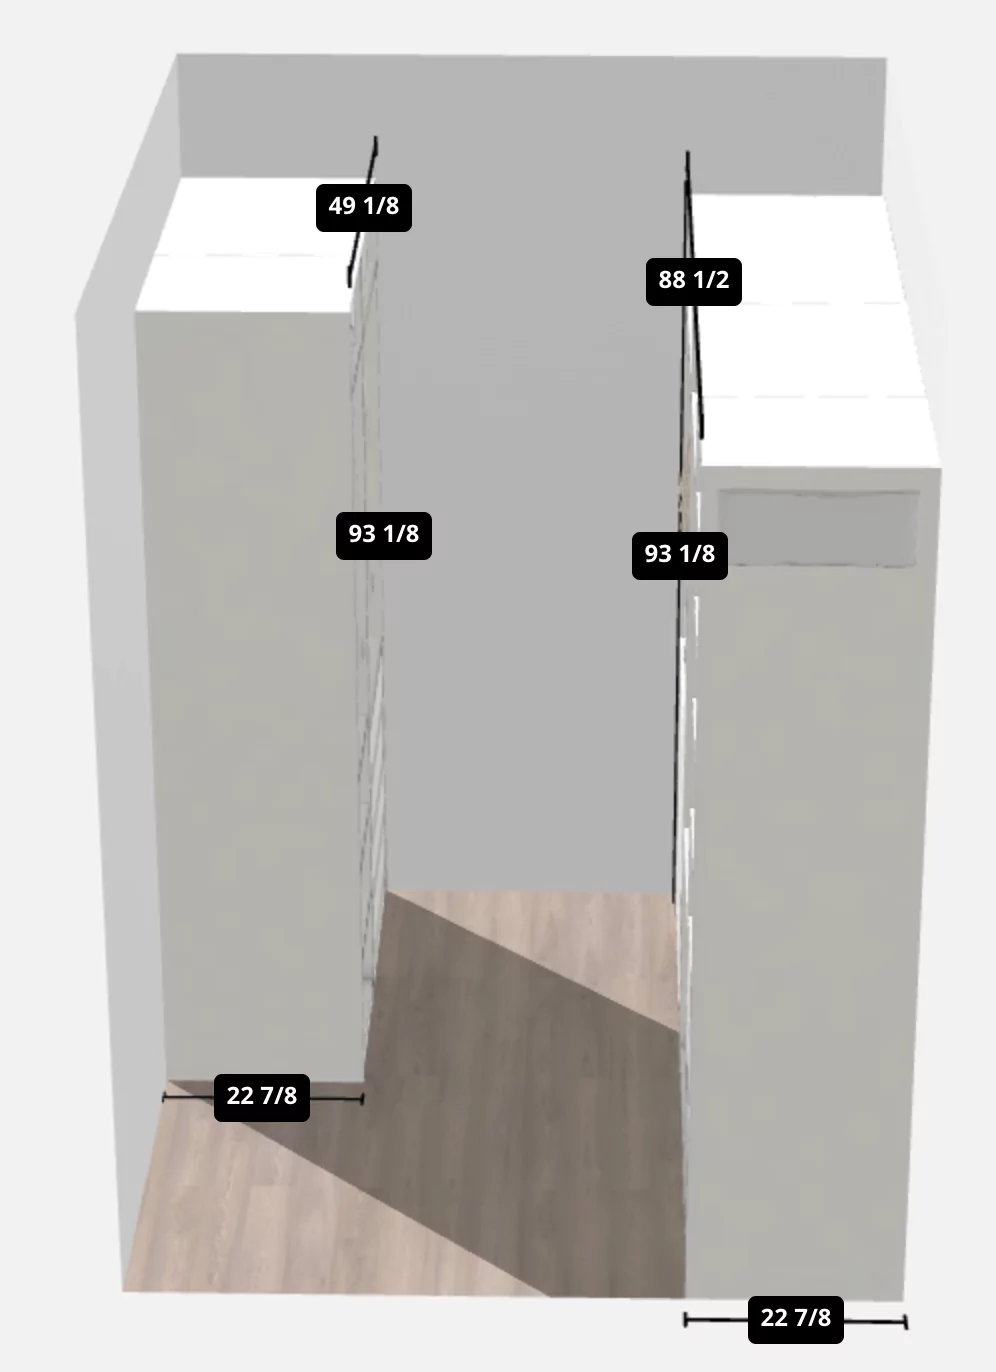
I used the Ikea PAX Planner to map out the closet design to see how I could fit it in our space without removing walls.
I tired putting in a corner unit first, but we were getting less “closet” in the space we have. I couldn’t make it work and I felt like we were wasting an entire wall by having it empty.
I opted for a galley style closet which allowed us to maximize the closet on the largest wall. The larger wall is using one 39″, one 29″ and one 19″ PAX wardrobe.
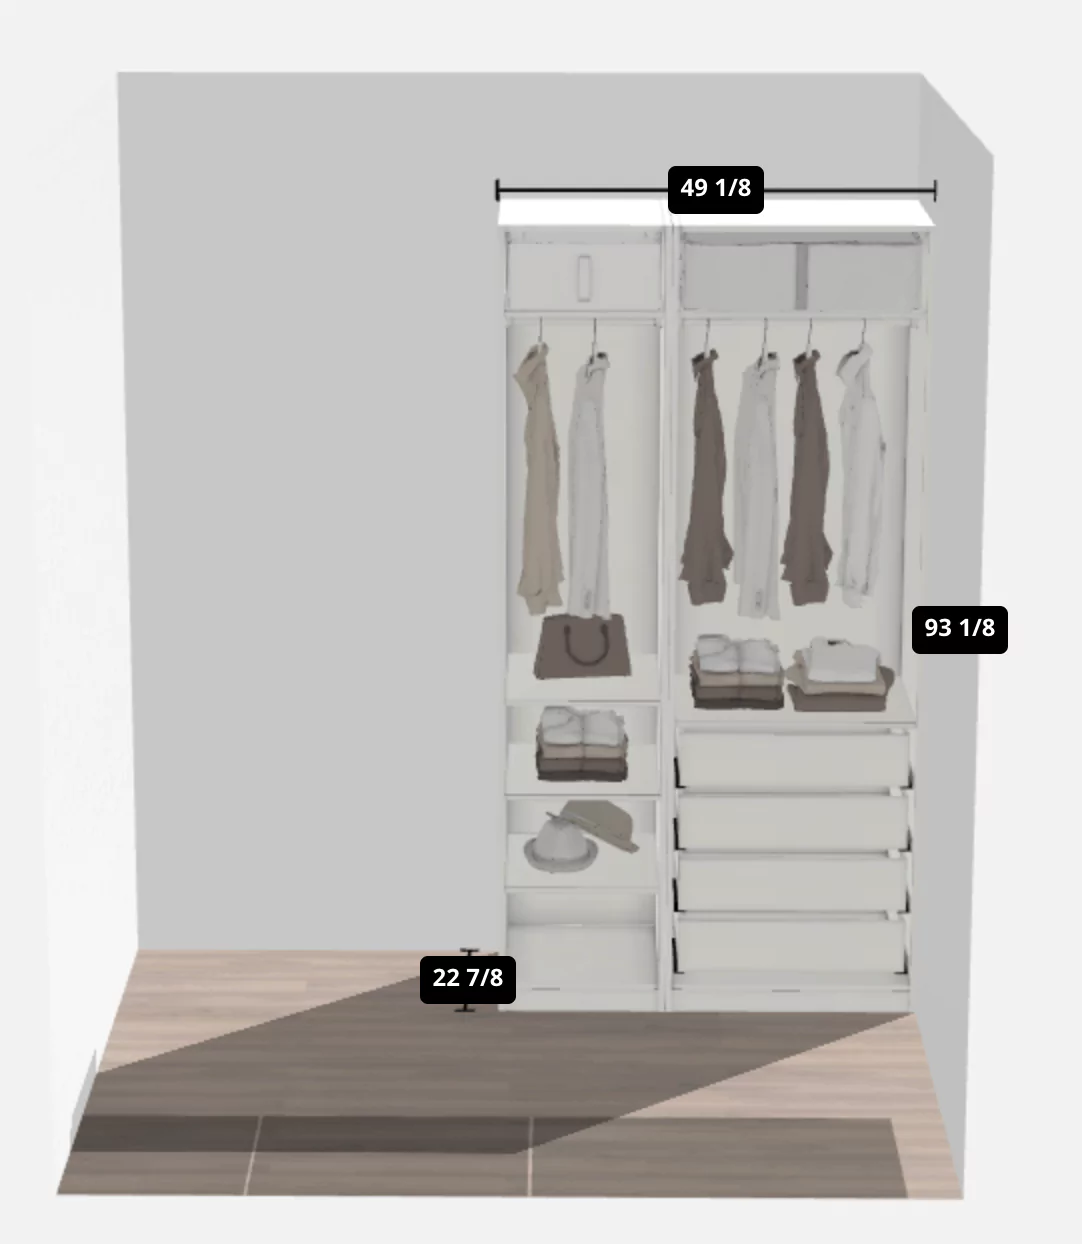
I had picked out a larger PAX box for the shorter wall, but then I measured again and we were running into the light switch. The shorter wall is using one 29″ and one 19″ PAX wardrobe.
Closet Demo
I didn’t want to keep the carpet (and I don’t in the rest of the house either). I purchased our flooring months ago from Rite Rug. It has since been discontinued, so we will not be able to finish the other rooms in the house. We have the Endura Plus Luxury Vinyl Planks in Sea Glass.
We started by removing most of the items in the closet and then removed the carpet. When removing the carpet tack strip, the nails pulled some concrete off our foundation. You can see that there is no moisture barrier between the carpet and the foundation (and we assume this throughout the rest of the house). Zack worked on this Christmas Day.
One the first trip to the Home Depot/Lowe’s, we picked up some Quickrete to patch the foundation so it would be level when installing the vinyl planks.

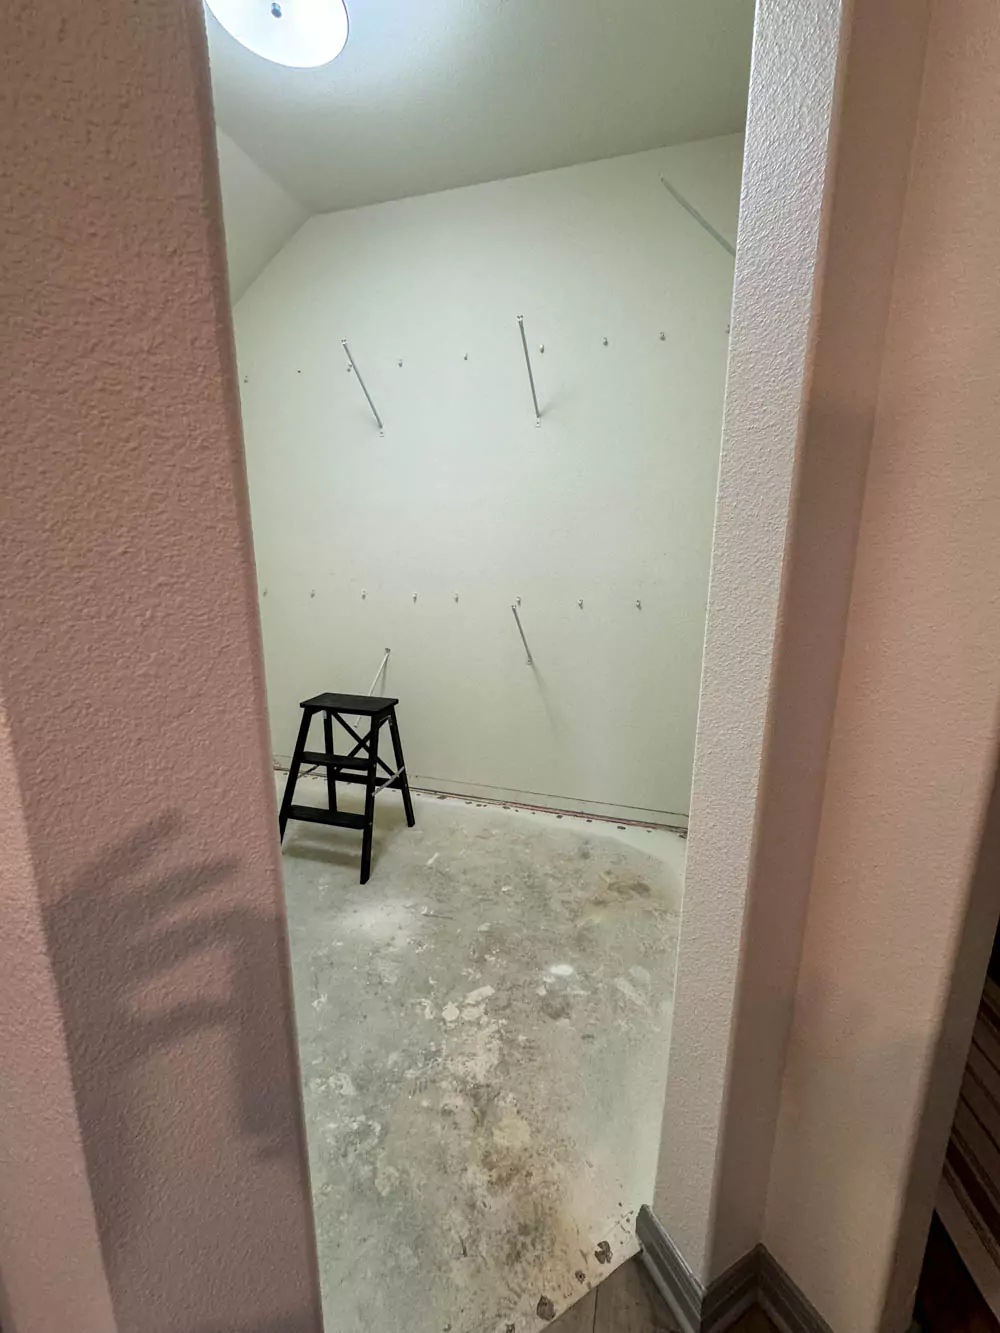
The next morning, while Zack was out, I began removing the rest of the Closet Maid track. It’s not that easy to pull these out of the wall because they can cause large holes in the drywall.
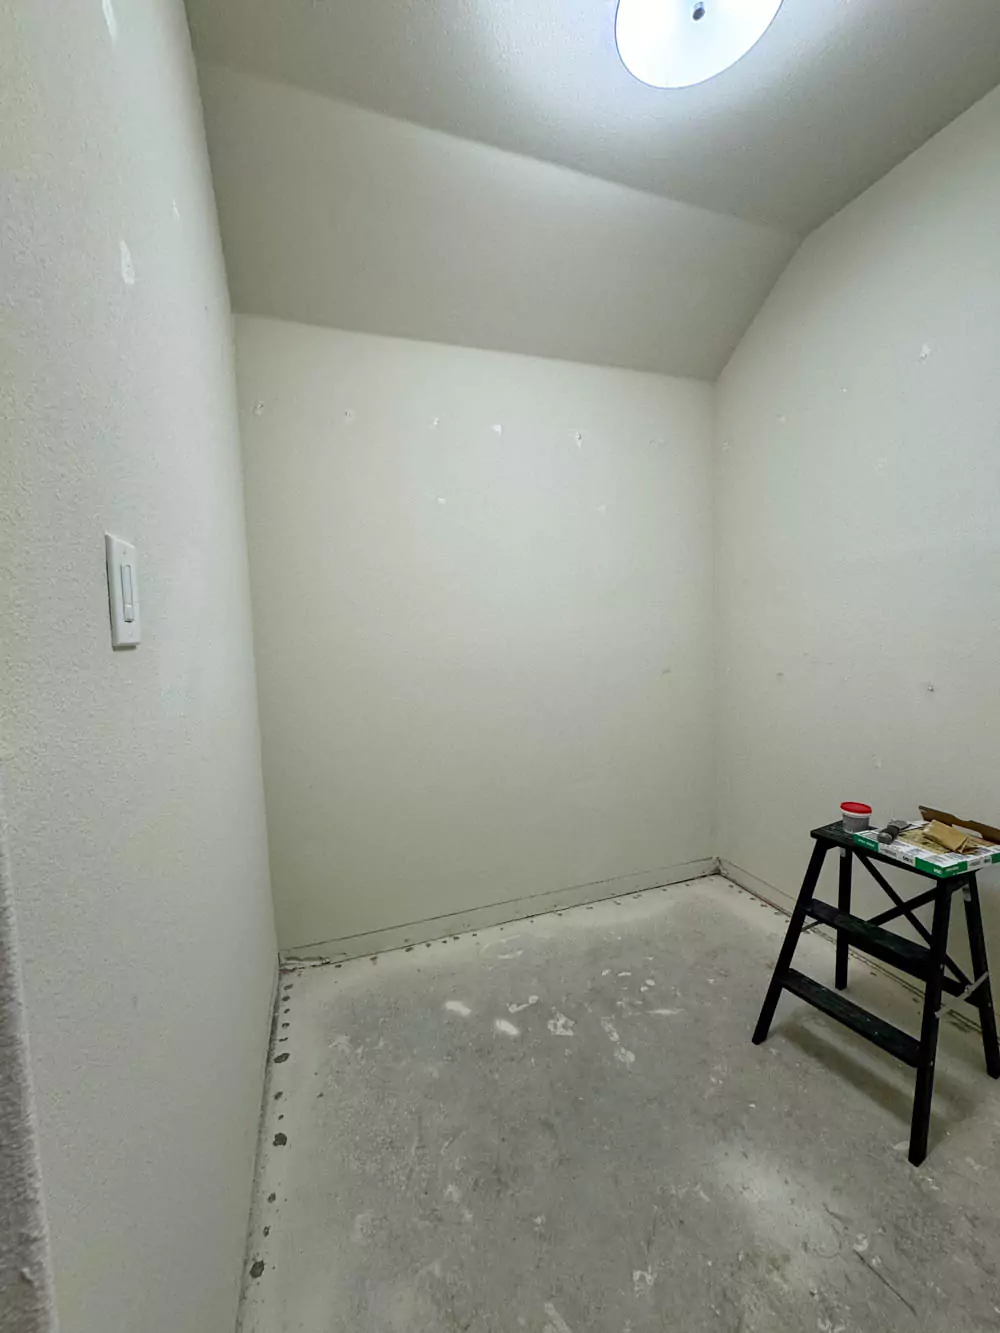
Next, we patched all the holes and waited for it to dry.
These are good pictures to point out the slope in our ceiling. We have this only on that side of the house (so in the bathroom and in our bedroom).
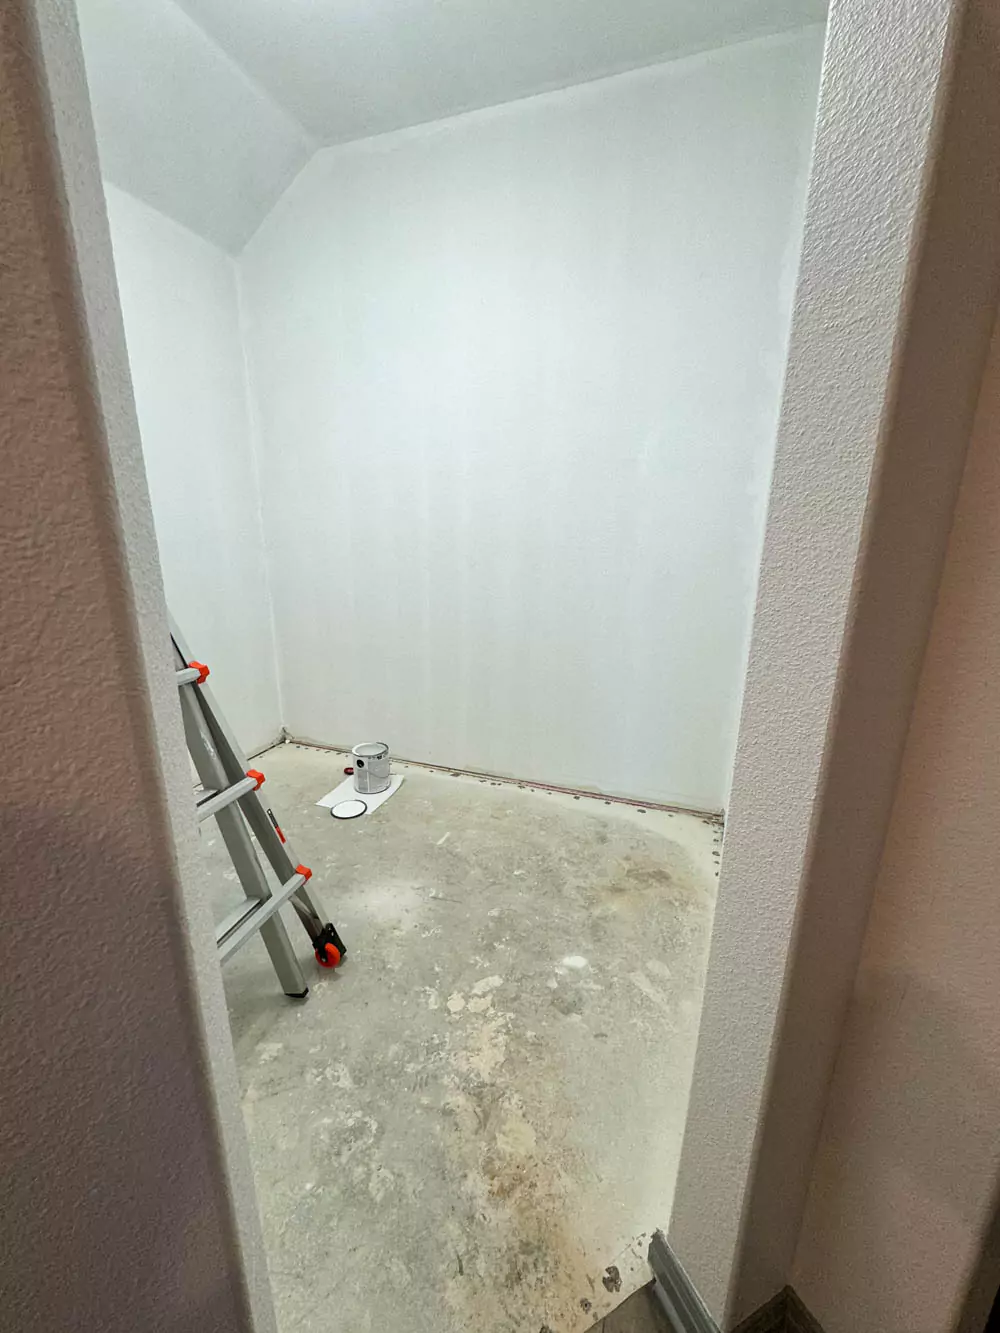
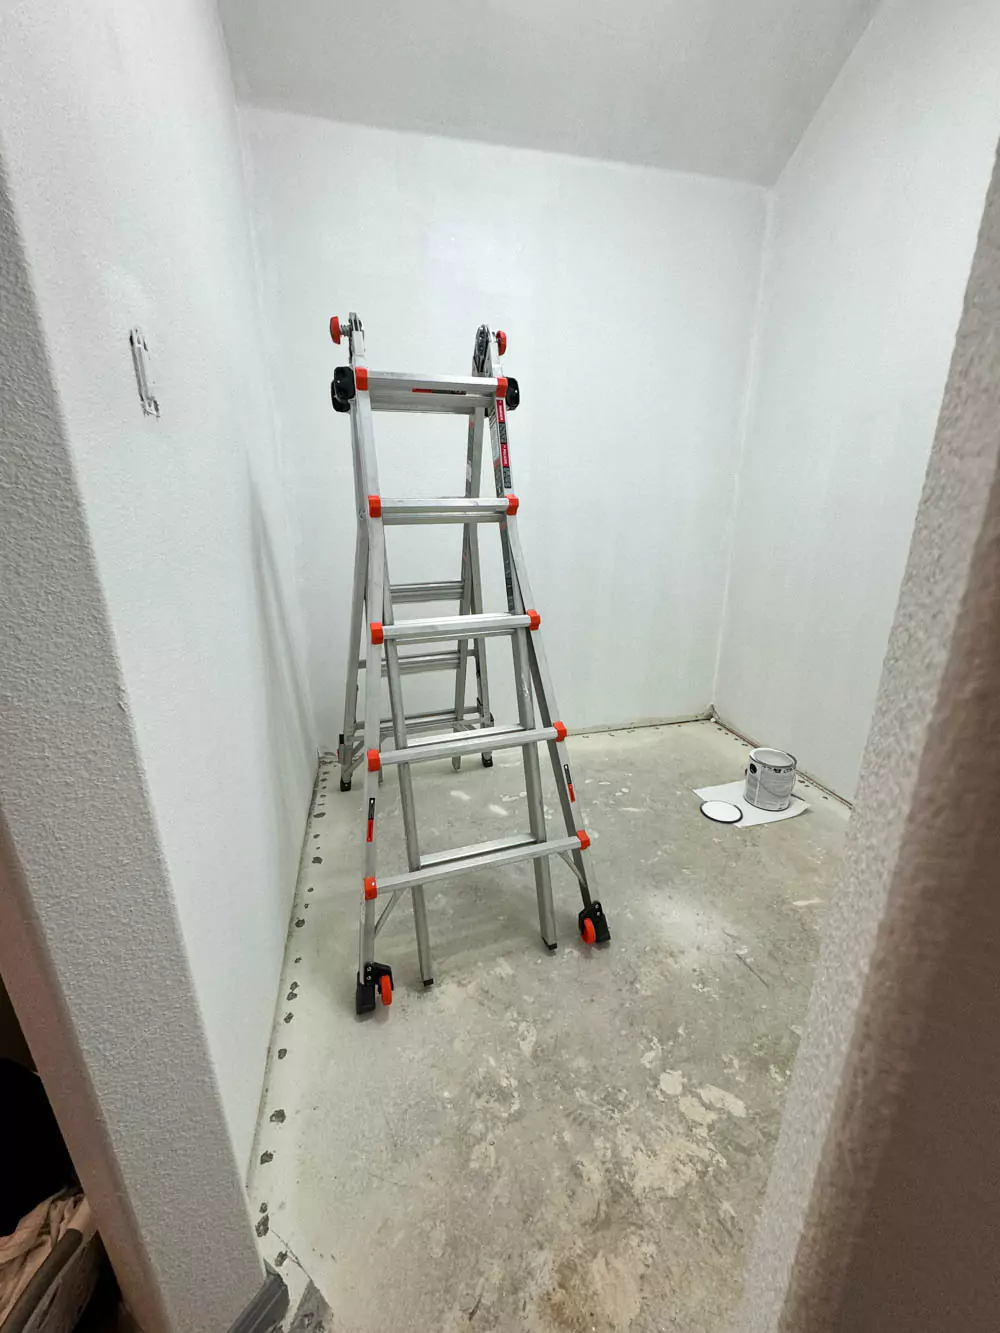
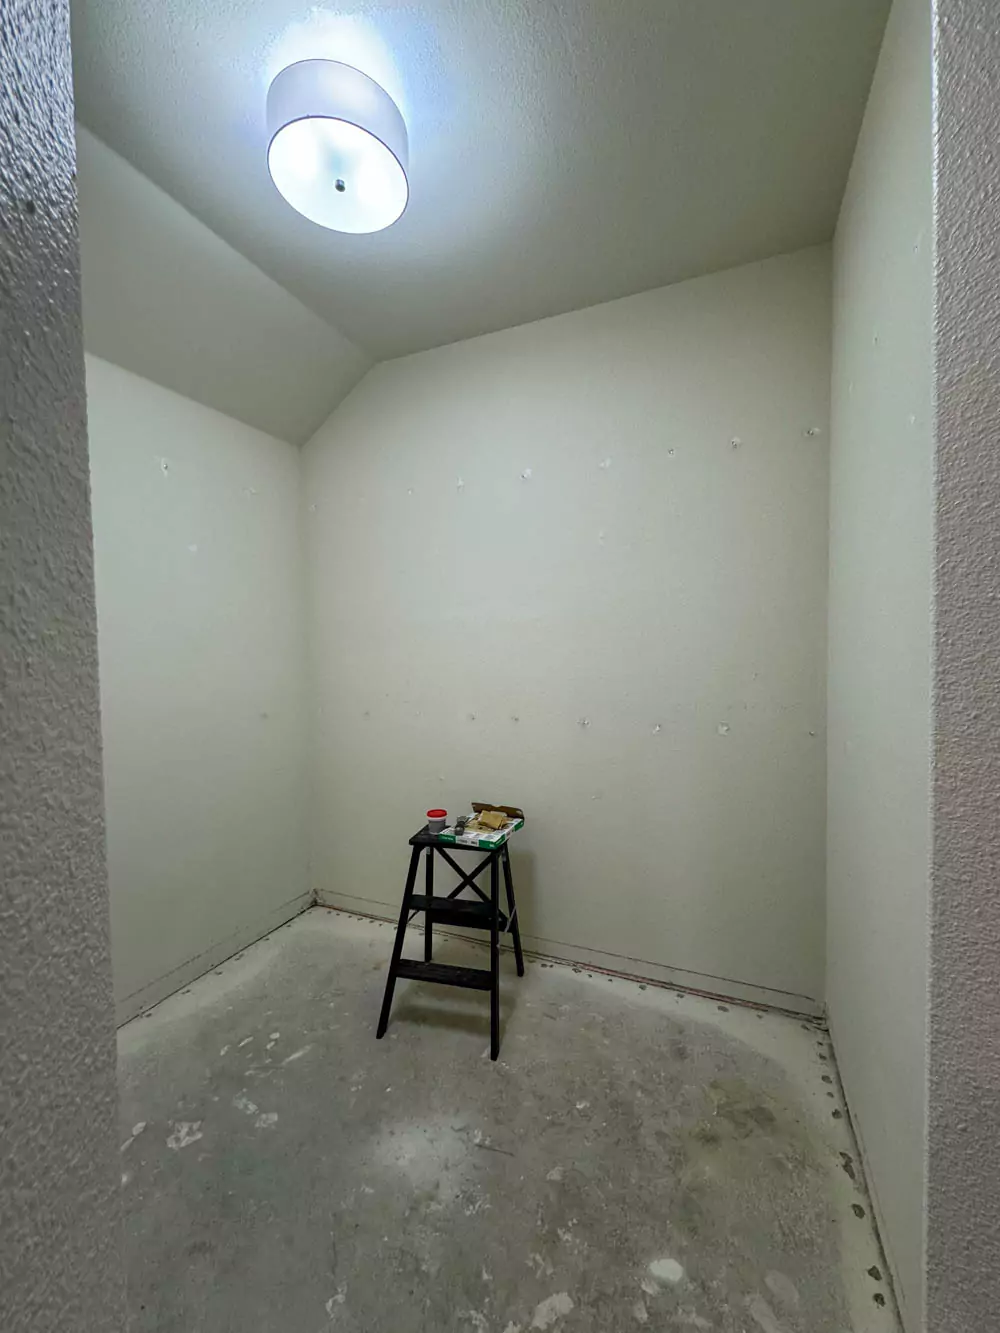
We painted two coats of primer to cover the must hated tan color. That color was throughout the rest of the house, but we changed the paint and the trim everywhere but the closets and the laundry room. We used the Valspar 2000 interior flat paint (also on the ceiling).
Closet Painting
When the two coats were dry, then we did the final coat of Benjamin Moore Chantilly Lace. We had to go to a specialty store to find the Benjamin Moore paint, but this one was our favorite white.
I ordered the closet design online and the pickup was ready the next morning.
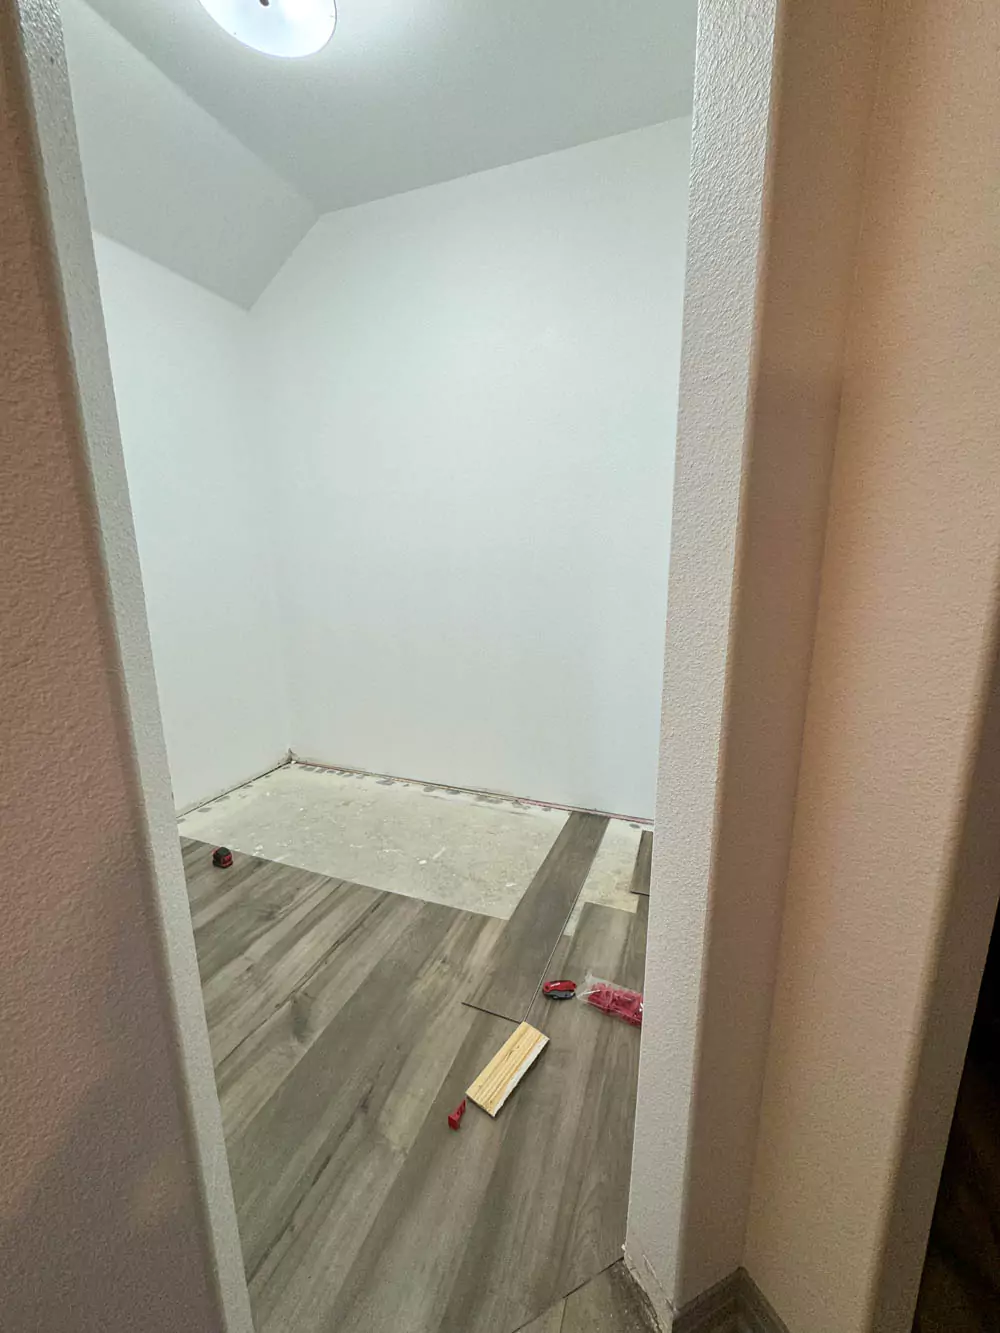
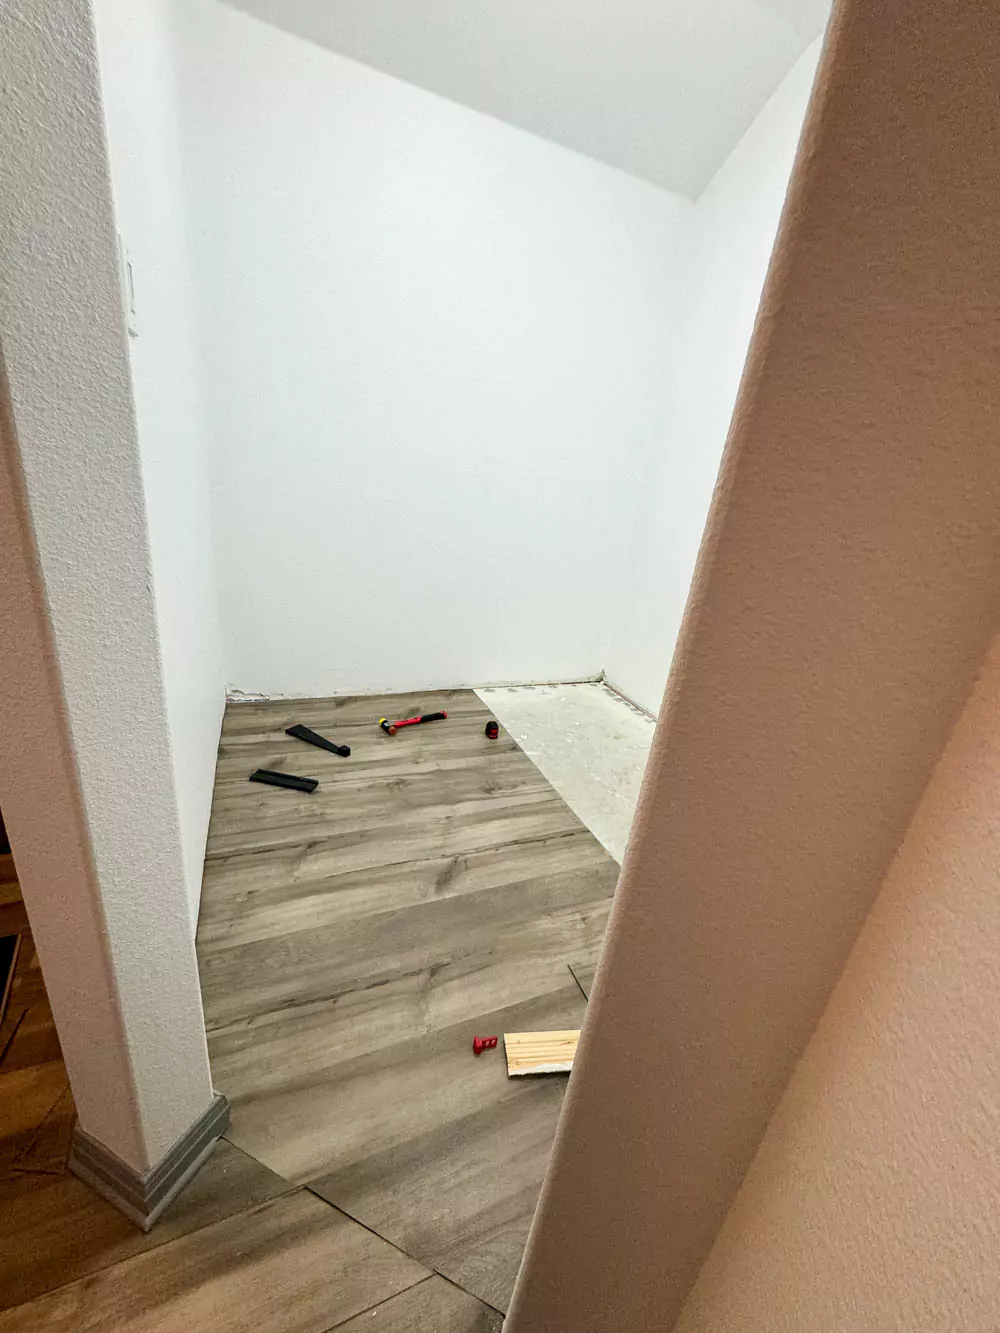
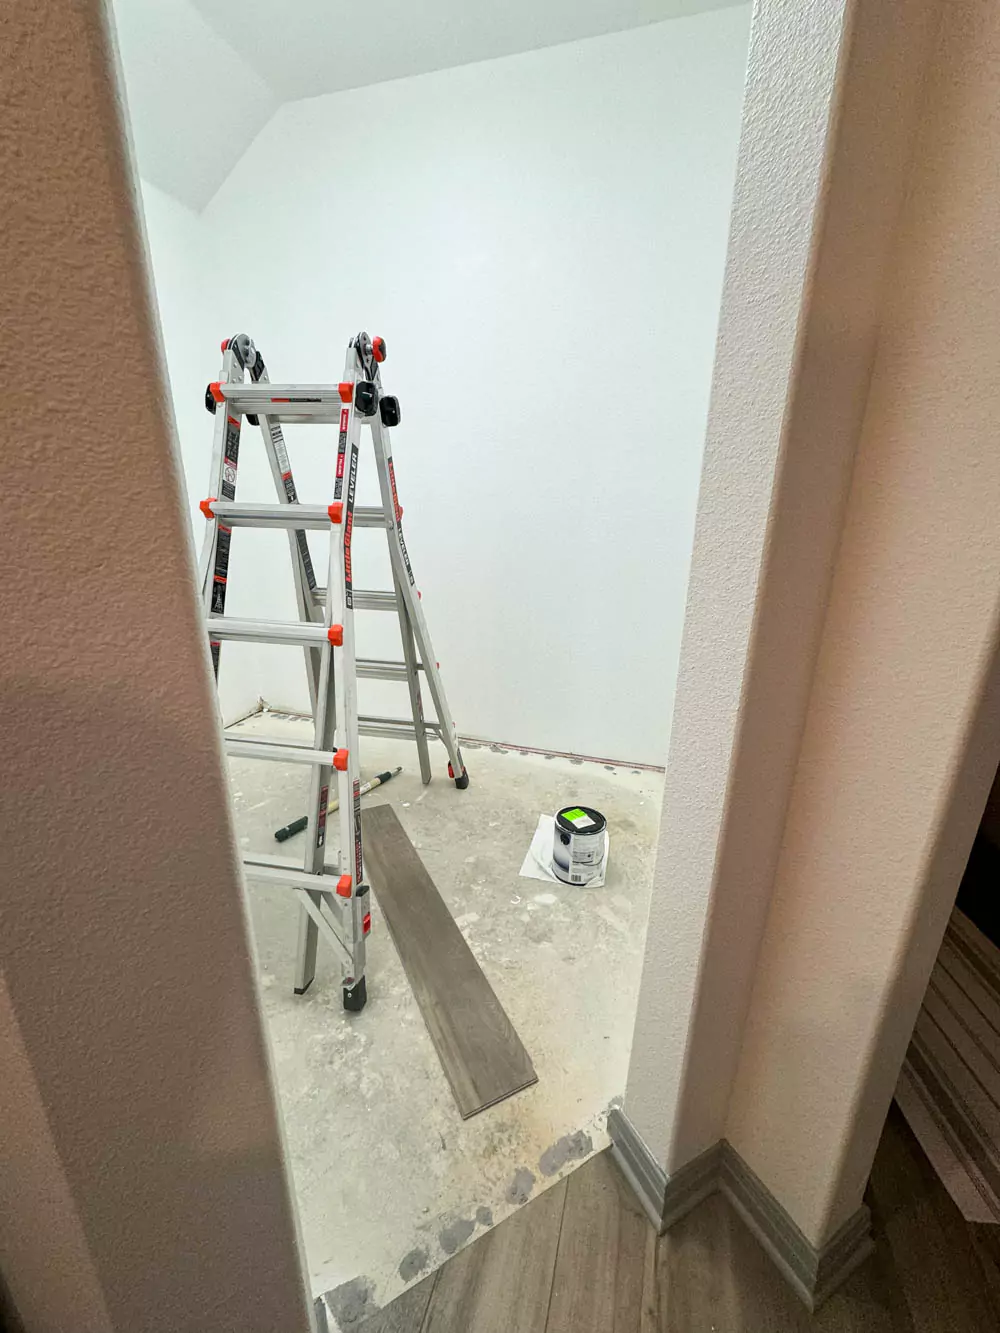
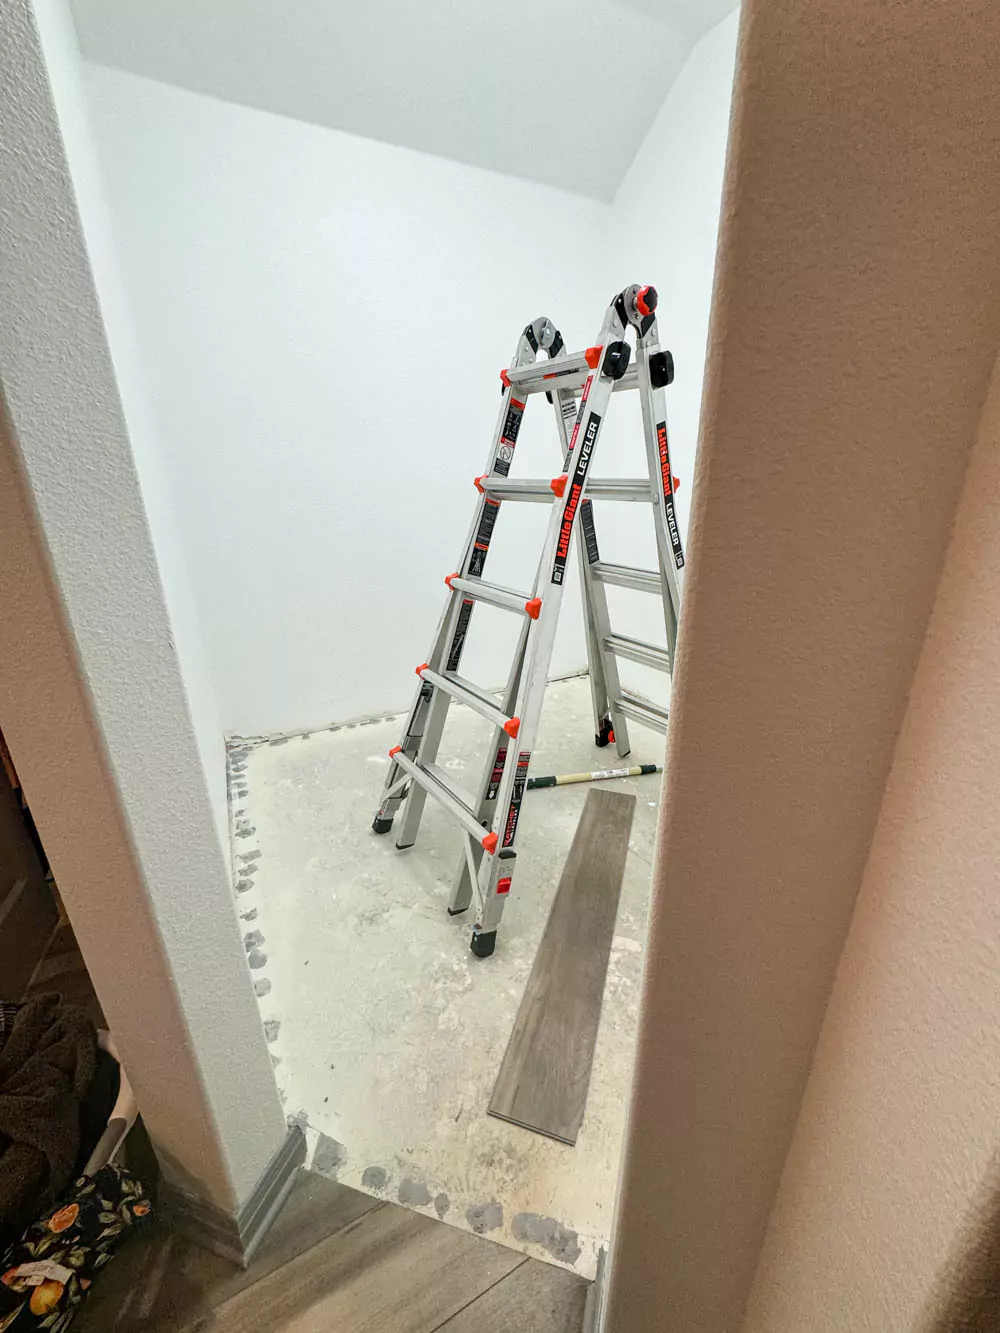
Closet Flooring Round 1
Zack spent the morning (December 27th) figuring out the vinyl planks. He had to make sure that he could cut them (without breaking) to fit the angle of the bathroom floor and cut to fit under the baseboards.
When I ordered the planks, the website helped measure the size of the room that we needed to determine how many packs to order. They suggested to order three. When we opened the boxes, there were several planks that were already broken (not usable at all).
Zack was worried about not have enough planks to fit the space, so we decided to switch gears and install the closet first, then fit the flooring in around it. We went to Ikea to pickup everything during lunch. It was easy and they bring everything to your vehicle. It really saves time because you don’t have to walk through the entire store.
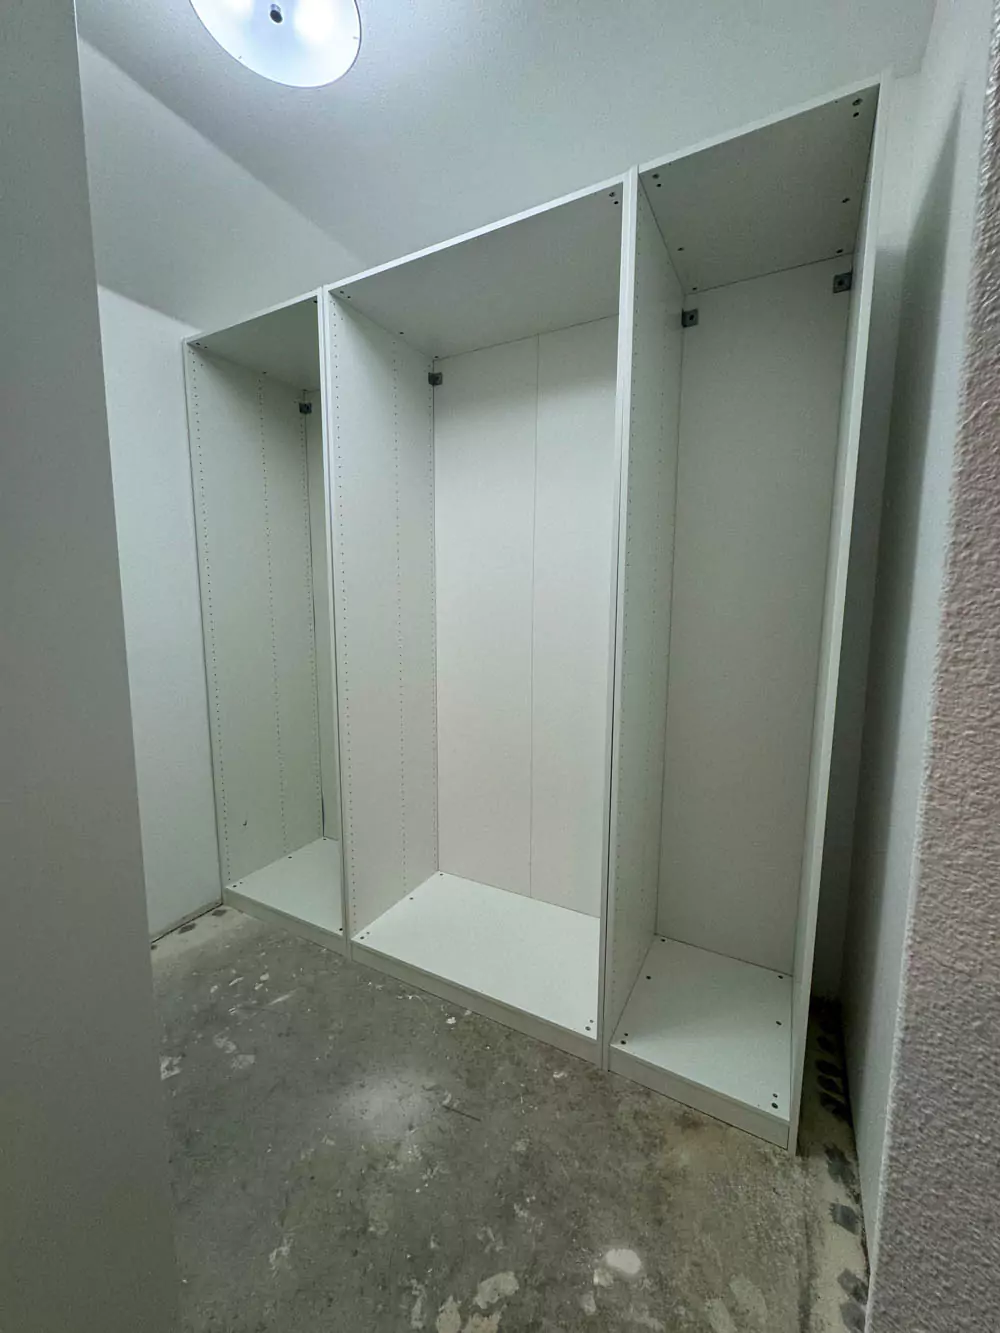
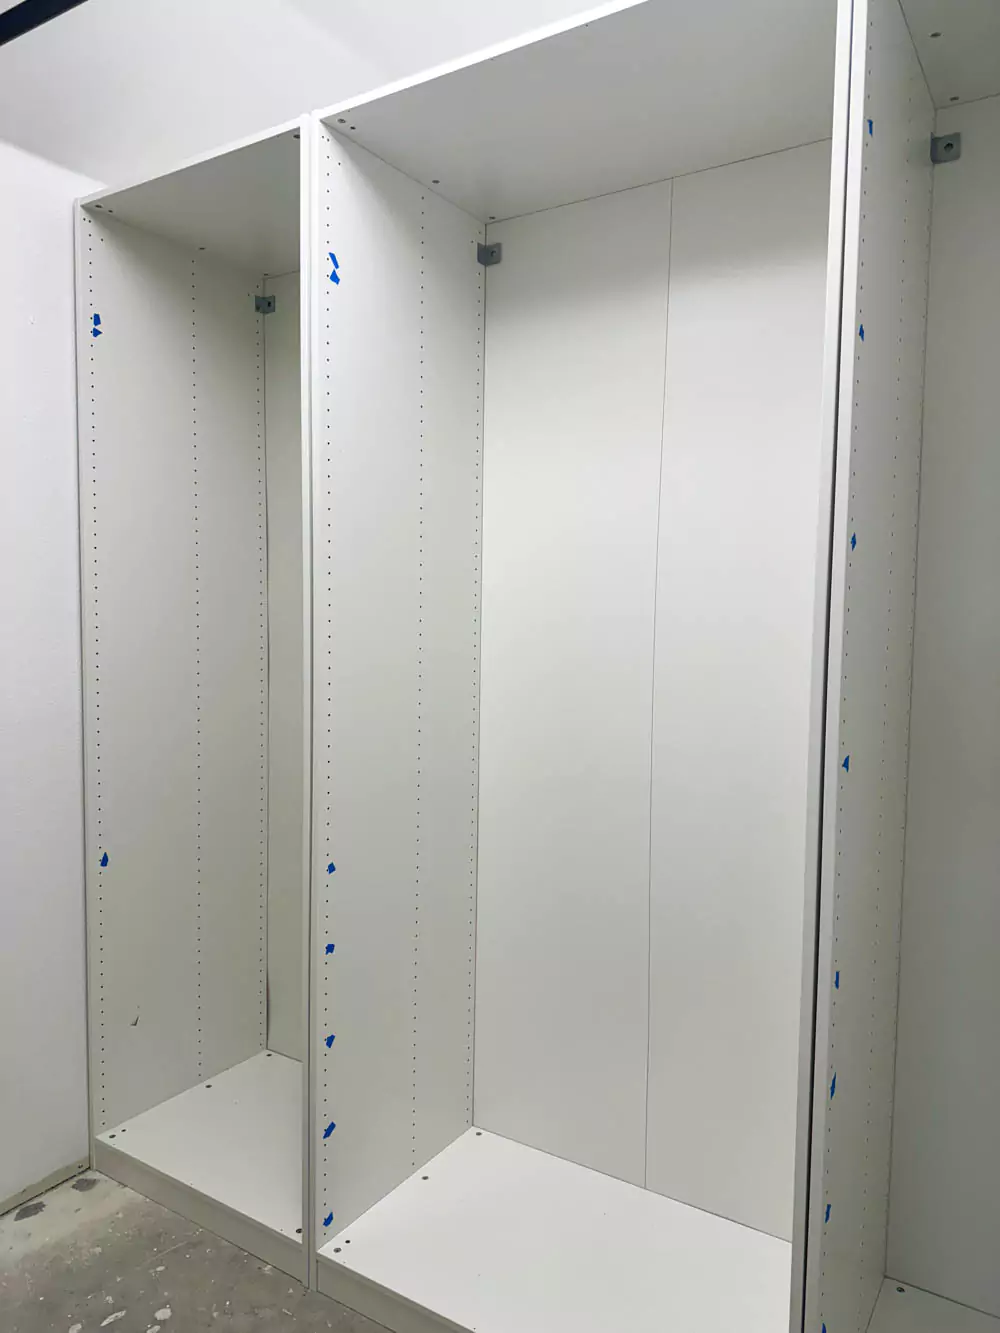
Closet Wardrobe Installation
Assemble carefully.
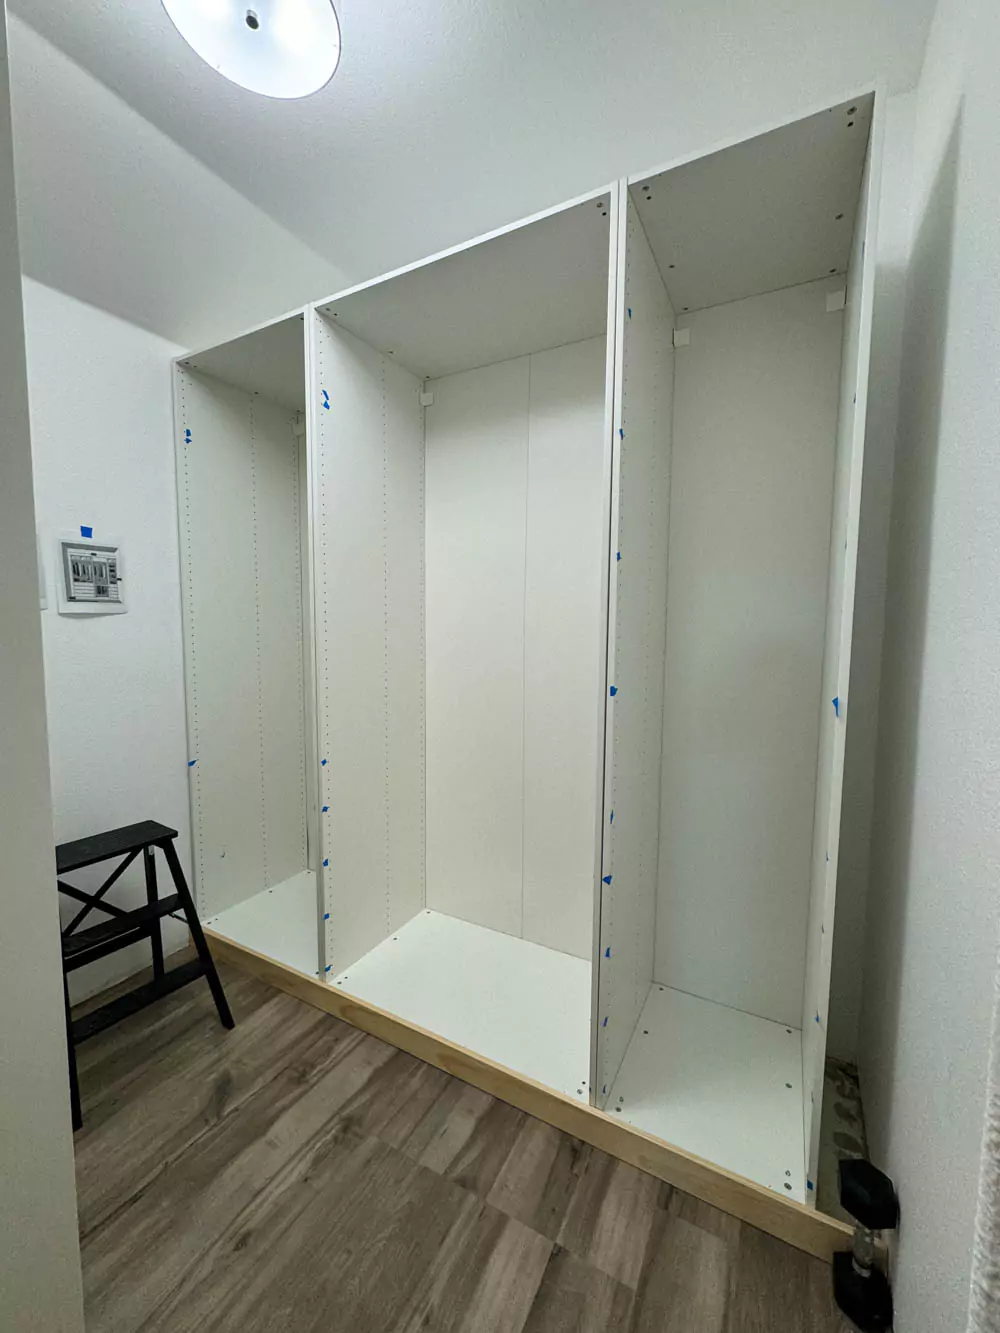
We moved the furniture in the living room against the walls so I would have the space to build the wardrobes. We picked the 92 7/8 height.
Zack took Hank for a walk and I got one of the 29″ wide wardrobes built. When he got back, we moved the wardrobe into the bathroom. While they fit through our doorways, I forgot that the entrance to our closet is smaller. I never measured that or thought of it. Oops. I was glad that I only put together one.
We had to take the back off and one of the sides off. It was then in a “C” shape that we could pivot through the entrance of the closet. Then we had to put it back together while it was standing up. We also had to have two ladders in the closet for one of us to hold the piece and one to get the screws in. Nailing the back on was the worst because gravity is not kind while holding that in place.
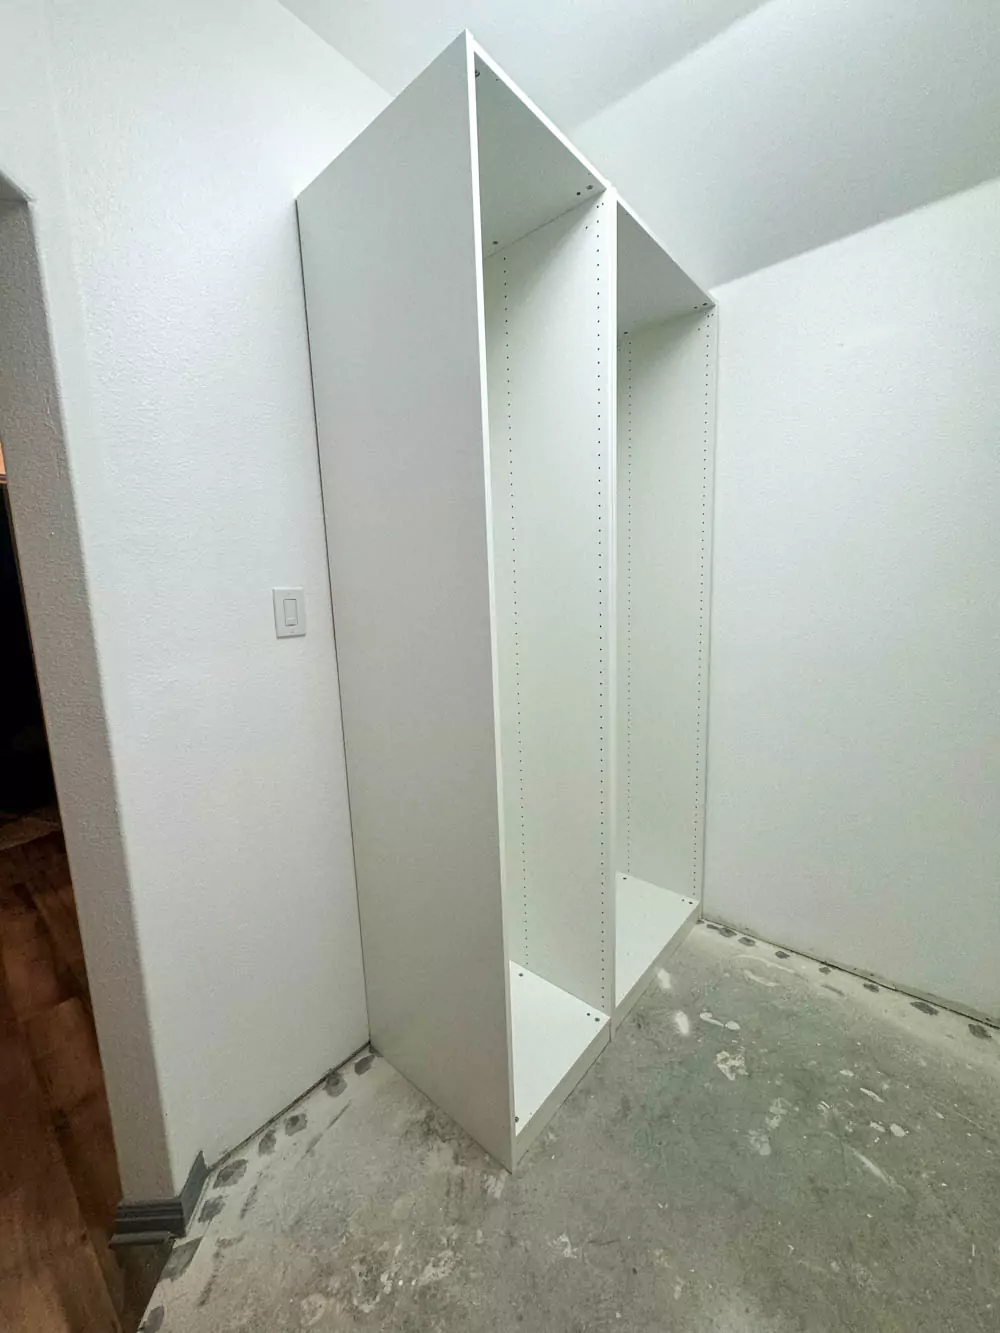
After that mess (and how long it took for the double work), Zack decided that we should pickup pizza because we were just going to tackle all the other ones tonight. Our plan was to embrace the suck and get it done. Zack took Hank to pickup pizza for dinner and I figured out how much of the assembly I could do without him. I didn’t take any photos because I hustled. I also dropped a piece and made a hole in one side of the wall.
I had everything partially done and prepped by the time he got back (rush hour). The pizza was cold, so we had to put it in the oven anyways. We assembled one box while it heated up. Building these standing is a work in strength and patience.
If I would’ve planned better, I would’ve spaced out the three boxes more evening before we anchored them to the wall. Zack was going to cut a piece of flooring to put in the space, but he couldn’t fit a drill in the space to add on the baseboards. I suggested to just close the gap and seal it to the wall. Then we don’t have to worry about a 5 inch gap.
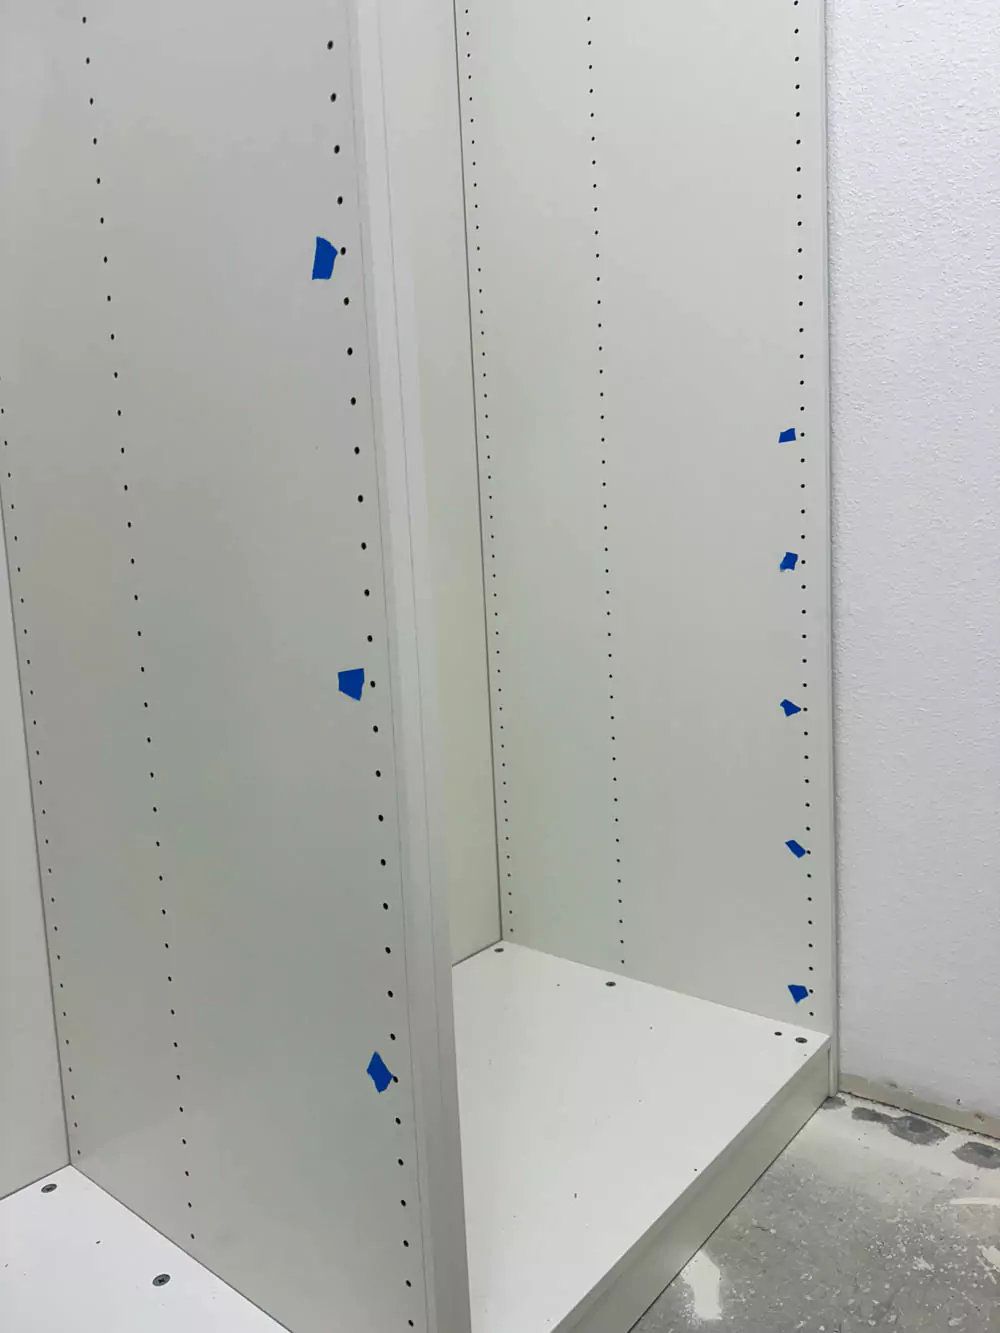
Closet Prep
The Planner tool tells you what number hole each inside piece will be placed at on your design. I spent the morning using blue painters tape to map out the holes on each wardrobe.
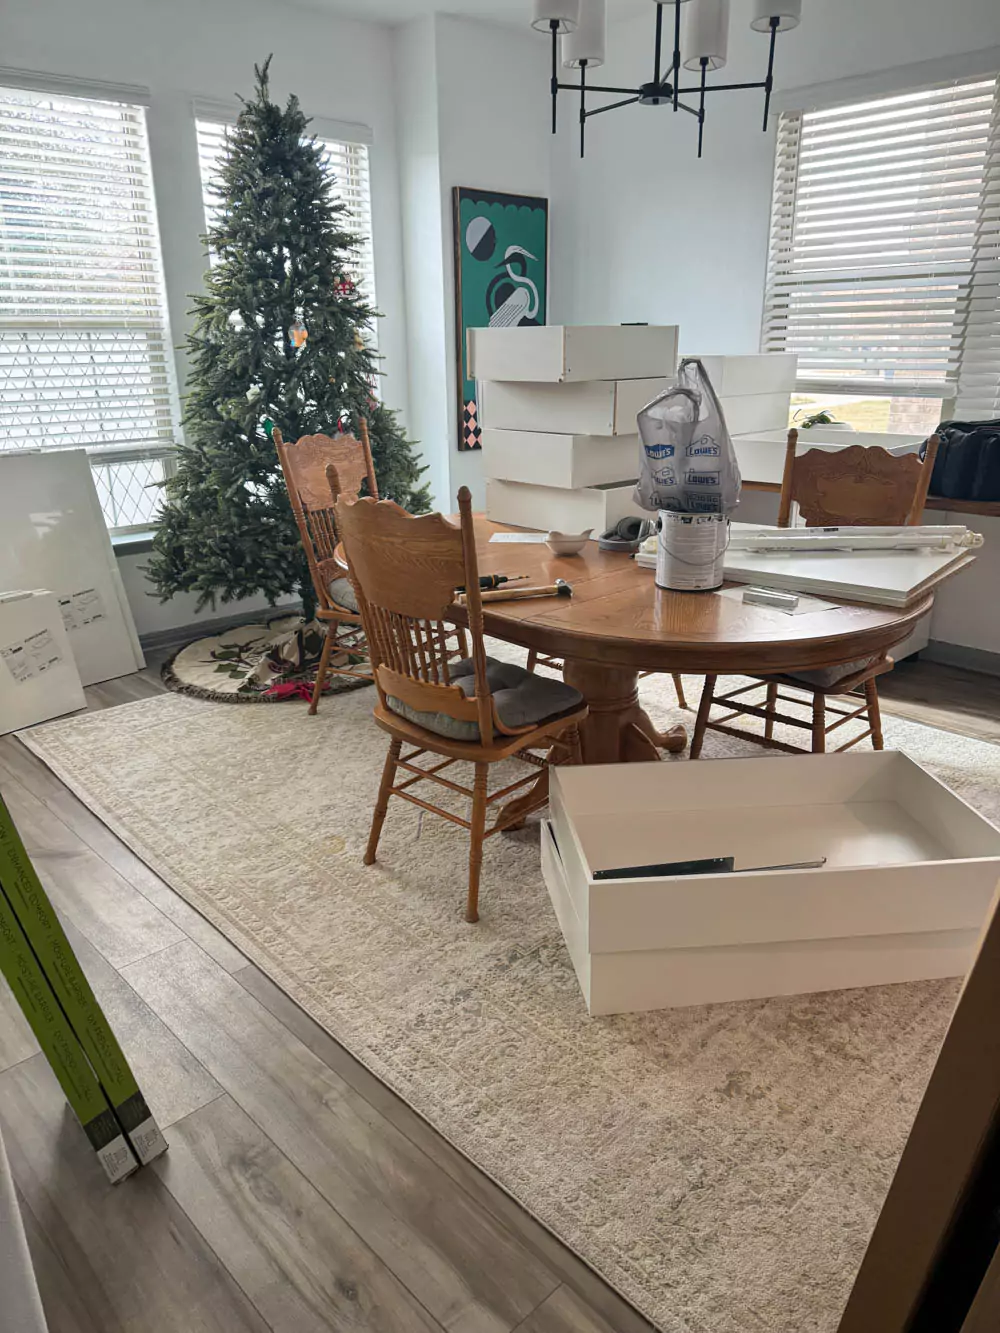
I also prepped in the dining room by assembling all the drawers.
Closet Flooring Round 2
Zack got the flooring installed. He moved the saw into the bathroom and created the biggest mess cutting the planks. You can see the layout of the bathroom (the closet is to the left of the toilet). And you can see what a waste of space we have in the middle of our bathroom.

IKEA PAX Hack: Turning PAX Wardrobes into Built-Ins
Pax wardrobes look amazing on their own, but the difference between an ordinary and a high-end finish lies in the details that you add to make your wardrobe look built-in.
Materials Needed
Here’s everything we used to finish our IKEA PAX hack:
- Spackling
- Putty Knife
- Caulk
- Caulking gun
- Paint
- 6 inch Foam Paint Roller
- Paint Tray
- Common Wood for trim (1×2, 1×3, 1×5, 1×6 custom cut to fit as horizontal trim)
- Nail Gun
- Nail Punch
- Miter Saw
- 60 Grit Sandpaper
- 220 Grit Sandpaper
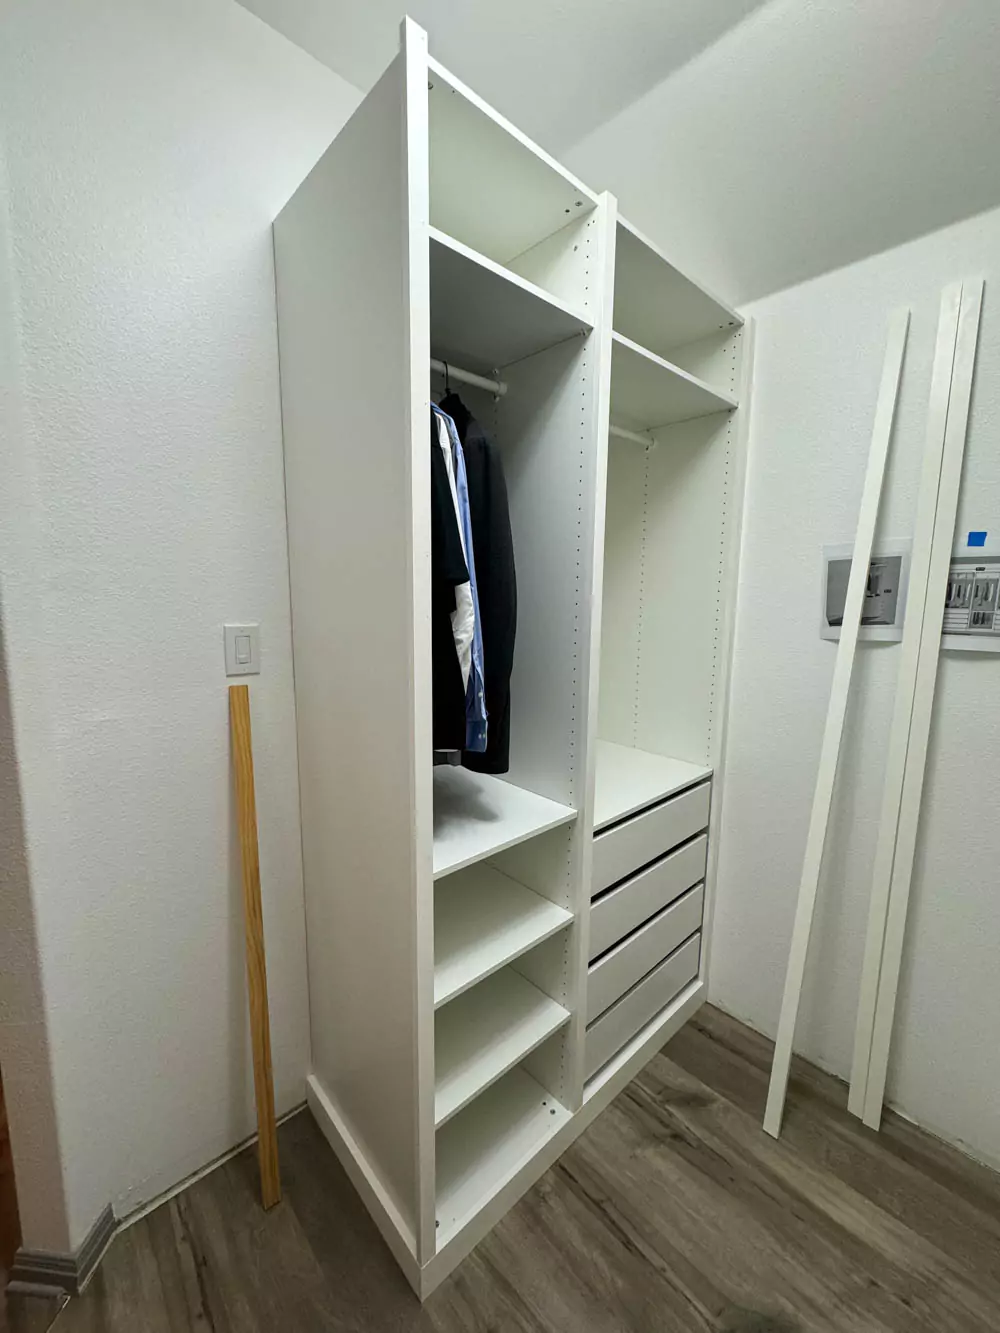
We used 1×3″ common wood boards for the baseboard trim. We also used it on the wall space in-between the two walls. I love how you can already see how much brighter the room is by painting it white.
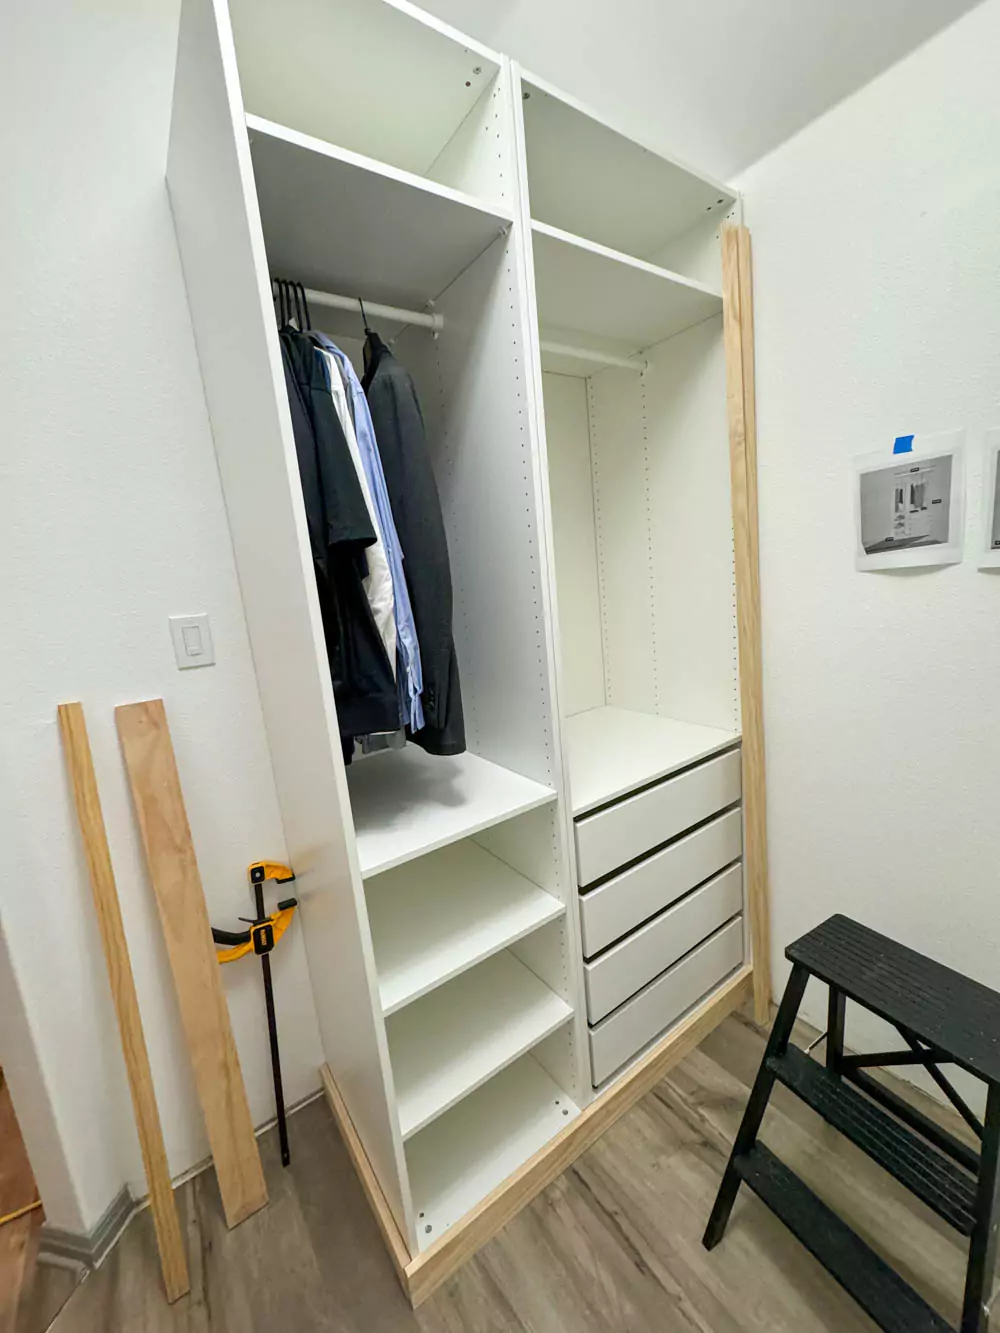
While Zack measured and cut the wood, I began installing the drawers and shelves for each unit.
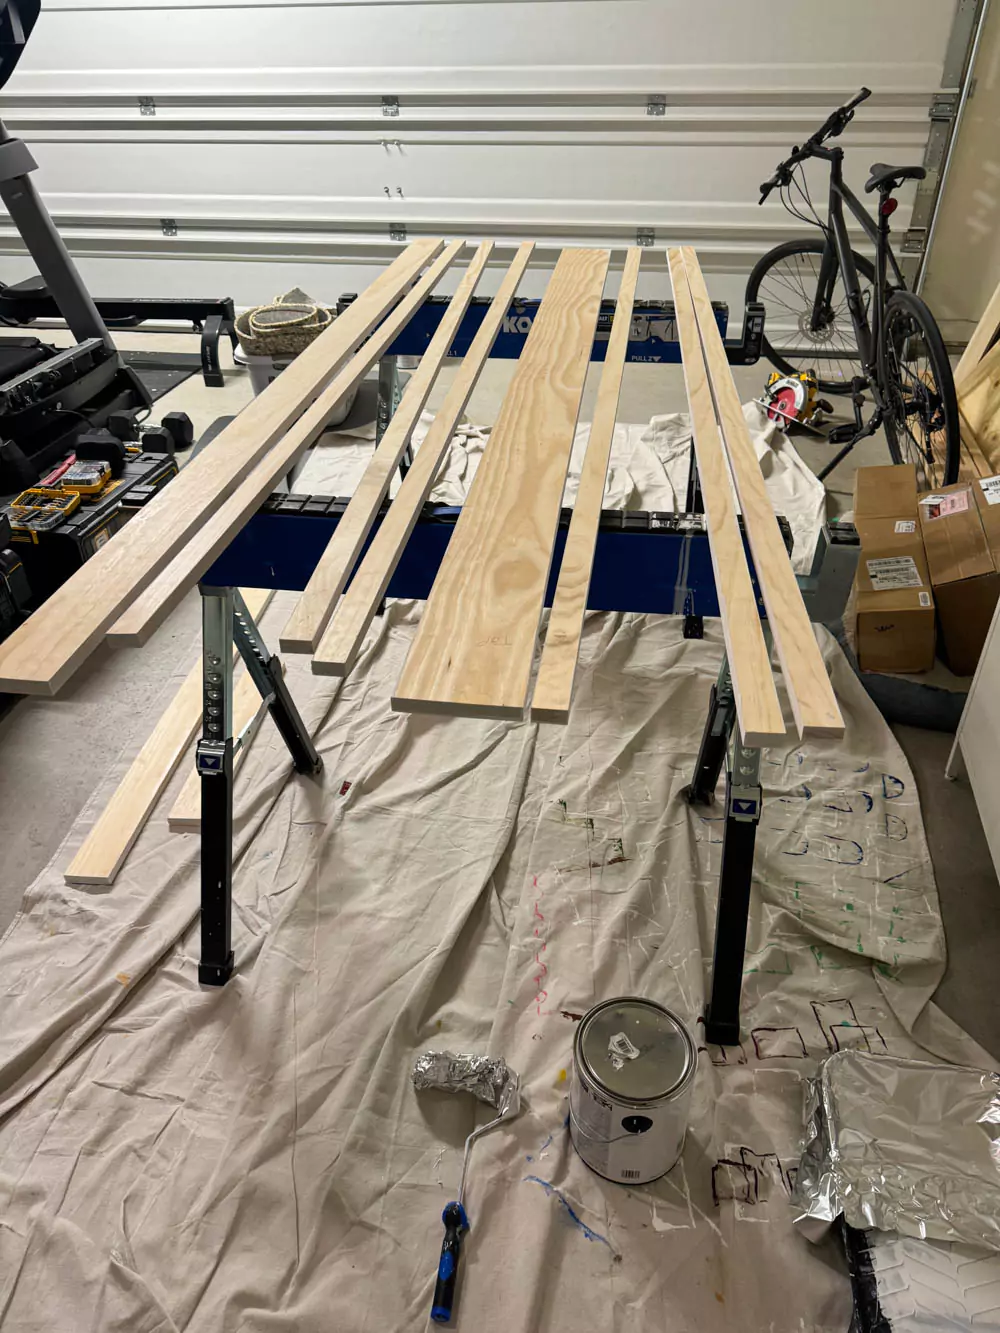
After we measured the baseboards, we cut the 1×2″ common wood boards for the height of the wardrobes. Once we had most of it cut, then we prepped the painting area in our garage.
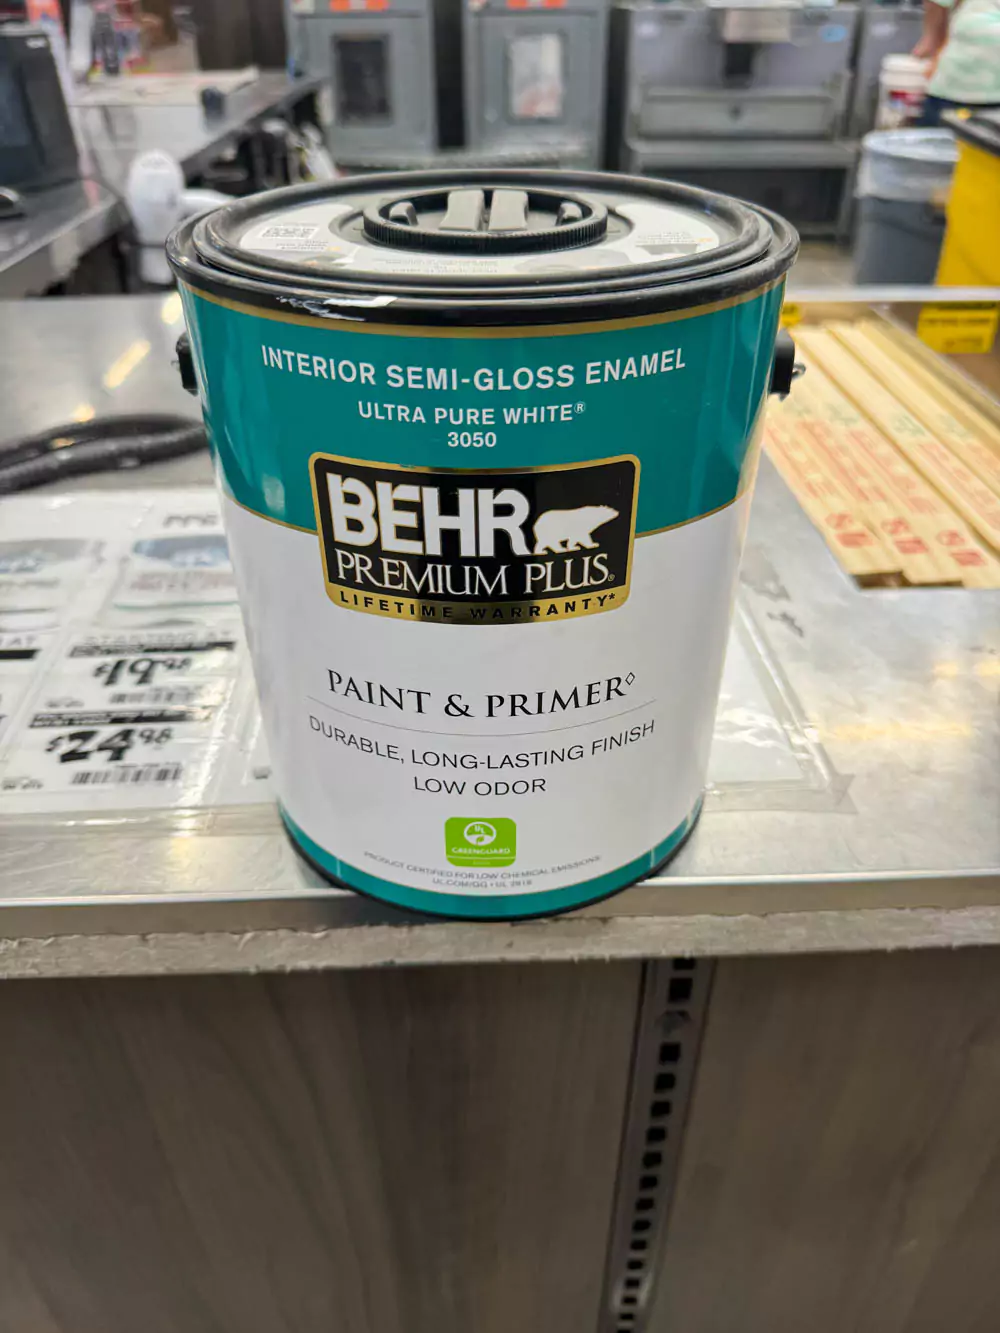
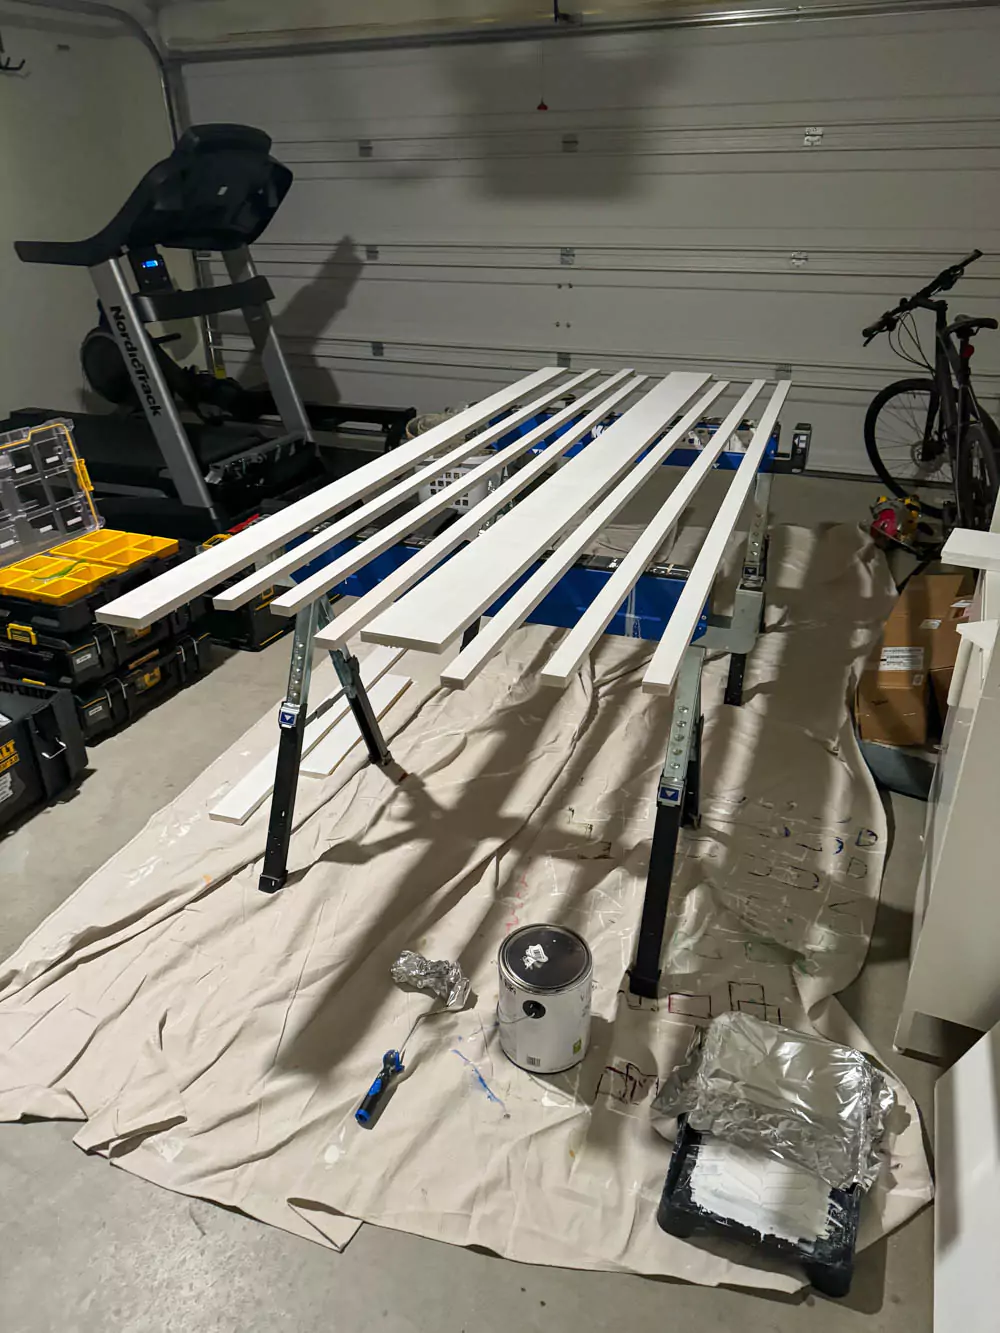
I used the Behr Clear Moon color, which is a very close match for the Ikea White color. We used it in our pantry remodel and I swear by it.
I began with a couple coats of primer, then sanded the trim, then painted it with the Behr Clear Moon paint. I used the 60 grit sandpaper on the messy pieces of wood or any slivers from being cut, then used the 220 grit in-between paint layers. Anywhere the paint dripped, I sanded those down before applying another coat of paint. I used the foam roller to have nice, light coats of paint without any brush lines.
Zack used a nailgun to attach the trim to the wardrobes.
We used a 1×5″ board to close the gap between the wardrobe and the wall. If I properly thought out the spacing of the wardrobes, this could’ve looked more even with spacing in-between the three wardrobes.
We then moved onto the horizontal trim across the fronts of the shelves. We made a mistake and bought the wrong size wood. We didn’t realize until after I painted it. We wasted $60 on that mistake and about 2/3 hours of painting time.
We bought new wood in the afternoon and Zack had to custom trim each piece to fit to match the depth of the shelf. But we got it done and now it’s pretty.
We used a nail punch to clean up any nails that were sticking out from the wood. Then we filled the holes with spackling. Once that dried, then we sanded down those areas with the 220 grit and did a light coat of paint on top.
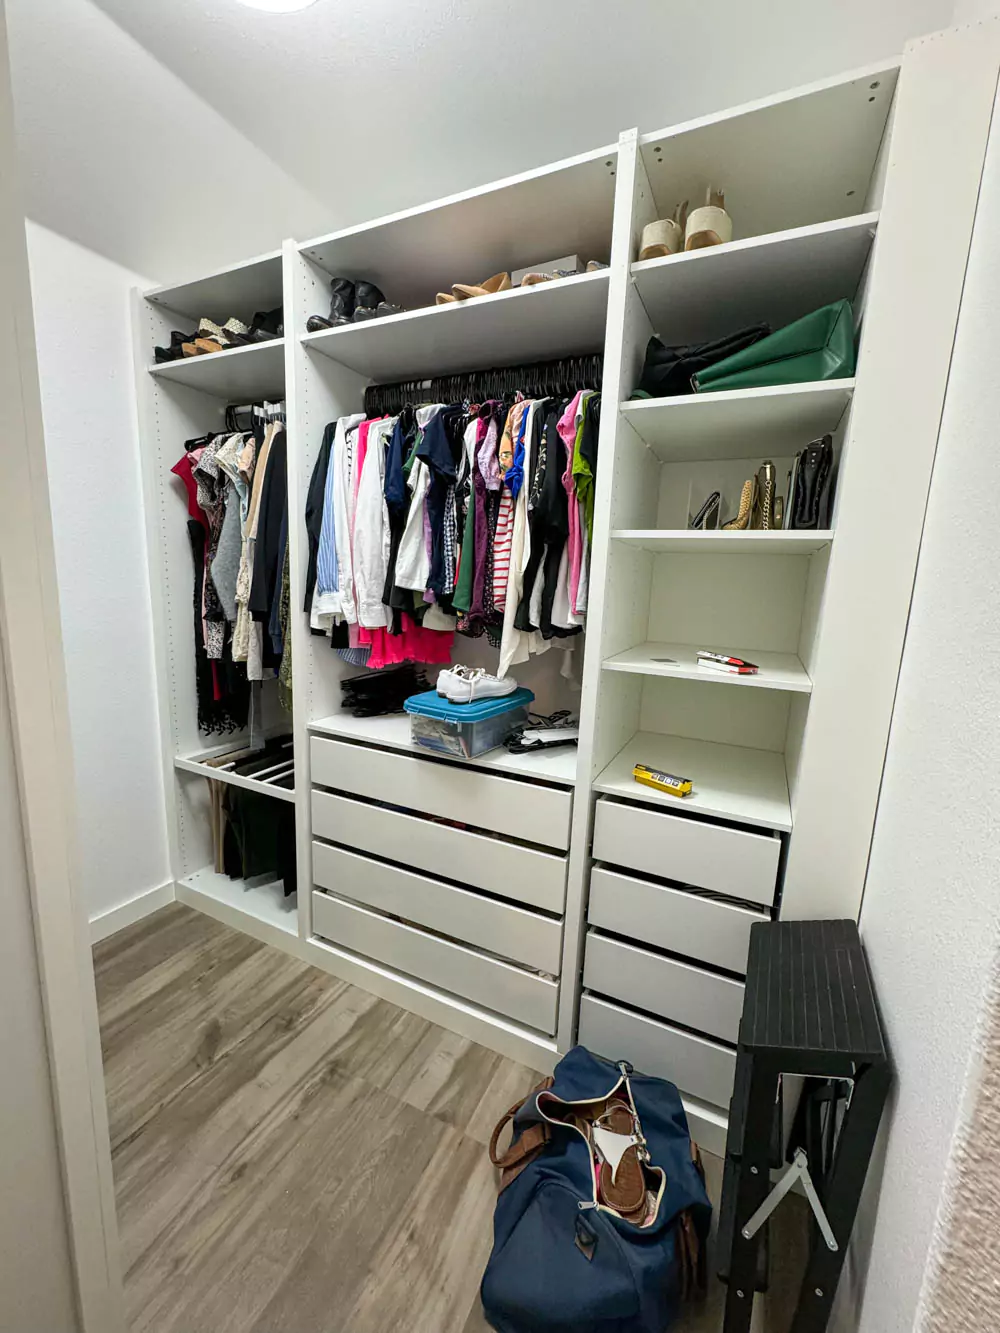
Before and After (so far)
Building a semi-custom closet with the IKEA Pax wardrobe system is an affordable and creative way to create your dream storage space. By carefully planning your layout, choosing the right components, and adding interior organizers, you can design a closet that perfectly suits your style and needs.
We already used Ikea in our kitchen pantry, you can read all about our pantry DIY here.
Remember to take your time during assembly and don’t forget to add personal touches to make it uniquely yours. With the IKEA Pax wardrobe, you can transform your closet into an organized and stylish oasis that you’ll love using every day.
I am adding a tray on my side, so I’m not technically done yet. I’ll post a final reveal and walk-through when I get it all installed. Check back for updates!
For more projects and inspiration, follow me on Instagram and Pinterest…I’m always working on something new!
Happy closet designing!
Katie
You may also be interested in reading these other PAX Hacks:
More Hovel Sweet Hovel DIY Projects