Hovel Sweet Hovel contains affiliate links and is a member of the Amazon Services LLC Associates Program, which means I may receive a cute little commission if you purchase through my links, at no extra cost to you. Please read full disclosure for more information.
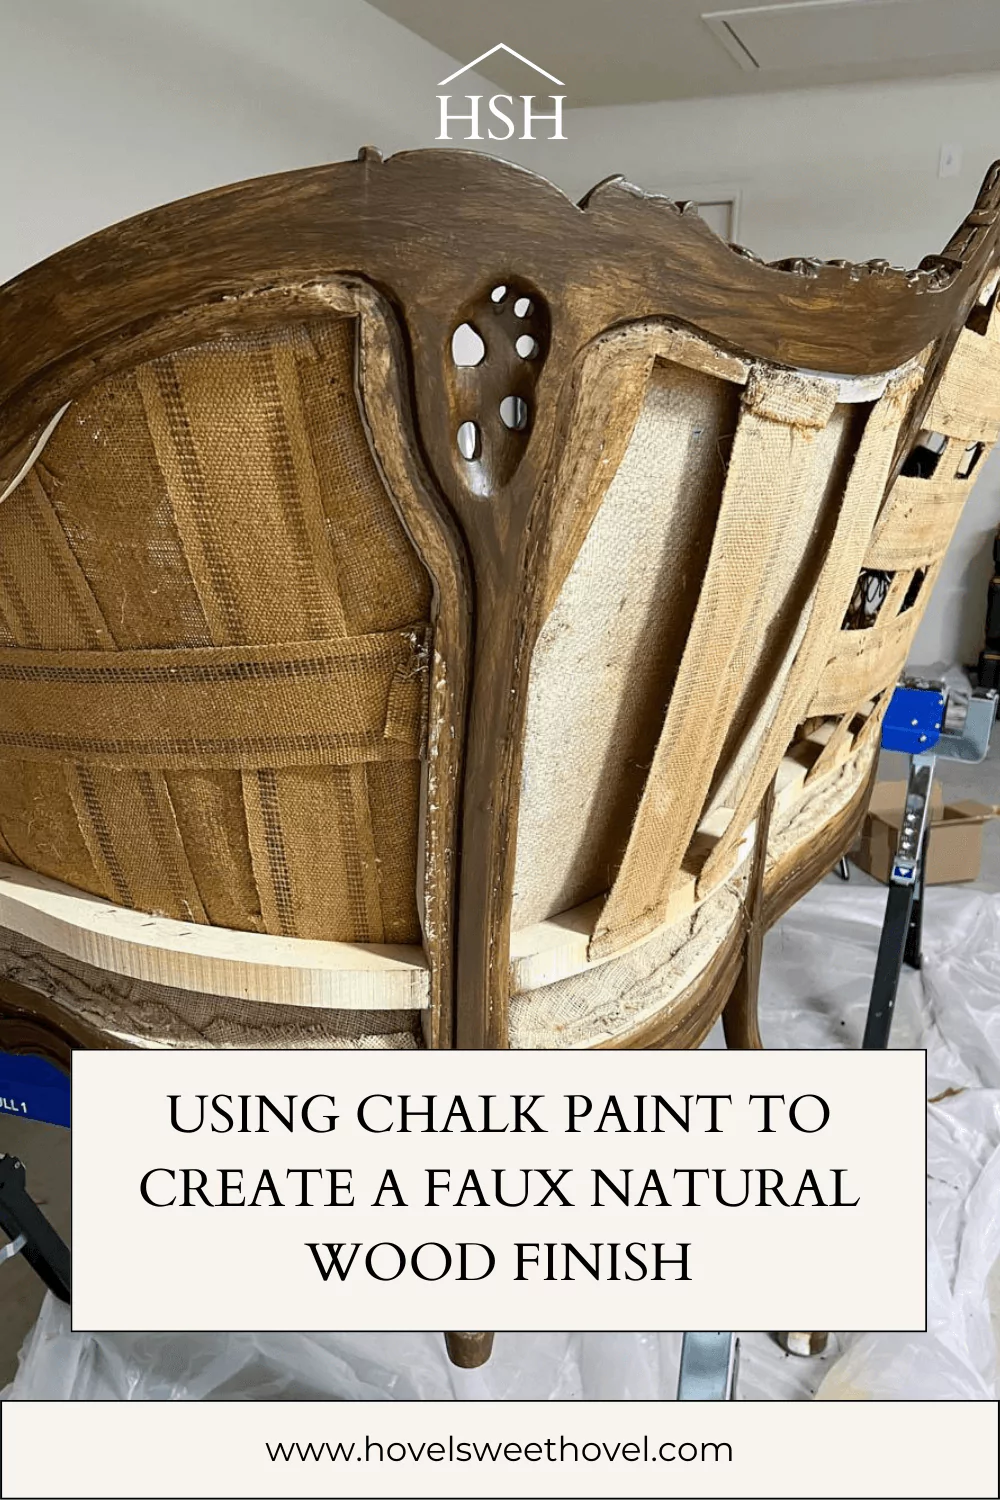
Using Chalk Paint to Create a Faux Natural Wood Finish | DIY
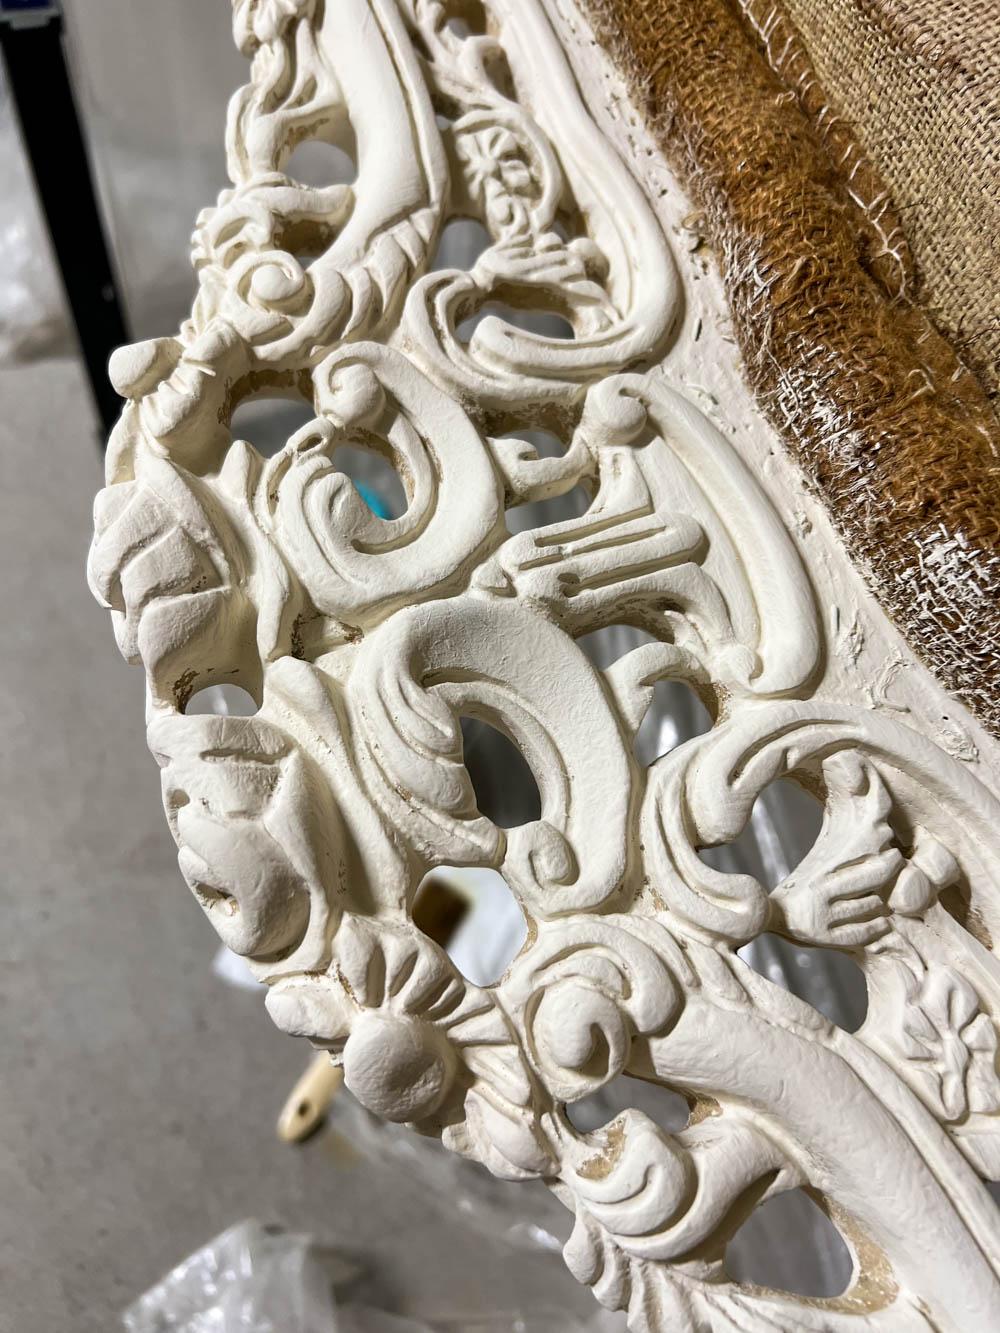
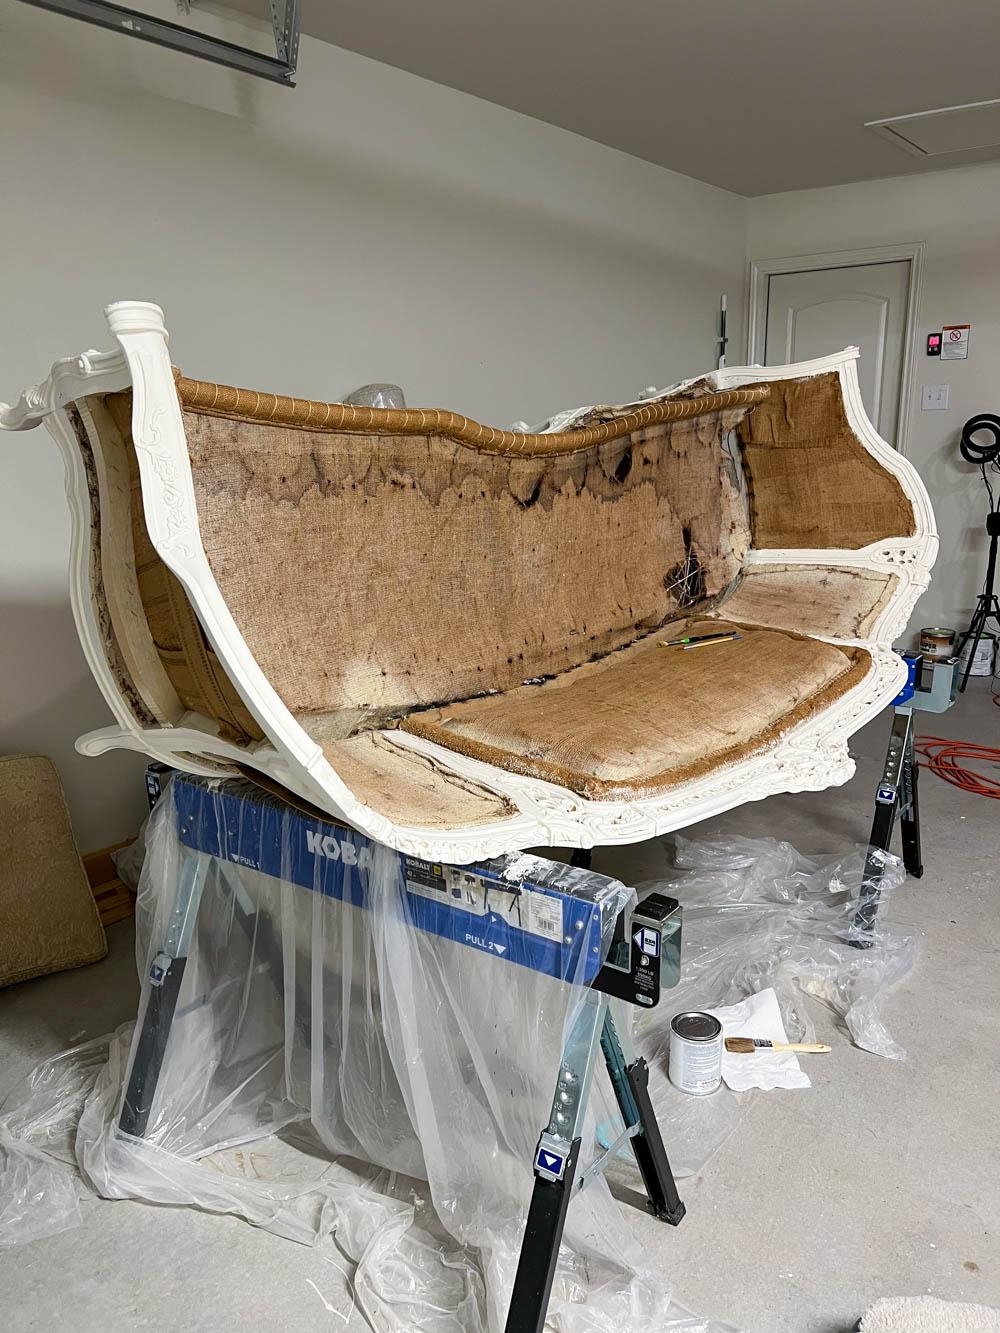
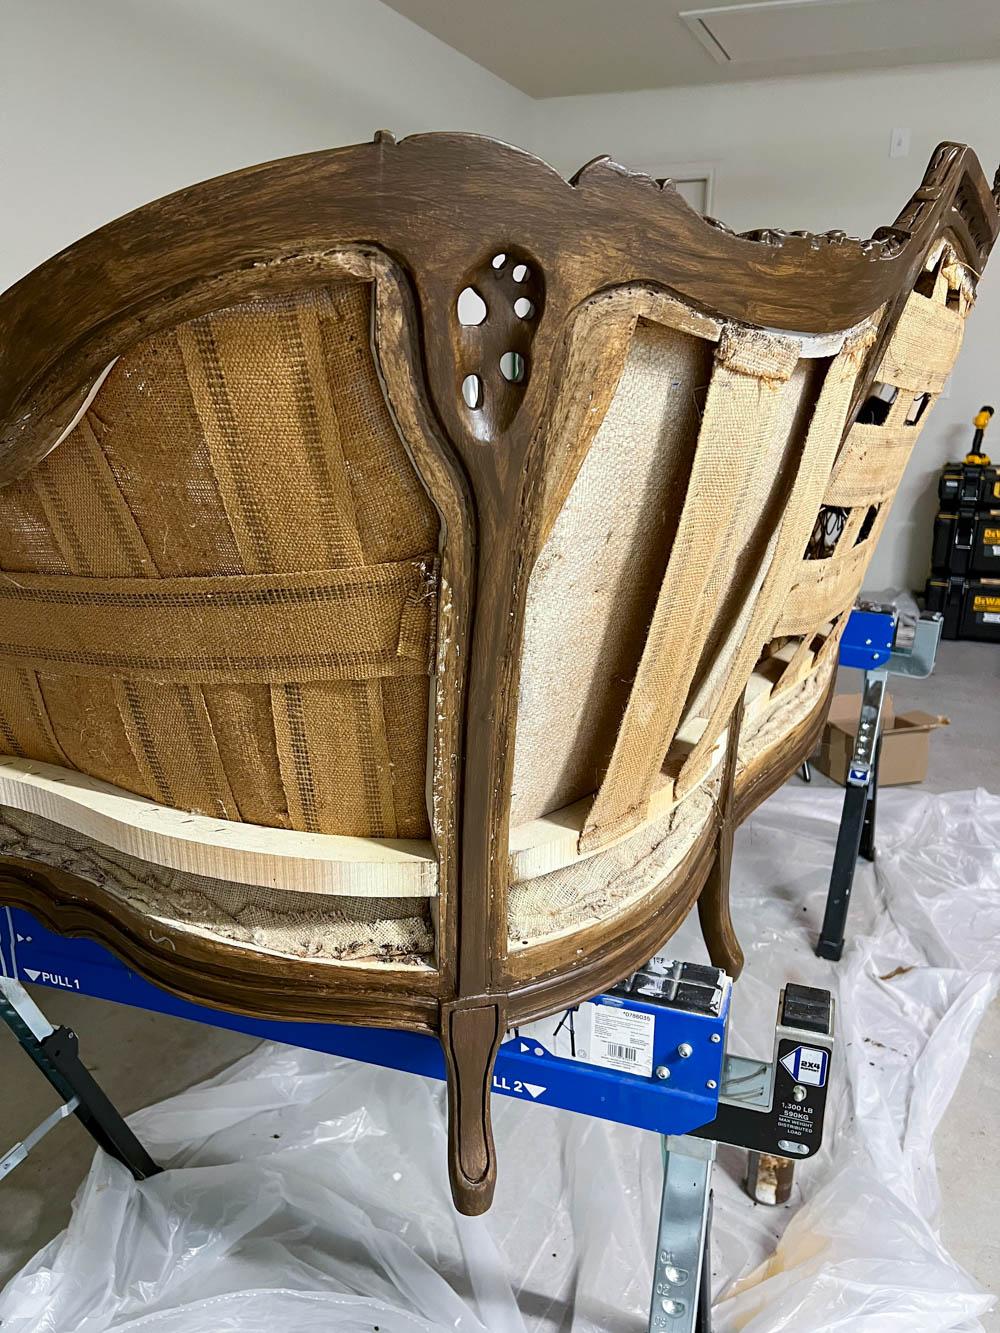
I spent all that time removing stripping the paint and sanding the wood on my antique couch, but I just couldn’t get it all clean.
You can see the final diy couch results here!
Why should I use chalk paint to create a faux wood texture?
There are a few advantages to using chalk paint to create a faux wood finish:
- Versatility – Chalk paint can be easily distressed, sanded, and manipulated to create an authentic looking wood grain texture. The matte finish and porous nature of chalk paint allows for more control over the end result.
- No prep work – Chalk paint adheres well to surfaces with little to no sanding or priming required. You can paint over existing finishes, wood, metal, etc. This makes it quick and easy to refinish furniture or surfaces with a wood look.
- Color options – Chalk paint comes in a wide range of colors from neutral creams and whites to deep wood tones. You can customize your stain look by mixing paint colors. The opacity of the paint gives you flexibility.
- Beginner friendly – The chalk paint consistency makes it easy to apply without visible brush strokes. You don’t need special skills or painting experience to get good results. Distressing also helps hide any imperfections.
- Low odor – Chalk paint has a very faint odor compared to alternatives like stain or oil-based paints. It’s suitable to use indoors without strong fumes.
- Durable finish – When sealed with a topcoat of wax or lacquer, chalk paint is very durable and stain resistant. It can hold up well to everyday wear and tear.
 |
 |
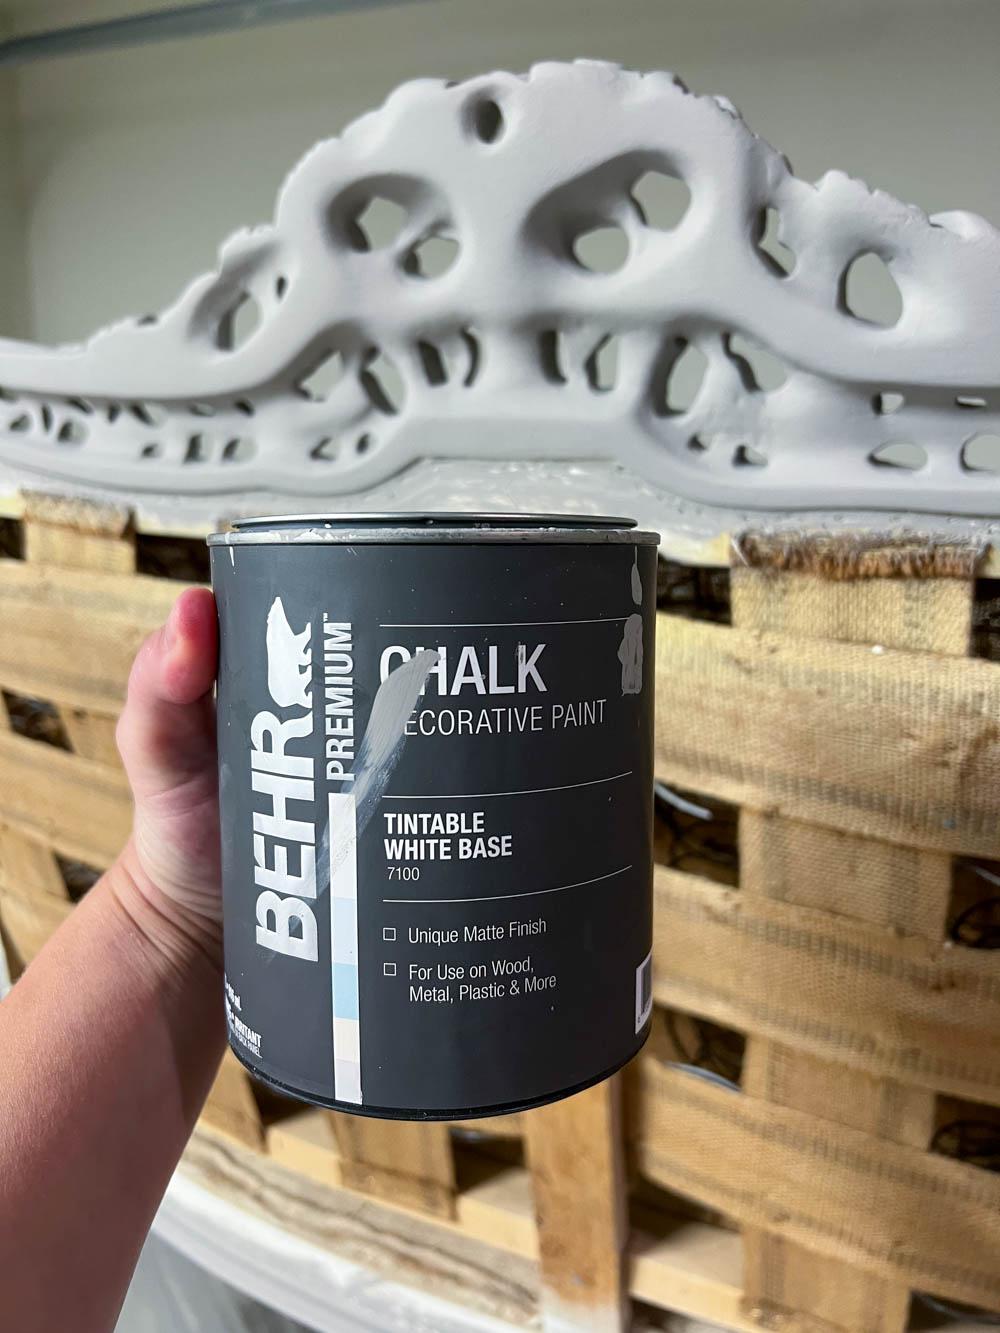
Is there a big difference between cheap and expensive chalk paint?
Cheaper chalk paint can still produce nice results, especially for small projects or simple finishes. For best coverage on large pieces, investing in quality paint is worthwhile. Testing brands can help determine which paint works for your project and budget.
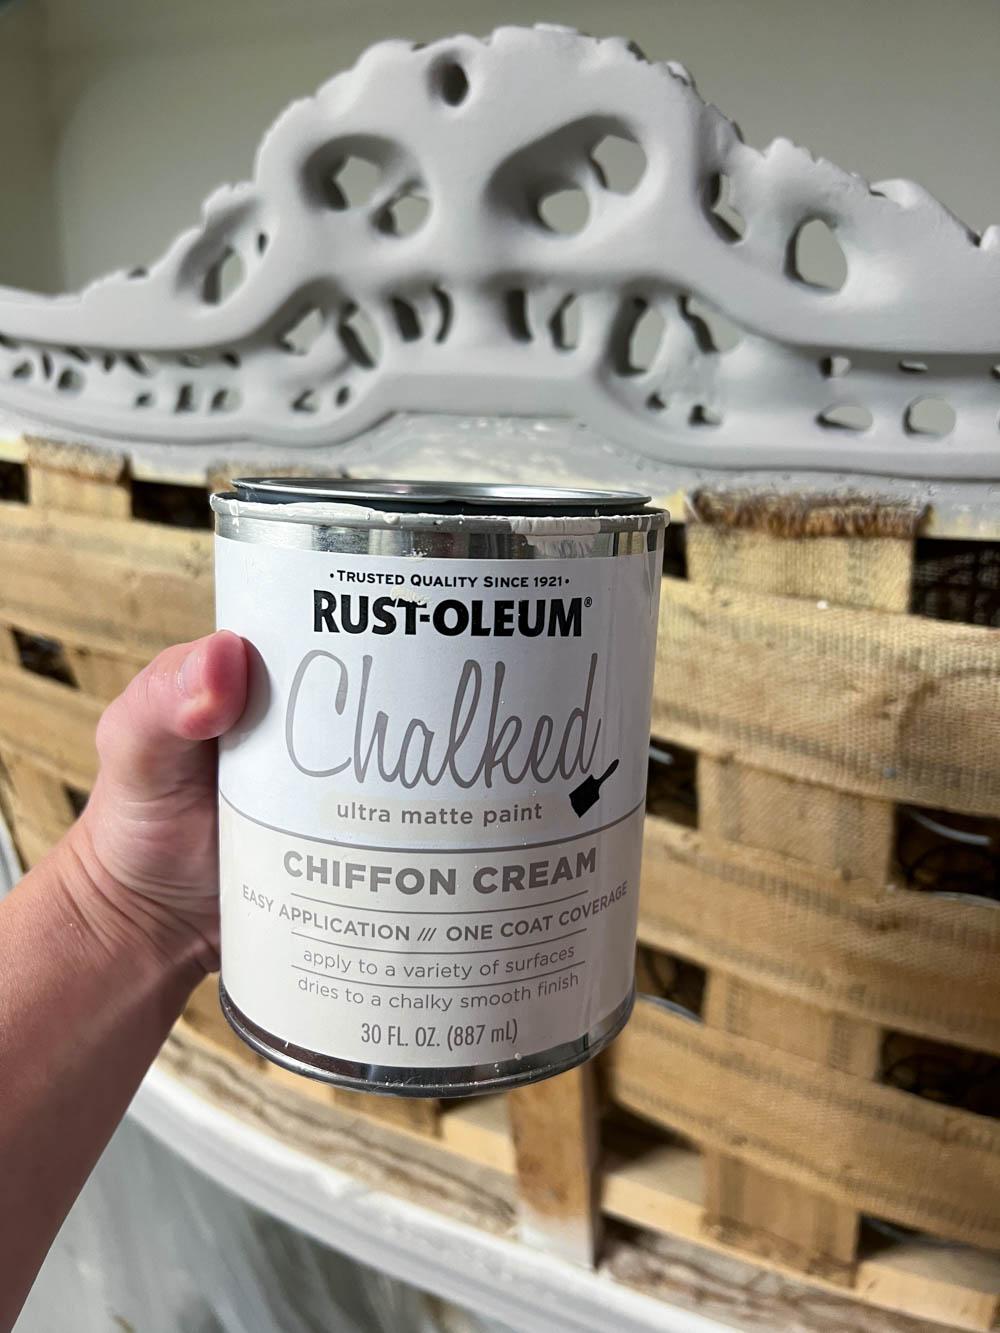
There can be some noticeable differences between lower-priced and more expensive brands of chalk paint. Here’s an overview:
- Pigment Load – More expensive chalk paint tends to have higher pigment loads and color saturation. The color is richer and may provide better coverage.
- Consistency – Cheaper brands may be thinner and runnier. Quality chalk paint has a thicker, smoother consistency that applies evenly.
- Durability – Pricier paint may incorporate harder, more durable binders and resins that make it tougher and longer-lasting.
- Customization – High-end paint lines offer a wider range of colors and sheens. They also sell additives to alter finishes.
- Brand Reputation – Established brands like Annie Sloan are trusted for their experience and proven results.
- Packaging – You may get less quantity at a lower price point compared to premium paint brands.
- Finish Quality – Less expensive paint may apply patchier or chalkier, while pricier paint flows on for a flawless look.
How many coats of chalk paint are needed?
Basically, two full coats is standard for chalk paint, but adjust as needed based on your project, the color, and your desired distressed or smooth look. Don’t rush – allowing proper dry time between coats is key.
When using chalk paint, two coats are typically recommended for good coverage and an even color finish. Here are some more details on how many coats of chalk paint you’ll need:
- For a basic smooth finish, two coats are ideal for full opaque coverage.
- On raw or unfinished wood, apply a base coat first to seal the surface, then two color coats.
- If painting over a dark surface, three thin coats ensures the dark base doesn’t show through.
- When using darker chalk paint colors, an extra third layer can help deepen and enrich the tone.
- Distressing techniques work best on at least two layers of paint so there’s enough to sand off.
- For a heavily distressed look, three coats means you can remove more paint layers.
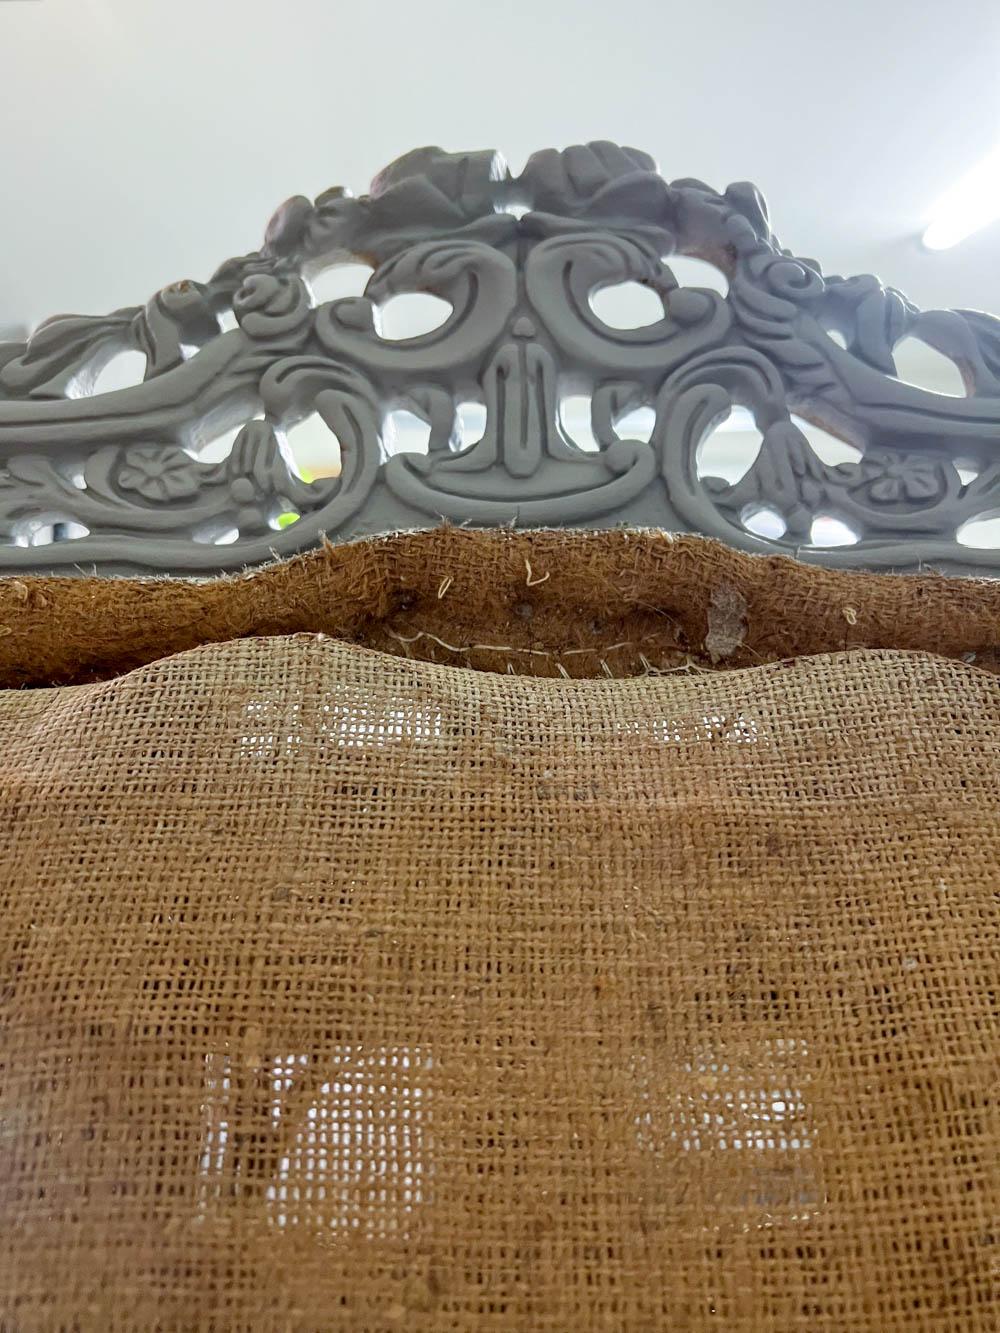
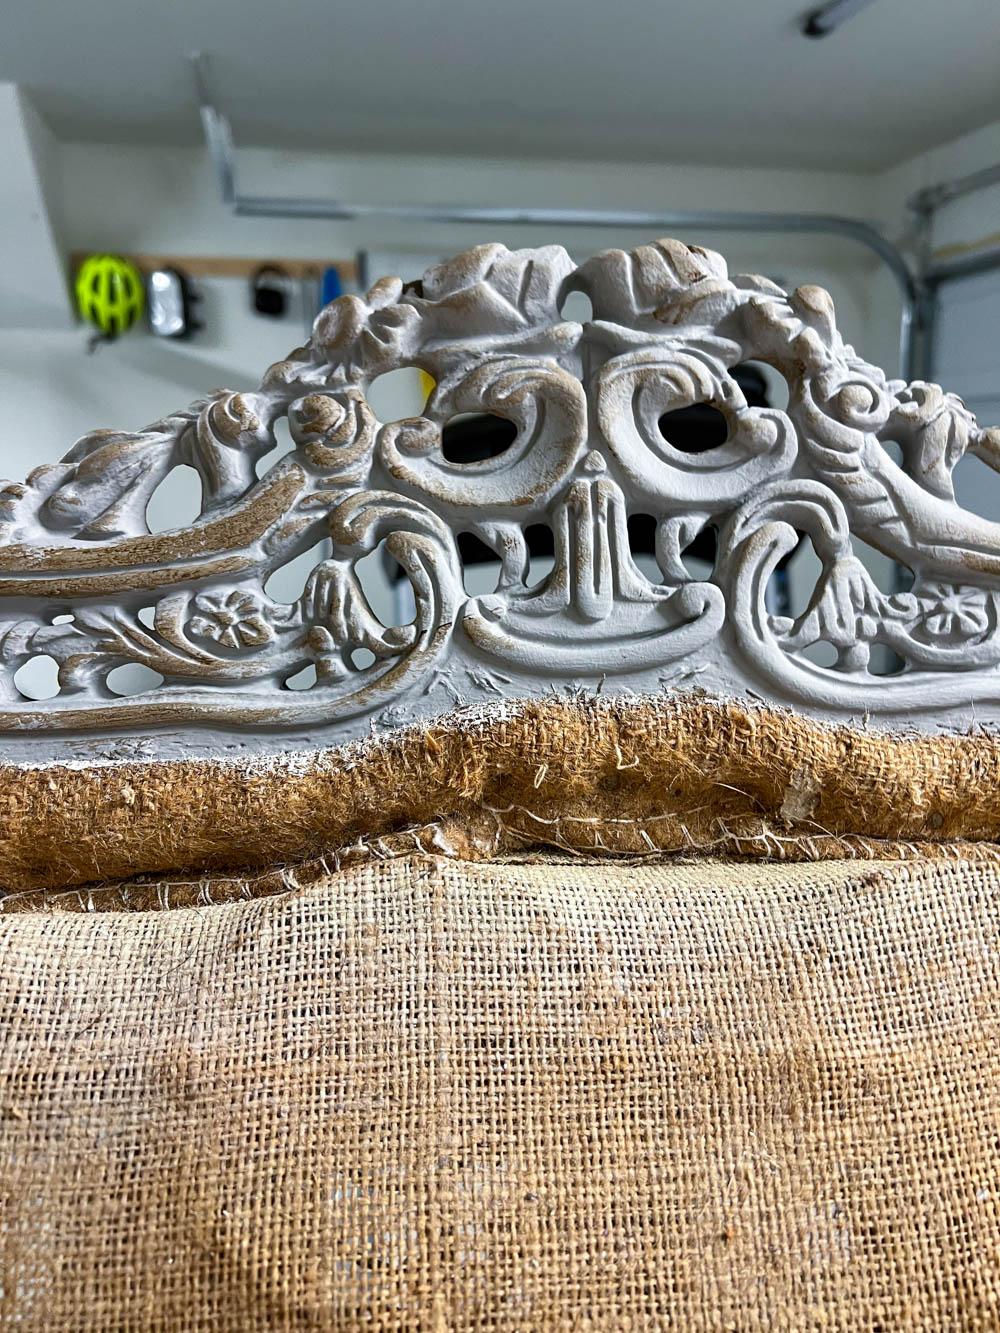
- On furniture with carved details, three thin coats help build coverage in crevices.
- For a smooth finish, apply two coats, sanding lightly between coats.
How long does it take for chalk paint to dry between coats?
When painting with chalk paint, it’s important to allow the proper drying time between coats. Here’s a guideline on how long chalk paint takes to dry:
- At minimum, 1 hour of dry time should be allowed between coats.
- For a thinner first coat, 1 hour may be enough dry time before the second coat.
- For thicker coat applications, allow closer to 2 hours of drying time between layers.
- Proper ventilation and airflow will help speed drying. Avoid humid or cool conditions.
- The first coat will take longer to dry since it soaks into the raw surface. Second coats dry more quickly.
- Darker chalk paint colors may take a little longer to fully dry than lighter paint shades.
- For smoother finishes, sanding between coats means allowing extra drying time after sanding before adding the next layer.
- In cooler temperatures or high humidity, drying time may need to be extended to 2-3 hours between chalk paint coats.
- If the paint still feels at all tacky, sticky or cool to the touch, give it more time before recoating.
- Rushing the recoating process can cause paint cracking or bubbling.
Be patient when using chalk paint and let each layer fully cure before adding another. Following the manufacturer’s instructions for dry times is always recommended for best results.
What type of paint brush is best for applying chalk paint?
When applying chalk paint, it’s best to use a high-quality soft bristle brush. The soft bristles will help the paint glide onto the surface smoothly and evenly.
Some tips for choosing a good chalk paint brush:
- Look for soft synthetic bristles rather than stiff hog bristle brushes. Nylon or polyester bristles work well.
- Avoid brushes with thick or sparse bristles. You want a dense bristle pattern to avoid visible stroke marks.
- Choose a brush with tapered edges. This will allow you to paint corners and edges cleanly.
- Consider a brush with a flat head rather than angled. The flat shape gives you more control.
- Pick different brush sizes for large surface areas vs. small details and edges.
- Invest in a good quality brush that is specifically designed for chalky type paints. This will give the best results.
- Take care of the brushes by gently cleaning after use and storing flat to maintain the shape.
Chalk paint can apply unevenly if the brush is too stiff or rough. Take your time priming the bristles and use light, smooth strokes. A high-quality soft brush will create the ideal smooth, vintage look you want with chalk paint.
What do you seal chalk paint with?
There are a few good options for sealing chalk paint to protect the finish:
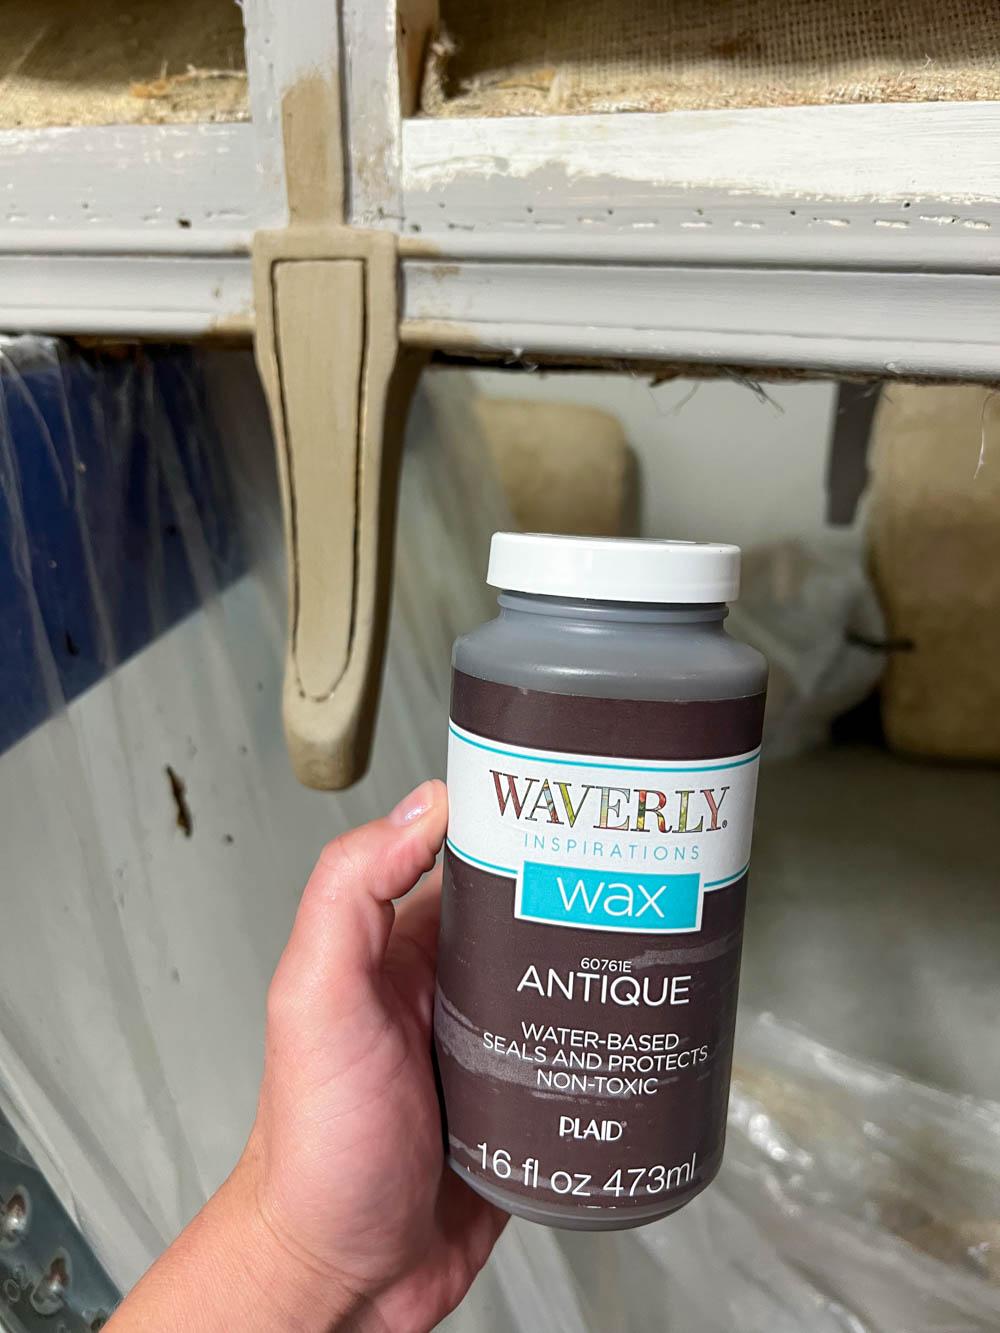
- Chalk paint wax – This specially formulated wax is the most common way to seal chalk paint. Apply 2-3 thin, even coats buffing between coats. Provides a subtle sheen.
- Polycrylic sealer – A water-based polycrylic sealant works well for a harder, more durable finish. Helps prevent stains and scratches.
- Lacquer – For a higher gloss look, spray on a few coats of lacquer after the paint has fully cured. Offers a smooth, shiny finish.
- Paste wax – For extra protection on heavily used pieces, apply a non-chalk paste wax as the final top coat after sealing.
- Furniture wax – Common waxes like Briwax or dark colored furniture wax can also be used to seal chalk paint.
- Mod Podge – For craft projects, a few coats of Mod Podge helps protect the chalk paint and prevent chipping.
- Epoxy resin – Using a coating of epoxy resin creates a thick, glass-like, durable finish for tabletops or bars.
Always check the brand of chalk paint you used for their specific sealer recommendations. The right sealer will protect your painted project and help it last for many years.
How long does chalk paint last without wax?
Chalk paint is quite durable on its own, but sealing it with a protective topcoat of wax, lacquer, or poly will help it last longer. Here’s an overview of how chalk paint lasts over time without a sealer:
- Without wax, chalk paint is more prone to scratches and scuffs from regular use and wear. Wax helps protect the finish.
- Unsealed chalk paint can absorb stains more easily from spills, liquids, etc. A topcoat makes it more stain resistant.
- Over time, oxidation may occur on bare chalk paint leading to discoloration without a sealer to protect the surface.
- Chalk paint may chip or flake around the edges if not sealed, especially on furniture that gets frequent handling.
- The matte chalk paint finish can become uneven or patchy over many years without a topcoat.
- On kitchen cabinets or tabletops, the paint may show dirt, grease marks, or water spots without a protective sealant layer.
- Harsh cleaning products can strip bare chalk paint, while a coat of wax provides a safer finish to clean.
While chalk paint is quite durable, a top sealer coat extends its longevity and helps it look pristine for many extra years. Even a basic wax seal gives chalk paint much better protection.
How to use chalk paint for faux natural wood look
Here are the steps to create a faux natural wood finish using chalk paint:
- Prepare the surface. Make sure the surface you are painting is clean and dry. Lightly sand to rough up the surface so the paint adheres better.
- Choose your colors. Pick out 2-3 chalk paint colors that coordinate well together to achieve a natural wood look. Good color combinations are cream + brown, white + gray, or black + brown.
- Paint the base coat. Using a brush or foam roller, apply an even coat of your lightest chalk paint color over the entire surface. Let dry completely.
- Add wood grain texture. Once the base coat is dry, use a stencil or freehand straight brush strokes vertically down the surface to mimic wood grain. Use a darker paint color for this step. Apply varying pressure so the grain looks inconsistent and natural.
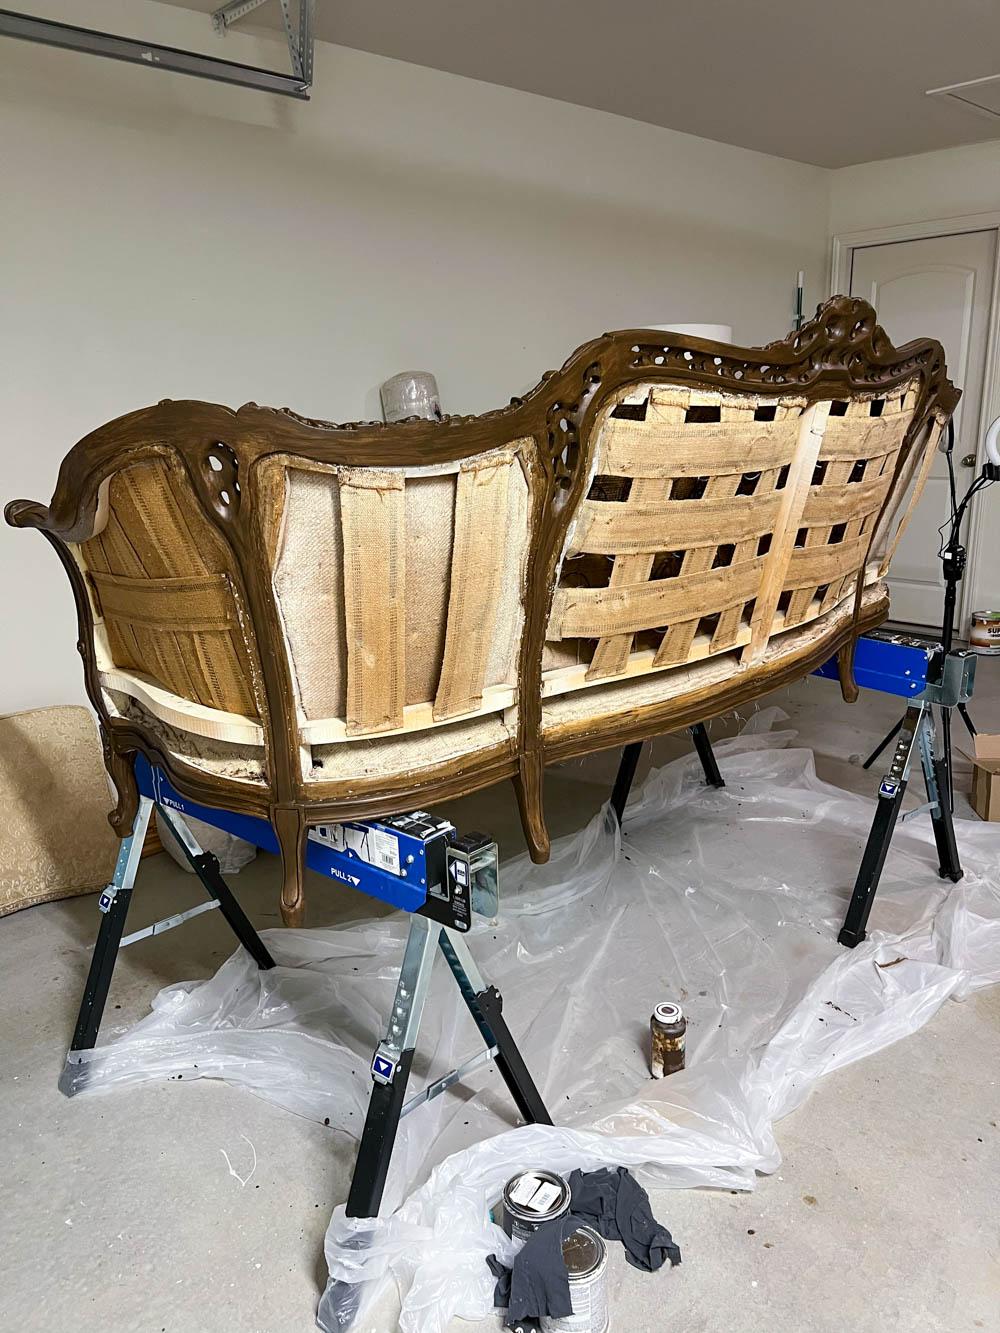
- Distress and weather. Use sandpaper or a sanding block once the grain layer is dry to lightly distress and reveal some of the base coat underneath. Focus on edges and corners. Then use a damp cloth to wipe down and weather the paint, exposing more of the undertones.
- Seal and protect. Apply a clear chalk paint wax or sealer over the entire piece once you are happy with the look. This will protect the finish and give it a subtle sheen. Apply 2-3 thin coats with a brush, buffing in between coats with a clean cloth.
- Add finishing touches. Once sealed, you can add more distressing if desired. Also brush on dark wax ONLY into the recesses and lines to define the wood grain even more. Let dry and buff with a soft cloth. Then add hardware and enjoy your faux wood finish piece!
So if you want to transform furniture, cabinets, crafts, or accent walls, chalk paint is an easy way to get a professional faux wood look without the hassle of staining real wood. The end result looks authentic but is much more accessible to DIYers.
Cheers,
Katie
Liked this post? Pin it for later!